


We're nearing the end of the second week of the six-week Six Ingredient Challenge! Amy and I posted our answers to the second week's writing prompt, and the linky there is still open for you to link up your posts about how the Six Ingredient Challenge is going. Remember to post your answers to the third prompt sometime before Thursday. Even if you didn't start the challenge with us on February 1, it's not too late to sign up and join in now!
Today I'm bringing you another guest post from Sam, our family's chef extraordinaire. He's sharing an easy recipe for making homemade ricotta soft cheese. Some cheeses have a lot of ingredients, but this one has only three — and it's simple for you and your kids to whip up at home and flavor to your liking.
Homemade ricotta cheese

Guest post by Crackerdog Sam
Making homemade ricotta cheese is extremely easy and fun. Traditionally, ricotta is made from the whey left over from other cheesemaking recipes (the word literally meaning "recooked"). This simpler version is great for making with kids, or for using up larger quantities of milk in your fridge that you think you won't finish before it goes bad.
The only ingredients you need are lemon juice, salt, and milk (whole milk yields more cheese, but you can also use 2%). Hint: Save the whey when you're done for a bread-making recipe coming shortly.
Ingredients:
- 1/4 Cup lemon juice (the juice from one large lemon)
- 6 Cups whole milk
- 3/4 tsp kosher salt
Equipment:
- large pot
- kitchen thermometer
- cheesecloth or strainer
- large mixing bowl
Dietary/allergy notes:
Vegetarian, gluten-free, grain-free, sugar-free. Contains dairy!Directions:
1. Pour milk into a large pot and turn the heat to medium-high.
2. Squeeze the juice from your lemon.

3. Use the kitchen thermometer to monitor the temperature of the milk as it warms. Stir slowly and constantly to prevent scalding. You are waiting for the temperature to reach 180ºF, which is just before it begins to boil. If you don't have a kitchen thermometer, you can just wait for the boil to begin — make sure in either case you immediately move it off the heat when it hits near 180º, or it will boil over in seconds.

4. Add the lemon juice to the pan, and stir once to distribute evenly. Within seconds the curds and the whey will have mostly already separated! This is the fun part for the kids to watch.

5. Let sit for 15-20 minutes to cool (because you'll be handling the cheese and whey with your hands). Then line a large bowl with cheese cloth, slowly empty the pot into the bowl, and lift out the cheesecloth, keeping the curds inside and leaving the whey in the bowl.


6. Tighten the cheesecloth to push out even more whey, until it's difficult to wring out any more moisture.

5a-6a. If you don't have cheesecloth, a strainer can work just as well; you just might need to do it in two batches. In lieu of squeezing the cheesecloth, you will have to spend more time waiting for the whey to drain, but it works perfectly fine.


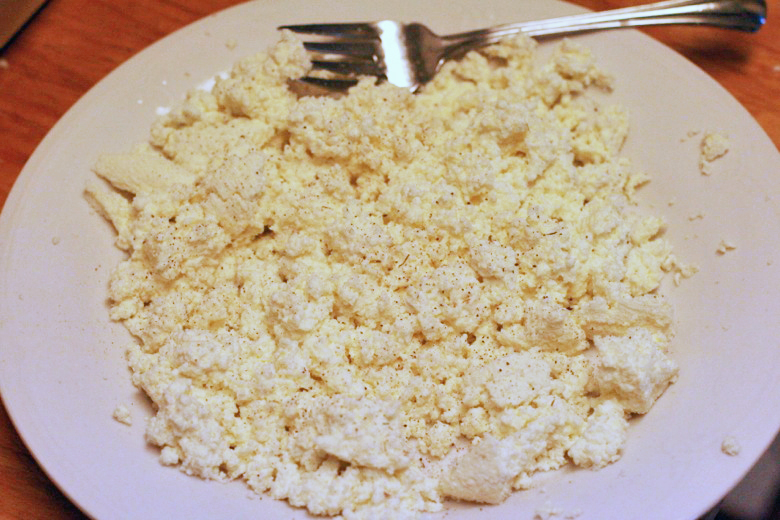
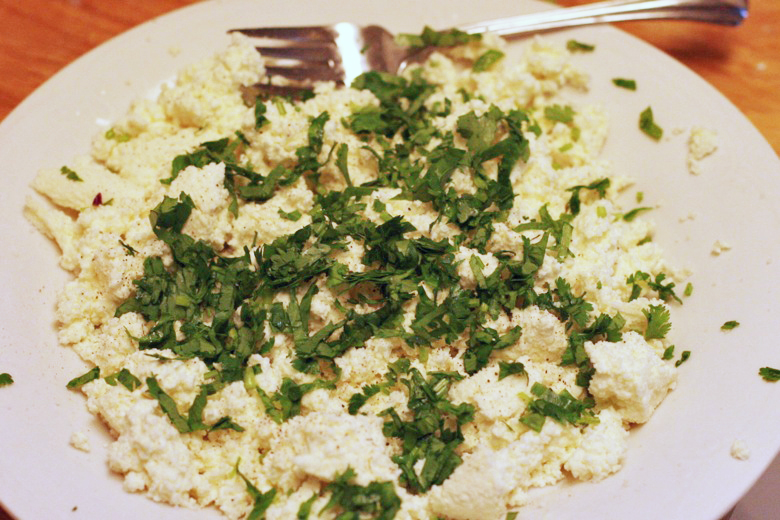
7. Move your lump of ricotta to a plate to break it apart, and add the salt, making sure to mix well to distribute. You may add any other herbs and spices that you like at this time, too — lemon zest, basil, chives, black pepper, etc.

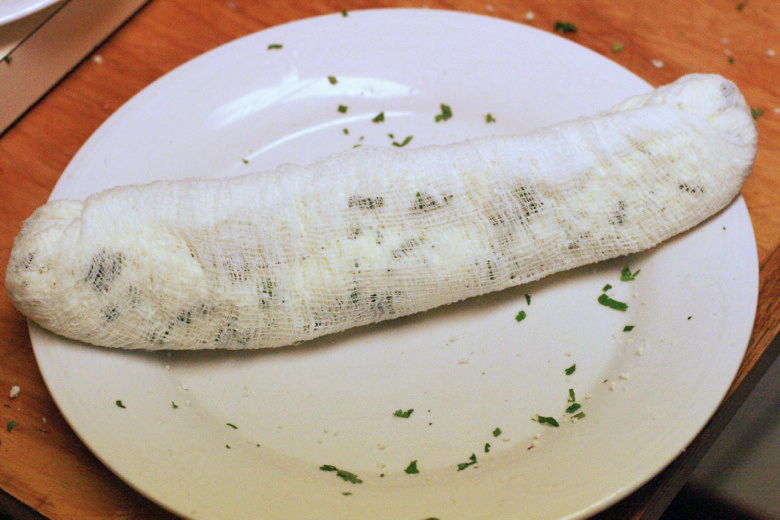
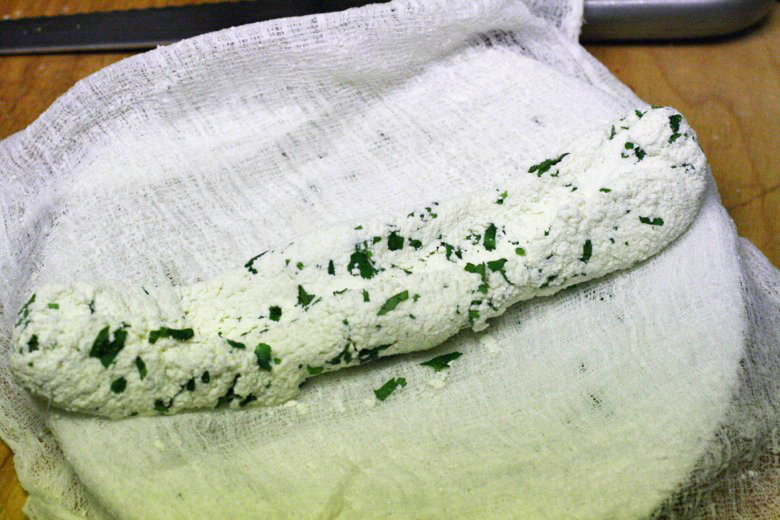
8. If you're planning to sprinkle the ricotta (like in lasagna, on a salad, or over refried beans), you're finished: Just store it in the refrigerator. If you want to be able to slice it later (to lay onto toast or crackers), you can create a log by rolling it back up in the cheesecloth tightly and refrigerating it like that for two hours.
9. The whey is still very useful; it can help give your homemade breads a fluffier crumb. (Recipe for homemade bread that uses whey coming shortly!) Store in the refrigerator and freeze whatever portion you won't use soon.
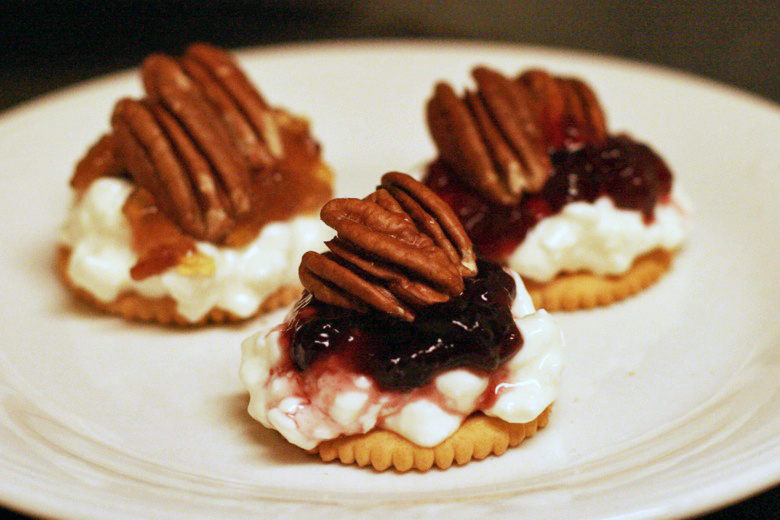
10. One of my favorite ways to use ricotta is to layer it with jam and nuts: blackberry and pecans, apricot and walnuts. You can make little appetizers on crackers as pictured, or just eat in a bowl like you might yogurt and granola.
Enjoy! You're now a cheesemaker.


Click here for a prepared Tweet!


 I'm Lauren Wayne, writer and natural parent. I embrace attached parenting with an emphasis toward green living.


2 comments:
Yay! I also line my strainer with a coffee filter for draining cheese. The other thing you can do this way is yogurt cheese, which is just what is left by putting whole milk yogurt into the strainer/coffee filter and leaving it to drain. It's much like cream cheese.
@Seonaid: Good tip about the coffee filter! And I'm sure we made yogurt cheese before, too, though it's been awhile — thanks for the reminder!
Post a Comment