

 When I was pregnant with Alrik, I decided to sew my favorite type of carrier: the mei tai.1
 A mei tai is a versatile and comfortable carrier that works for newborns through toddlers, and for parents and caregivers of most any size to wear. It's highly supportive and can be worn on front or back. It's also easy to learn to tie on securely, making it a good choice for beginners to babywearing. You can even breastfeed hands-free in a mei tai once you get the hang of it!
The advantages of sewing a mei tai yourself are that it's fun (!) and that you get to pick out exactly what fabrics and features you'd most enjoy. It's also a relatively easy project if you can sew at all, since the mei tai shape is primarily a rectangular panel with long shoulder and waist straps. Plus, there's all the gratification of being asked time and again, "What kind of carrier is that? It's beautiful!" and being able to answer in a tone of convincing modesty, "Oh, this old thing? I made it."

I followed these three tutorials and adjusted the directions to fit my own preferences and measurements:
- Make Baby Stuff: Make a Mei Tai Carrier with Interchangeable Panels (i-panel)
- Scandi Mei Tai Tutorial (scandi)
- grumbles and grunts: how to sew a mei-tai baby carrier (g&g)
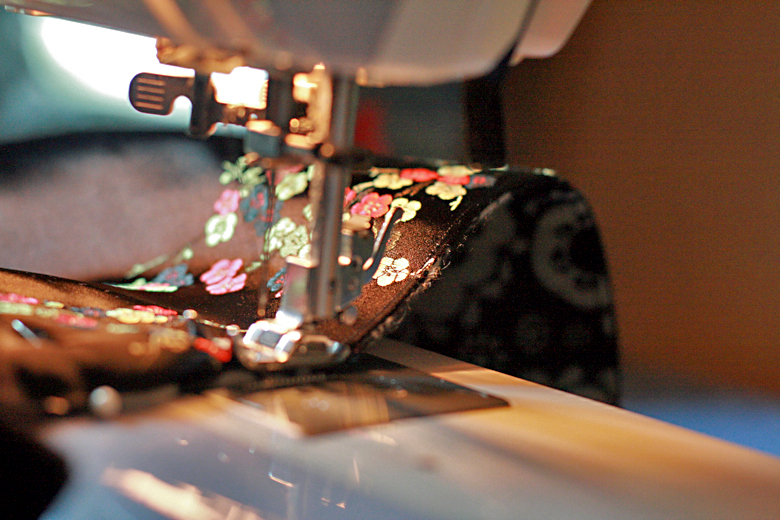
I made two versions: a larger toddler version in khaki that was heavily padded to work well for the colder months. I added the feature of interchangeable panels to that one, but I will tackle that in a future tutorial. I then made a smaller and less padded version in black that works well for the newborn days on up and all seasons. That's the mei tai I'll be referencing here in most of the instructions, though you'll see pictures from both versions.
Materials:
Bottomweight fabric. 54-60" wide. 2 to 2.25 yards is fine for most body sizes (choose the end of the range corresponding to your own relative size). The fabric store will have signs denoting which fabrics are bottomweight; it should also say so on the bolt. Don't skimp on the sturdiness of this fabric, since your baby's safety is dependent on a strong fabric. I used a heavy canvas. My black canvas is plain, and the khaki one had a bit of a pattern embossed.Decorative fabric. 1/2 to 5/8 yard. I went with a satiny brocade. Printed cottons would also be lovely. I always advise people to remember that you are wearing the carrier, not your baby, so pick fabrics and colors you like and that look good on you.
Lining fabric. 1/2 to 5/8 yard. Flannel, fleece, and minky are good choices. This will be up against your baby, so snuggly is desirable. If you want a reversible mei tai, you can alternatively use two types of decorative fabrics. I combined these ideas and used a decorative snuggly fabric that I can face out for any occasions when I want variety. If you're sharing the mei tai with another caregiver who doesn't like your choice of decorative fabric, having a reversible design more to the other person's taste might be a good way to please both of you. For my black mei tai, I went with a black and white flannel design, and for my khaki version, I used leftovers of brown embroidered fleece from the no-sew mei tai we used the most for Mikko. That way, I knew Sam had one side that wasn't as shiny; as it turns out, he doesn't mind and wears the brocade showing anyway.
Stuffing. I used polyester fleece scraps from the no-sew mei tais I had given as gifts. (Way to bond the two projects!) You can also use quilt batting or something similar.
Matching thread. I recommend getting a strong thread like Gütermann
With all your fabrics, stuffing, and thread, I strongly recommend making sure everything is machine washable and that you pre-wash all shrinkable fabric (and any batting that so recommends; polyester fleece doesn't shrink) so any shrinking happens before you start sewing. This is a carrier for a baby, which means it's guaranteed to be drooled, peed, pooped, or spit up on, possibly all in the same explosive moment.
Plus the no-duh supplies: sewing machine, pins, measuring tape, rotary cutter and mat (makes life easier), scissors, iron and ironing board (go ahead and heat it up), chalk or pencil or other fabric marker, rubberbands (to hold your straps out of the way as you sew), and time to sew in peace (good luck on that one!).
Instructions:
SHOULDER STRAPS
- Make three strips 9" wide and 2.25 yards long.
Mine are actually 82" long (2.28 yards), since I got extra fabric. I am 5'9" and Sam is 6'0", neither of us is skinny, and we have scads of extra length to our straps. (I tuck the ends into my waist strap.) You could certainly make your straps shorter (down to 2 yards) if you are more petite, or longer if you need extra room and like to do ties like the Tibetan carry that use up a lot of strap.
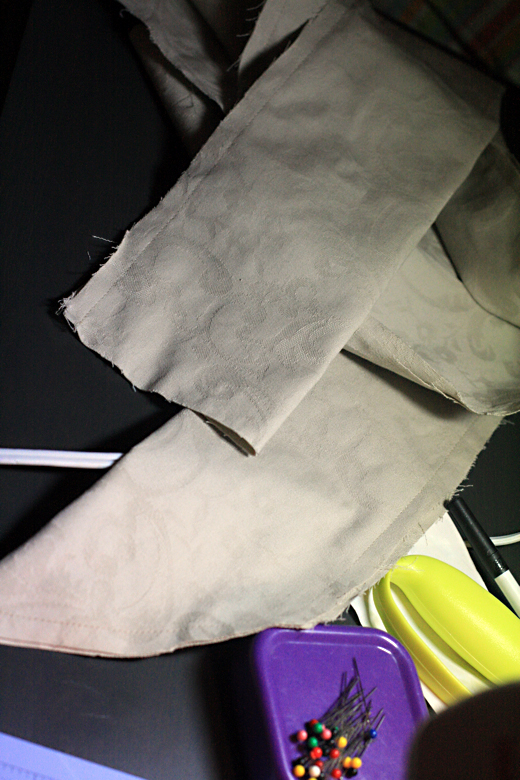
- An easy way to "cut" most woven bottomweight fabrics is to make a nick at the 9" width mark and then rip down the length.
The straps are very long. You'll spend a lot of time on your straps, but once you've made them, your mei tai is halfway done!
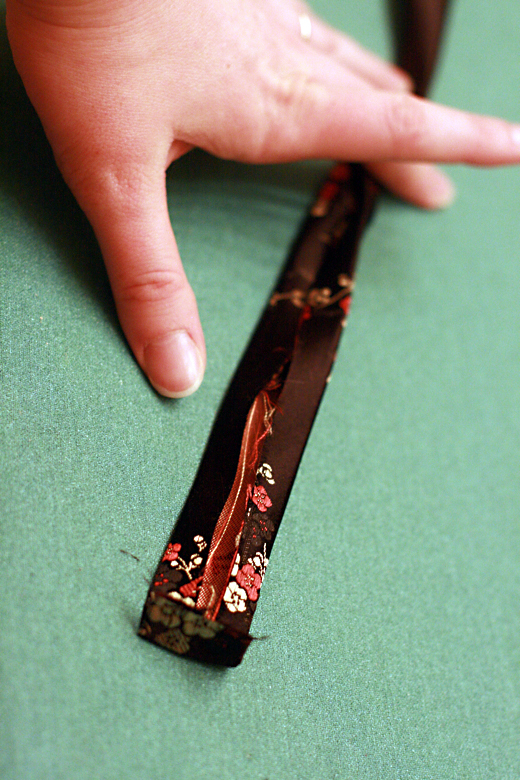
- Fold in edges and iron, and then iron in half, right sides out (i-panel).
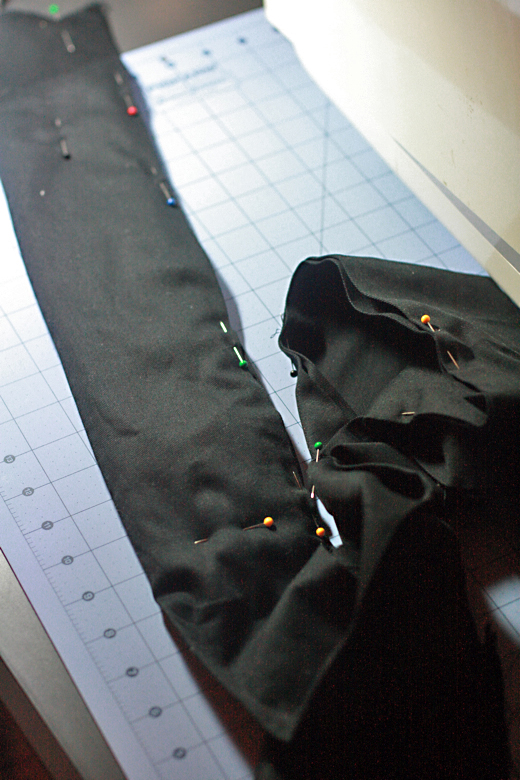
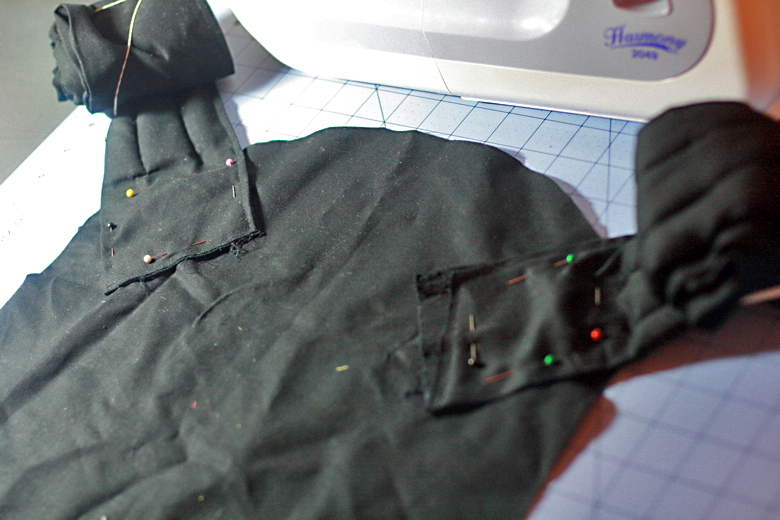
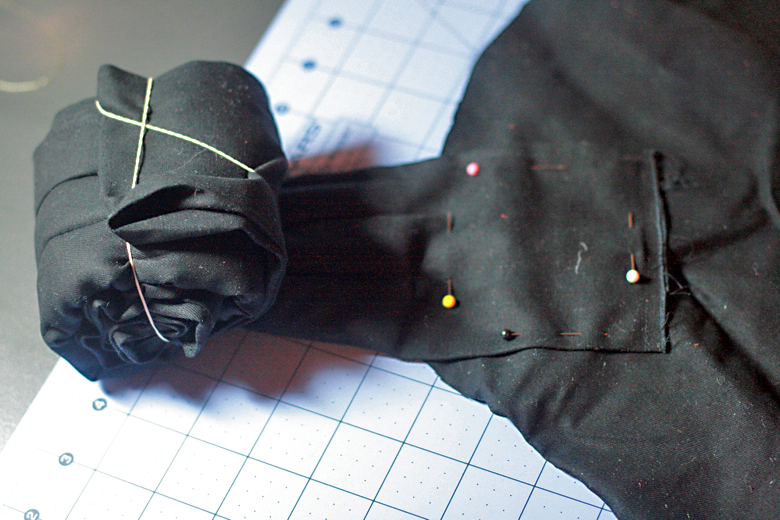
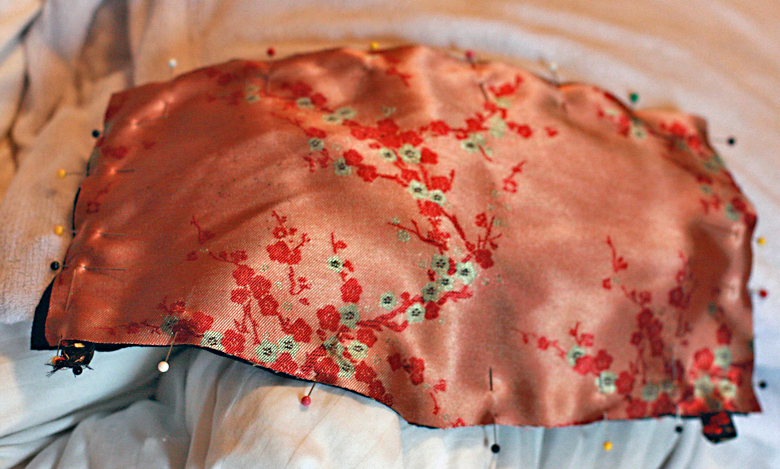
I didn't do what I just said in the instructions my first time (the khaki version). Many tutorials have you sew the straps, right sides together, and then turn them, the way you would normally do when sewing seams. However, you also have to stuff padding in, and these suckers are loooong. I highly recommend the method on i-panel of pressing the edges in, folding in half, and then sewing it together on the top. I don't care if it's cheating. No one will notice once it's all put together! Picture of the pinning for that action happening below:
- (Optional) Taper the ends at a 45 degree angle. I prefer to have the longer portion at the seam, but either way works. Taper one end of each of the shoulder straps and both ends of the waist strap.
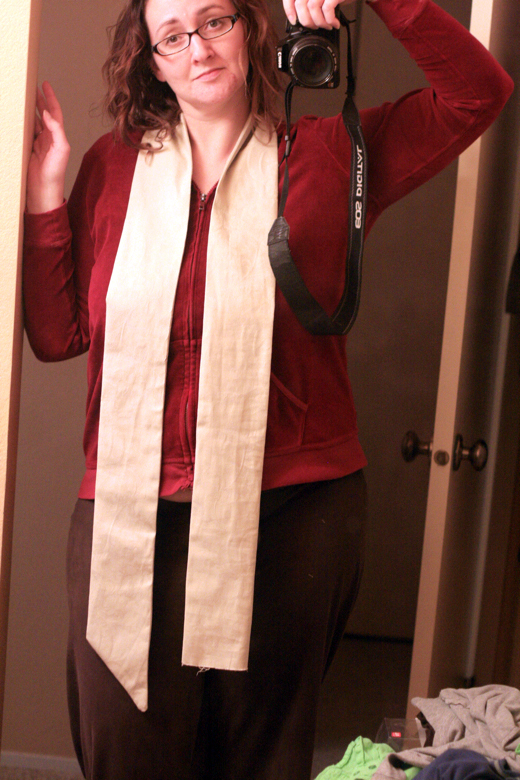
- (Optional) Try on straps like a stole to see what you'd look like as a bishop.
- Use leftover fleece from your no-sew mei tai to make the padding for the straps. (Or use batting, wool, foam, etc. — washable is best if you hope to wash this ever!) Cut out a rectangle 12" x 16" and fold both raw ends to the center so you end up with a rectangle about 3" x 16". (Recommended lengths are anywhere from 14-20", so you can adjust the padding length to your preference. If you're on the shorter side, I'd err toward less padding, because you don't want it to interfere with your crossing & tying.) Make two of those, for the shoulder straps. Then cut out a rectangle 12" x 28" for the waist strap, folding in the raw edges. Set aside the waist strap and its padding. Tuck the shoulder padding into each shoulder strap, about 4" from the non-tapered ends. Pin the shoulder straps over the shoulder padding.
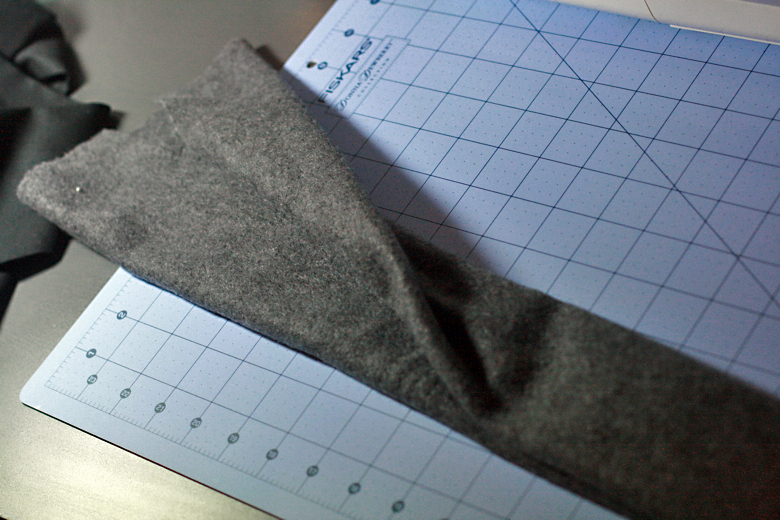
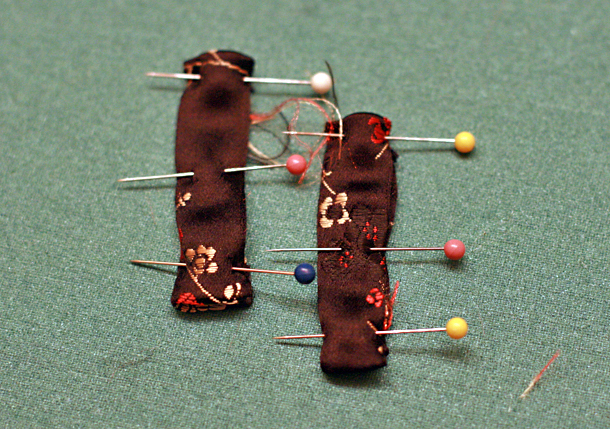
To use a fleece rectangle as padding, fold your raw edges into the center, and then fold in half lengthwise.
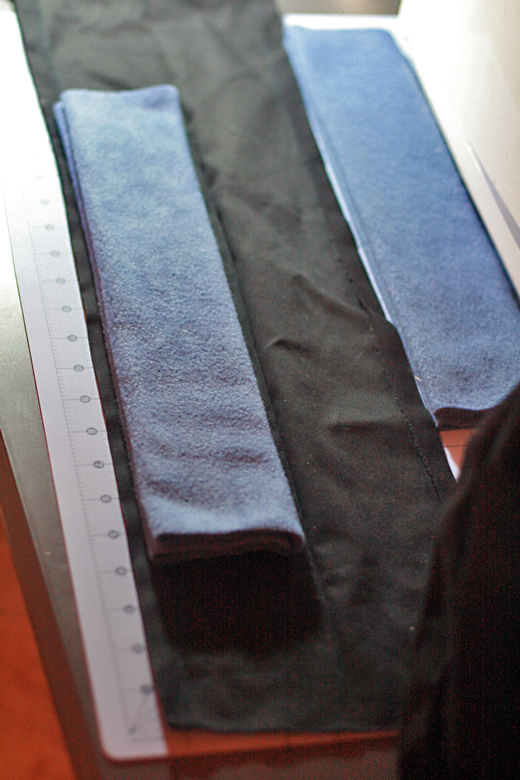
Open up your shoulder straps and place the padding where you want it to go. Then fold the strap over the padding and pin it in place.
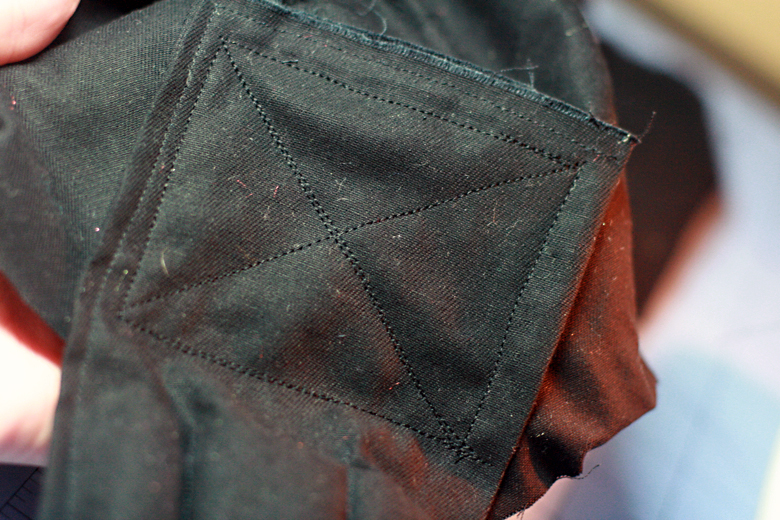
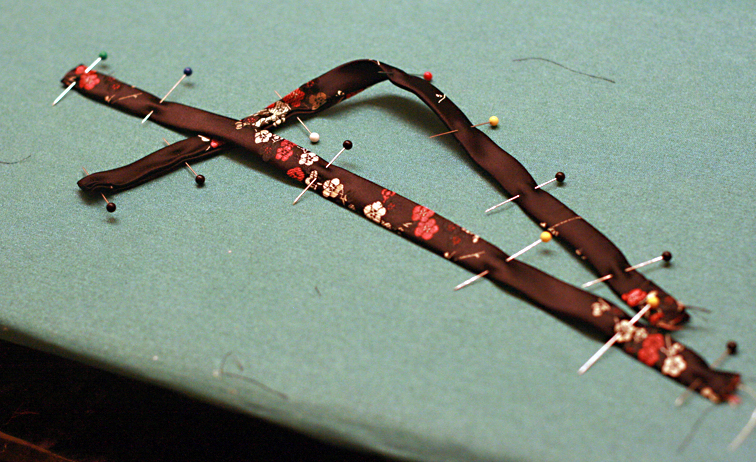
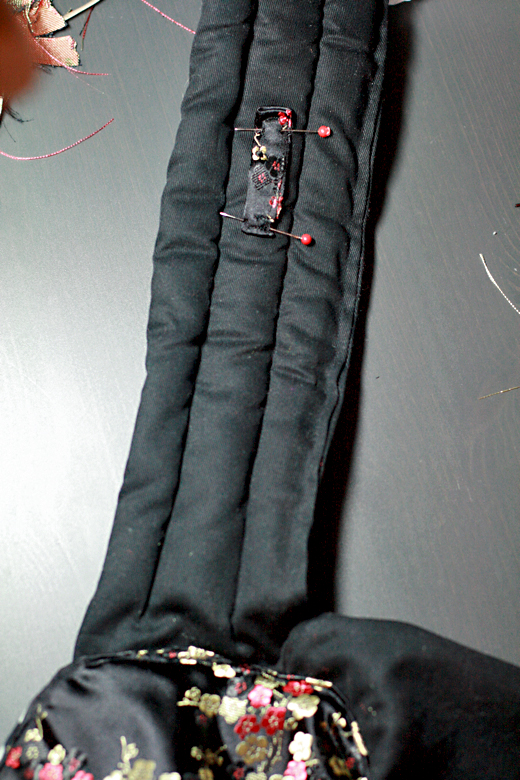
- Pin the shoulder straps closed and sew all along the open edges (including the tapered ends). Then sew two evenly spaced lines down the padding portion. To make it look more "finished," you can also sew just along the folded edge to match the other side (optional).
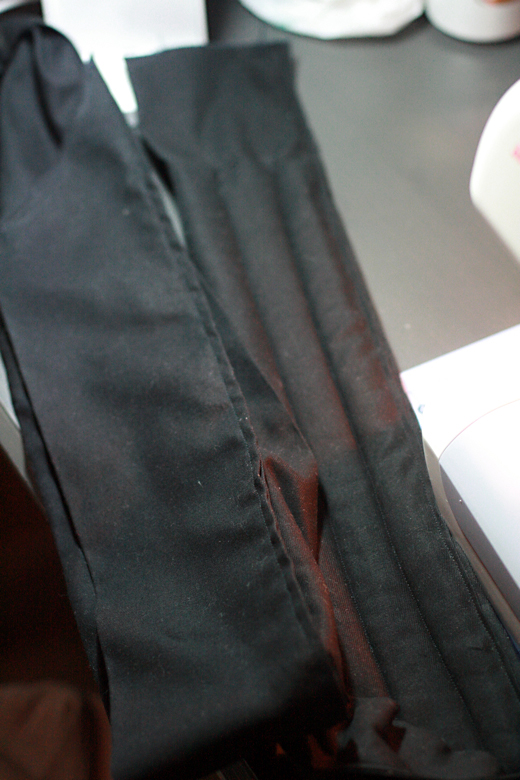
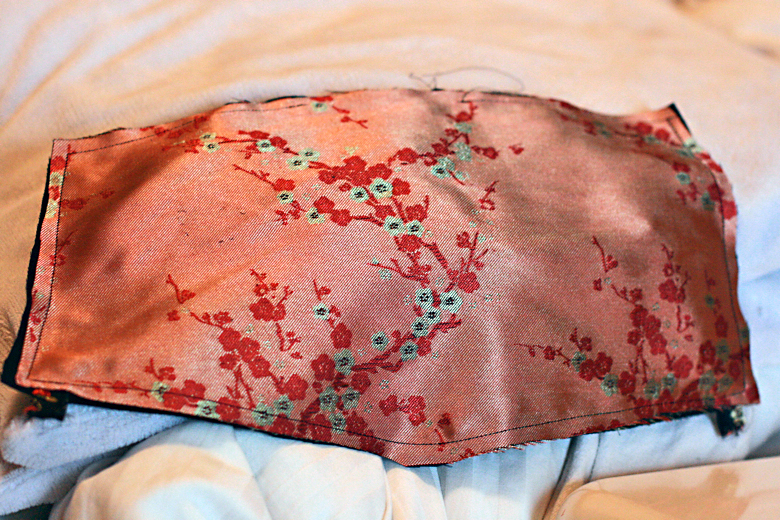
In the padded portion to the right, you can see the lines sewn down the center to keep the padding in place and make it look all professional and stuff. In the non-padded portion to the left, you can see how it looks when you top-stitch the straps shut vs. sewing and then turning. Seriously, no one will be looking that closely at your straps, so I did it this way and stopped there.
PANEL
- Now you need to decide on the measurements for your panel. It should be reflective of the size of the babywearer(s) + the size of the baby. A good basic reference point is to measure a rectangular shape over your own torso (and/or that of any babywearing partner, if you're sharing the carrier). The measurements given in the tutorials vary widely. The pros for a larger panel are that it can fit a larger baby or toddler, and come up higher on the baby's back, which could help with napping support. However, you'll find that older toddlers nap less in the carrier than babies, so if I were going to recommend anything, I'd recommend going a little bit on the smaller side rather than the other way around.
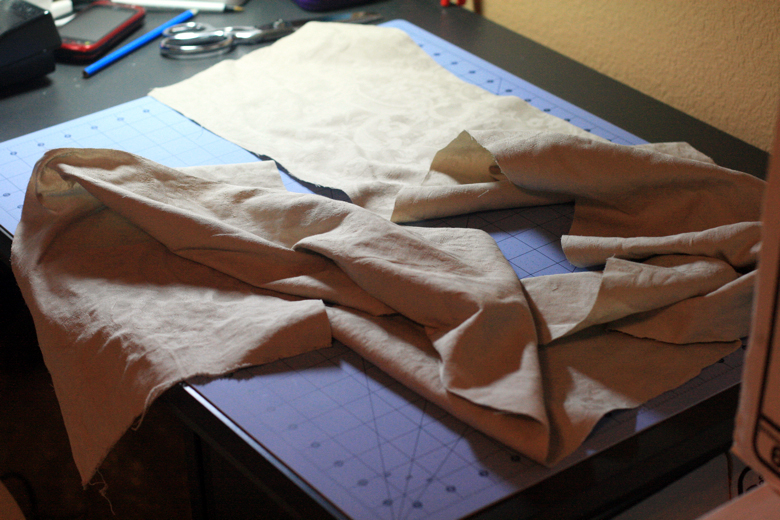
I made my winter/toddler khaki version 17" x 23" finished, so I cut out approximately 18" x 24" for the panel before hemming. For the summer/newborn black version, I cut out 16" x 19" to yield a mei tai about 15" x 18", and that's the size I'd recommend if you don't want to fiddle with numbers yourself.
- As for the shape of the panel, the range is perfect rectangle (i-panel), to gentle curves (g&g), to a more particular pattern (scandi) that has two outlying handles for the straps to attach to. For my khaki one, I used the scandi patterning, adjusted for my measurements. For the black mei tai, I used the g&g curve method.
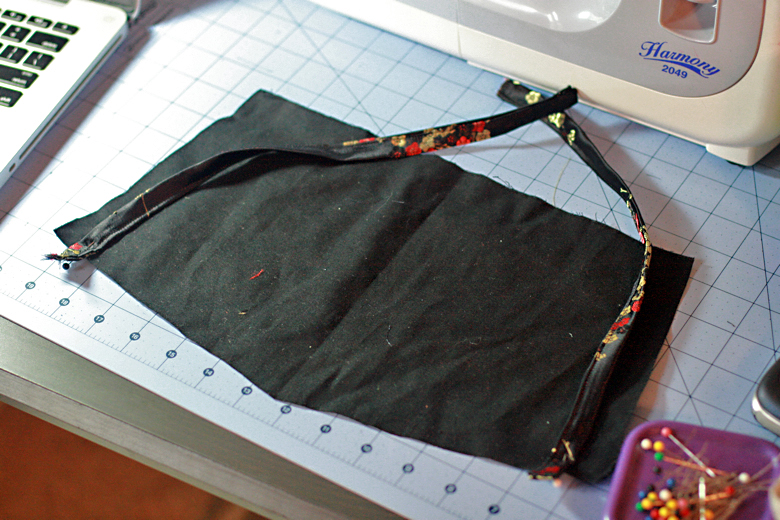
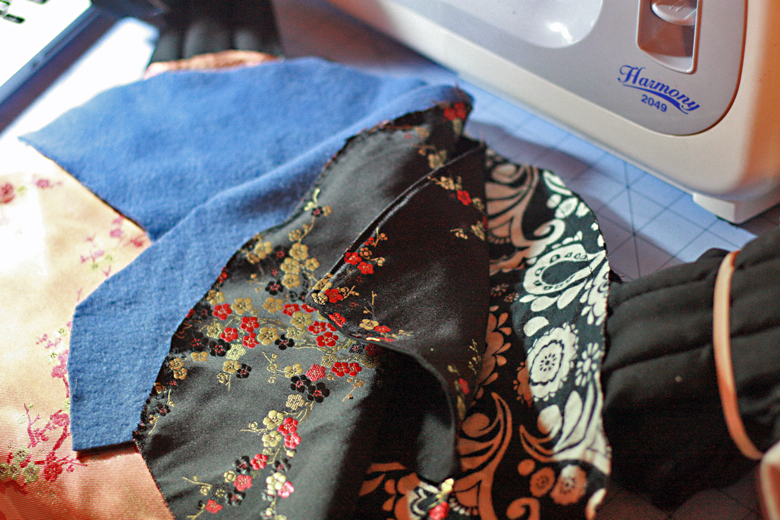
For that, cut out a plain 16" x 19" rectangle (or your measurements) of each fabric: bottomweight canvas, decorative fabric, and snuggly lining. Then lay them on top of each other, fold them in half lengthwise, and cut one half of the gentle curve at the top through all layers, to make sure it's symmetrical. (The curve starts at the fold and arcs down toward the edges. If you have no idea what I'm saying, grumbles & grunts has a helpful visual in step 4 under "the body steps.") This is where a rotary cutter and matcome in handy. You can then unfold your panel pieces and clean up the curve if necessary.
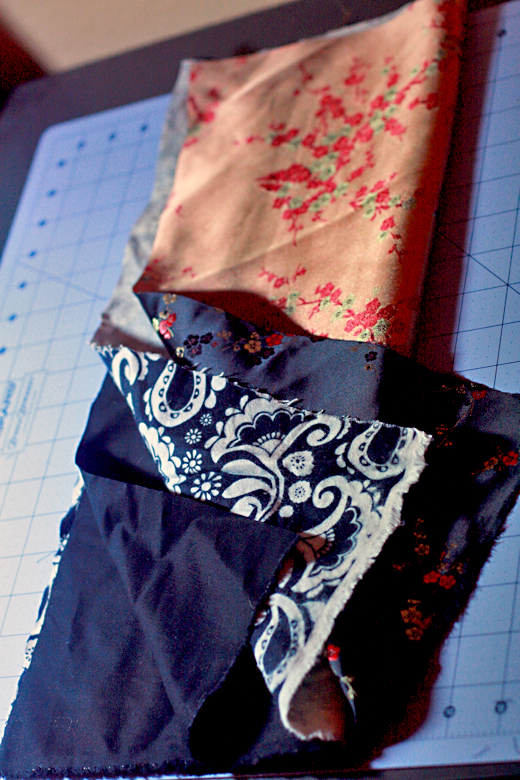
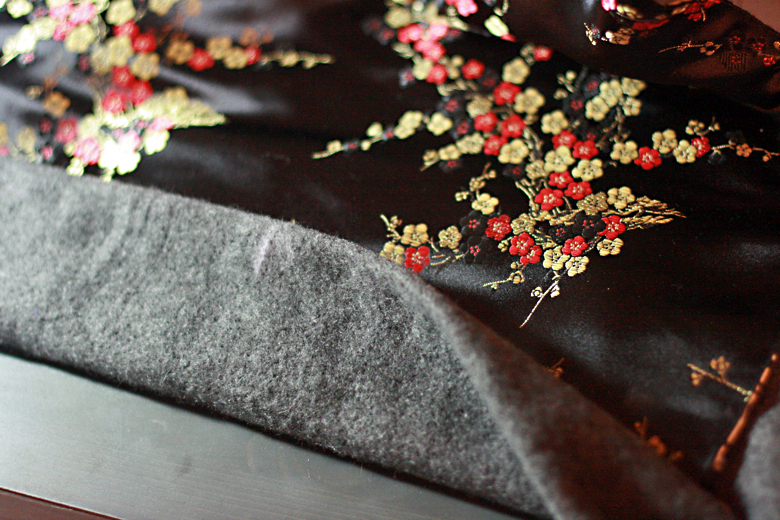
The basic layers for the panel, cut out as a rectangular shape: bottomweight (black canvas), lining (black & white flannel), decorative (satin brocade).
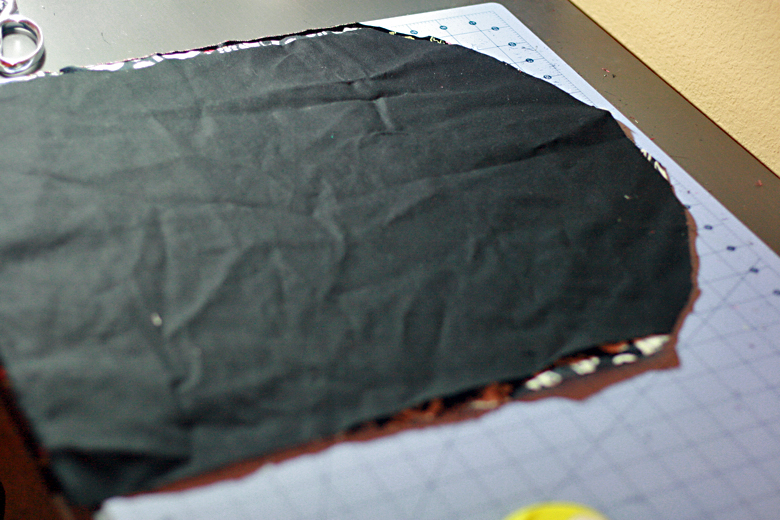
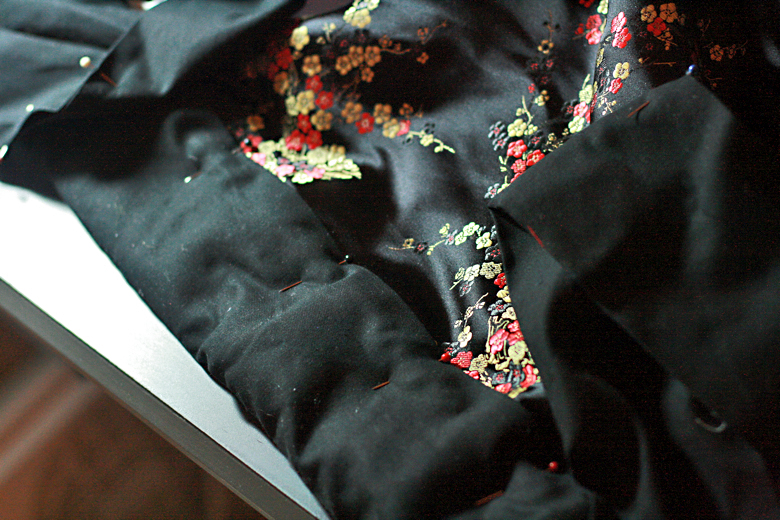
Panel laid out with gentle curve cut along the top.
- For the winter version, I also included a middle, single layer of padding — again, leftover fleece. This made it so extra snuggly and soft I can't even describe the plushness. For a summer/newborn version, I chose the g&g method of padding only the very top so it's comfy for the little one but things don't get too hot and bulky. To cut this out, simply trace the same curve and then choose how long you want your padding to be.
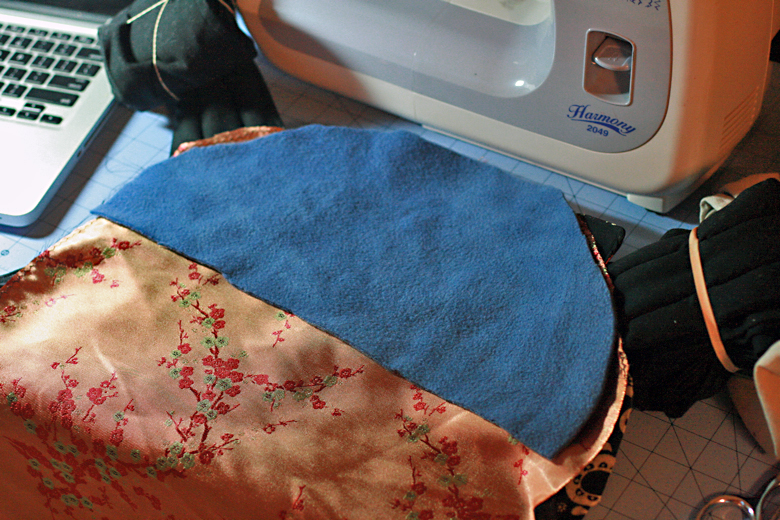
The blue fleece is my heading padding for the black mei tai. You can see it has the same gentle curve at top but is much shorter than the rest of the panel.
- Pin straps on at each top corner of the heavy fabric at an approximately 45-degree angle. Make sure you fold over the body to match up the straps and ensure they mirror each other in terms of being at the same angle. The part of the shoulder strap you're sewing to the heavy layer is the unpadded straight end. If your heavy fabric has a right and wrong side, make sure you're sewing the strap on the wrong side.
- Roll up straps and rubberband them to keep them out of your way while you're sewing. (You can use hair bands if you can't find office supplies.)
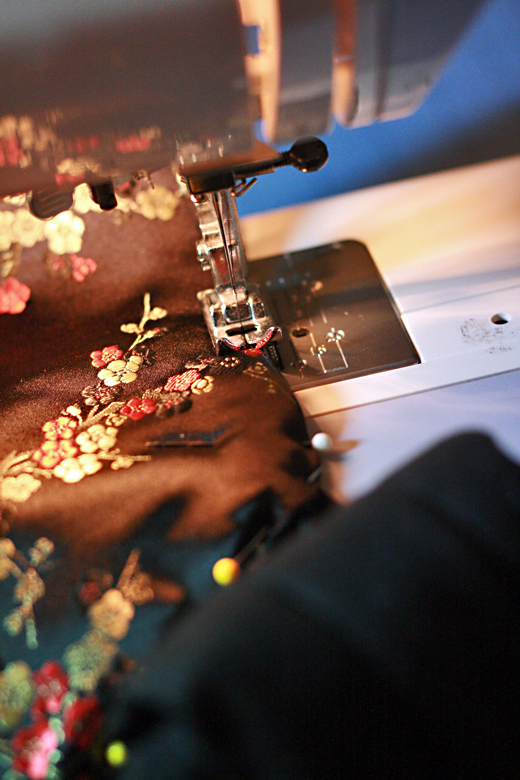
- Stitch an X-box to attach your straps to the heavy body. Be intentional about this step. These straps hold your baby up, so you want them super-duper secure.
This is what an X-box stitch looks like. You can sew most of the lines without cutting the thread if you just stop at the corners, lift up your presser foot while keeping the needle in the fabric, and then pivot to go the next direction. You can use reverse to go some of the directions as well. Some lines I'd go over twice to avoid having to cut my thread. I figure that just makes it even stronger.
- Lay your heavy fabric with the X-boxes facing UP and match up the lining fabric (flannel or minky or whatever you used), also facing UP on top. Pin and machine baste the sides and top, skipping over the straps. DO NOT SEW across the straps at this point. You also don't have to sew the bottom. It will be closed when the waist strap goes on later.
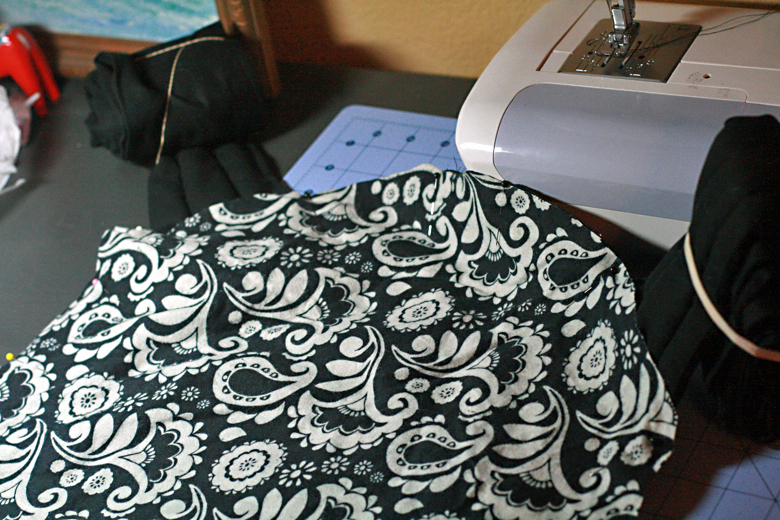
This is my black-and-white flannel lining fabric on top of the straps with the X-boxes facing up. Baste the lining on, skipping over the two places where the straps meet.
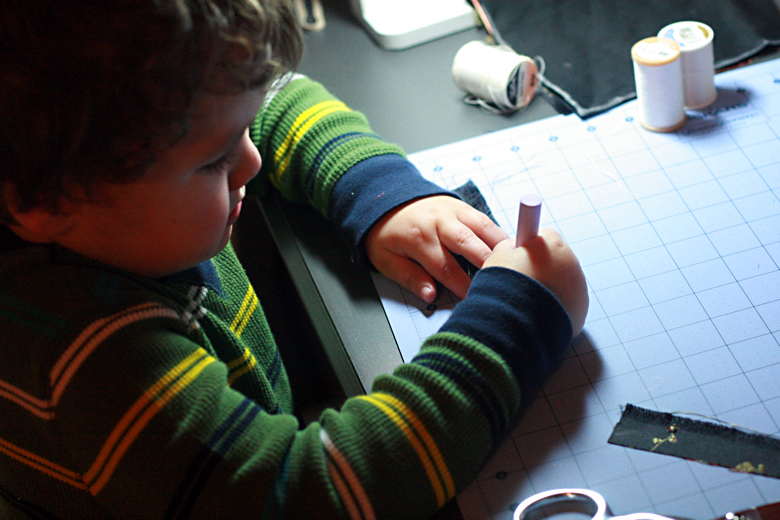
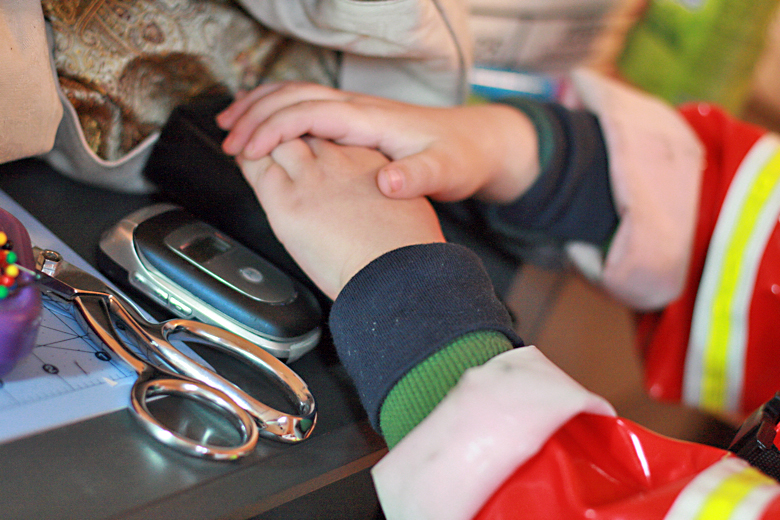
- (Optional) Ask a boy to help you sew.

HOOD
- If you want a sleeping hood, cut it out according to Scanditute's pattern or thereabouts. You want one layer of the bottomweight material and one of your decorative fabric. I have to say, Mikko never let me use a sleeping hood on him, but I've loved having the hood with Alrik, to support his head as he naps and to shield his eyes a bit from light and distractions. My suggestion is to use the hood as more of a head support than anything, and to be cautious about blocking airways, particularly in newborns.
Scanditute's measurements, with the fabric FOLDED, are 5.75" at the top, 6.5" on the outside, 7.75" on the inside, and 7" at the bottom. See her site for a picture, under Step Four. For my khaki/toddler version, I went with a smaller hood (5" at the top, 7.5" on the outside, 7.5" on the inside, and 5.5" at the bottom) and more of a straight rectangle, but I've enjoyed the Scanditute hood version in my black mei tai.

Hood shape marked with chalk on folded bottomweight and decorative fabrics.
- Make hood straps (scandi) out of two strips of fabric of your choice. For the khaki version, I used my bottomweight fabric since I was going with interchangeable decorative panels. For my black version, I used my decorative fabric, which is what I'd recommend as the norm. You could also use a separate coordinating fabric. The strips are 2" x 14" — "fold the long ends to the center to meet, press, fold the raw ends of one edge under, press, then fold in half, press, pin and topstitch to close" (scandi). I couldn't imagine rewriting that any clearer.
Iron your hood straps in toward the center and then in half, folding raw edges on one end in as well.
Pin them in place, and then top stitch closed.
- While you're at it, make the hood loops as well (scandi): With the same fabric, cut 2" x 3" rectangles and do the same folding, ironing, pinning, and topstitching closed — only, fold both raw edges under since both ends will show.
Loops for the hood straps
- Pin the hood straps to the bottom edges of the right side of the back of the hood (the bottomweight fabric). Leave a little of the strap ends sticking out.
- Put the the decorative hood fabric face down on top and pin together, tucking in the length of the straps.
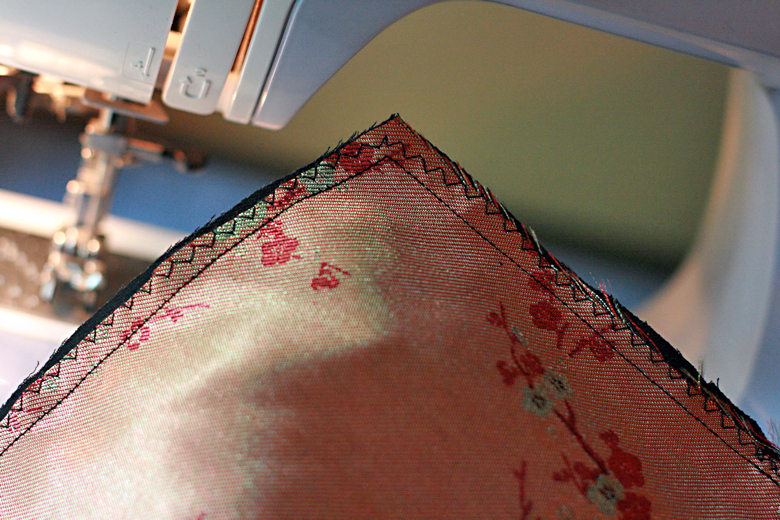
- Sew the hood layers together with a quarter-inch seam allowance, catching the straps where they're pinned on as you sew. Leave a small hole for turning on the edge opposite where the straps attach. That hole will ultimately be hidden when the hood is sewn to the panel. The opening is on the top of the picture below.
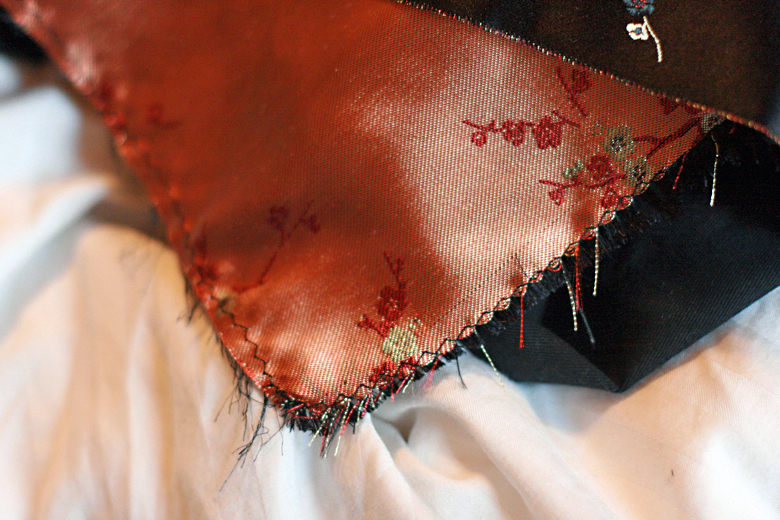
- (Optional) My decorative fabric was unbelievably unravely. To prevent any fraying disasters, I zigzag stitched around the edges before turning.
- Turn and press the hood. For added durability and looks, topstitch around the edges.

The finished hood.
- (Optional) Clean up sewing table from asking a boy to help you sew.

ASSEMBLY
- (Optional) Again, if your decorative fabric is threatening to fray into pieces as mine was, zigzag stitch around the edges of your panel piece. I wanted to make sure it would be durable enough to go into the washer occasionally.
- Lay your mei tai bottomweight panel with the lining fabric (basted to it) facing up.
- Put the hood on top of that, decorative side facing down. The hood straps should be on the bottom edge, the straps hanging down onto the panel and tucked in toward the center so they don't get sewn.
- Put the decorative fabric on top of that, facing down.
- Put any padding / batting on top of that. Whew!
So, one more time, the layers: bottomweight + lining panel with lining facing up, hood with decorative side down and straps on bottom edge, decorative panel facing down, padding.
- Pin it all together. Sew the top and sides closed with a half-inch seam allowance, again SKIPPING OVER the straps. Also make sure you don't accidentally sew the hood straps. You don't have to sew the bottom of the panel.
Where the straps meet, don't sew. Otherwise, sew along the top (between the straps), and down each side. You don't have to sew the bottom closed yet.
- (Optional) If you've got a lot of bulk outside the seams, you can trim it back.
- Turn, pulling the straps through the holes you left. (You did leave holes, right?) Cross your fingers that you've stacked all the layers correctly. If so, press. If not, it's seam-pickin' time! (Been there…)
- As you're pressing (wait — come back from the iron, come back!), turn in the raw edges where the strap holes are on all sides (as in, left and right and front and reverse), and pin them closed.
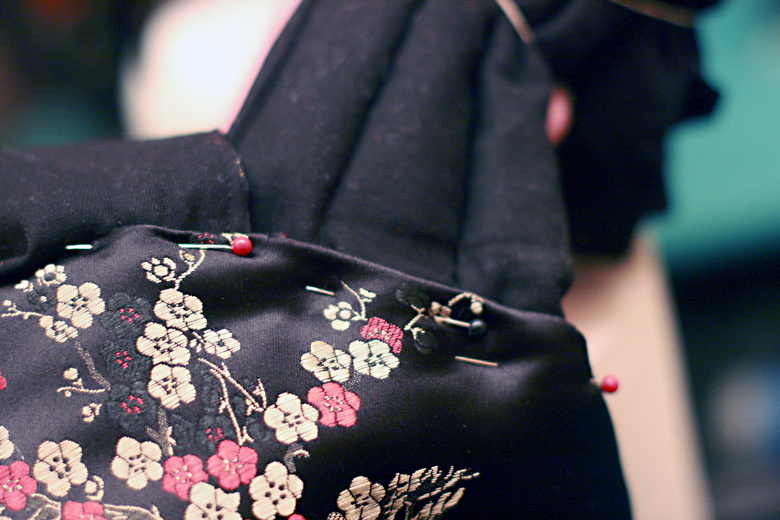
Once the layers are turned right sides out and the straps pulled through, tuck down the raw edges in front of and behind each strap and pin in place.
- Topstitch around the sides and tops close to the edge, this time stitching OVER the straps. Finally. You still don't have to bother with the bottom.
Topstitch the sides and top close to the edge.
- (Optional) Have a friendly firefighter help you press your sewing machine pedal.
WAIST STRAP
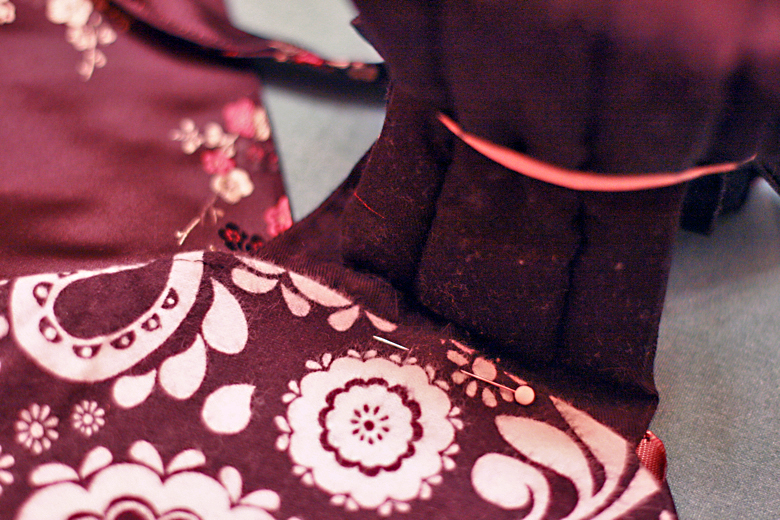
- Now we're ready to deal with our waist strap and its padding. Fold and mark the middle of your mei tai. Find the center of your waist padding and tuck the mei tai panel down into it, lining up the center marks. Now do the same with the waist strap. Pin everything in place (i-panel).
Centers marked and lined up.
Pinned through all layers.
- Sew all the waist strap edges shut. Again, if you want it to look more balanced, you can sew along the folded edge as well (optional). I thought it was fine as it was.
- Stitch two evenly spaced lines through the padding.
FINISHING
- Pin and then sew the hood loops to the shoulder straps (scandi), 7 inches out from where each shoulder strap meets the panel.
You're ready to wear that baby, baby!
Tie one on!
 If you're new to the mei tai, here's how to wear a baby on your front, which is the most basic carry. Grab a helper, a baby, and your newly completed creation:
- While someone else is holding the baby, let the panel drape in front like an apron and tie the waist strap tightly (as tightly as you can stand — this will support the babe) around your waist, knotting it at the back. Don't be afraid to tie a tight knot — you can get the bottomweight fabric undone when you need to.
- Now hold your baby upright against your chest. For an older baby or toddler, spread the legs around your waist, as you naturally would if you were just carrying your little one. An older baby's legs will stick outside the panel. For a newborn, you want to modify this by letting the legs scrunch up naturally like a frog against your chest. Your baby will let you know what's comfortable. The legs will spread out a bit and may stick outside the panel or may not, depending on how small the newborn and how big the panel. What you want to avoid is having weight rest on the newborn's legs and ankles (sometimes newborns will push up against the panel), so try scrunching the panel to get it to fit just over the bum, even if only the tips of the feet stick out the sides.
- Bring the panel up over the baby's back.
- Your helper will take the shoulder straps and smooth them over your shoulders, cross them over your back, and hand them back around to the front.
- Holding your baby snugly against your chest, pull tightly on the shoulder straps and tie them in a knot either behind your baby's back (which provides extra support for a younger baby) or under your baby's bum (which provides extra weight support for an older baby). You can tie the shoulder straps over or under the baby's legs; we usually do over the legs and under the bum.
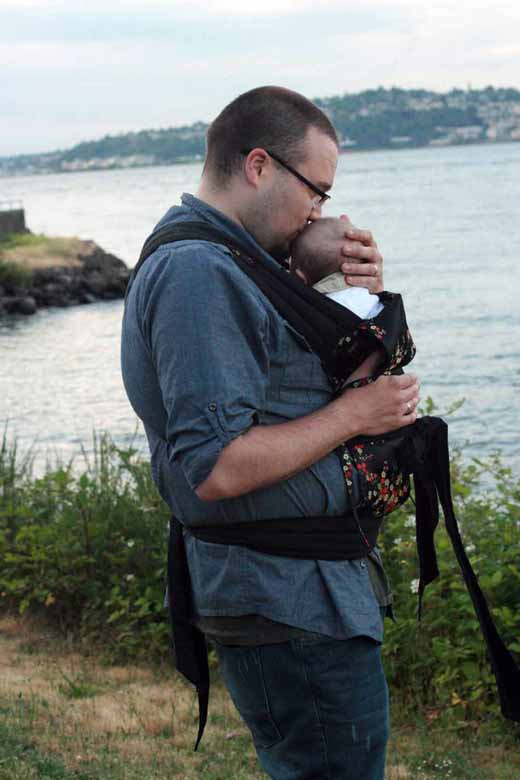
Safety note: YOU are responsible for your baby's safety in a carrier. Please check your carrier before every use for any fraying or other damage, and discontinue use if repairs are needed. When learning how to tie a baby on, practice over a soft surface and, if possible, with a spotter or mirror. Babies need to have appropriate airflow in a carrier, so keep their faces clear and make sure they're close enough to kiss.
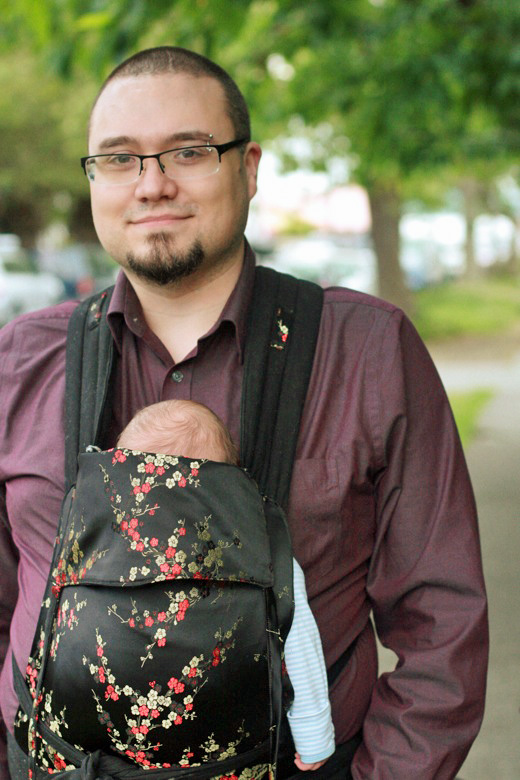
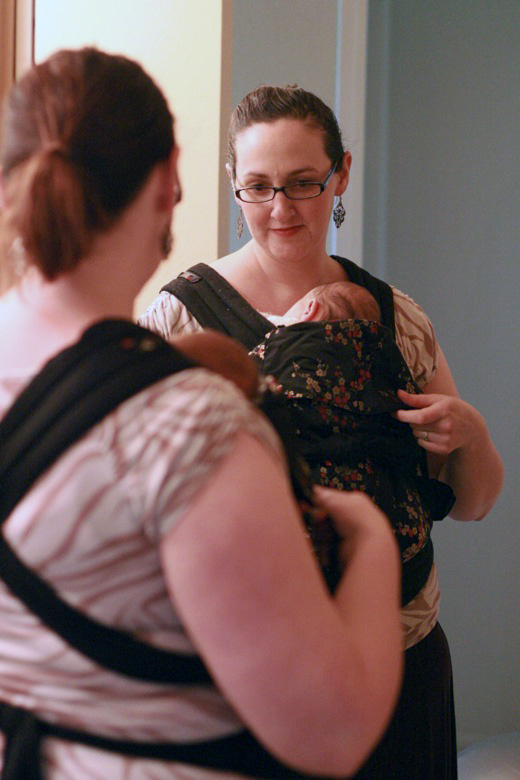
This mei tai is perfect for dads and moms and any other caregivers.
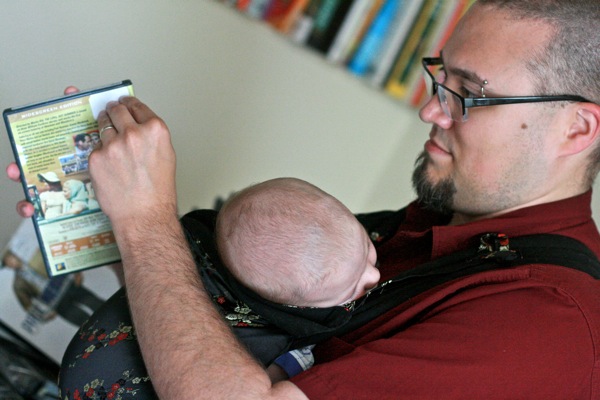
A mei tai lets you get work done …
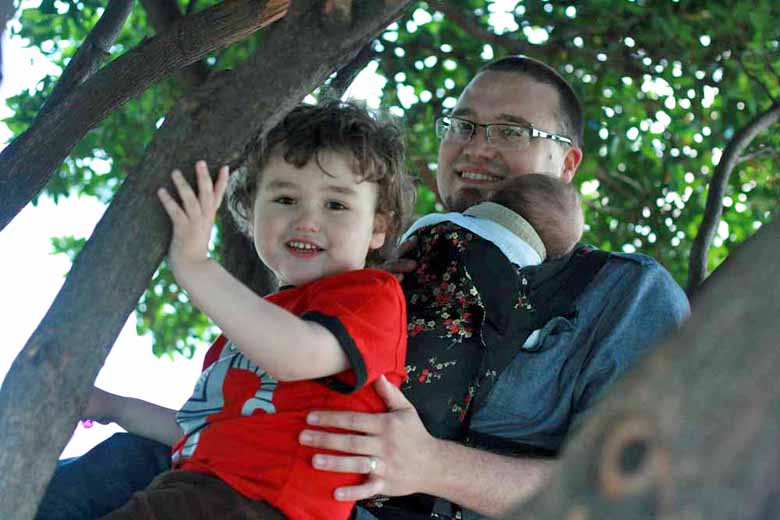
… and climb trees.
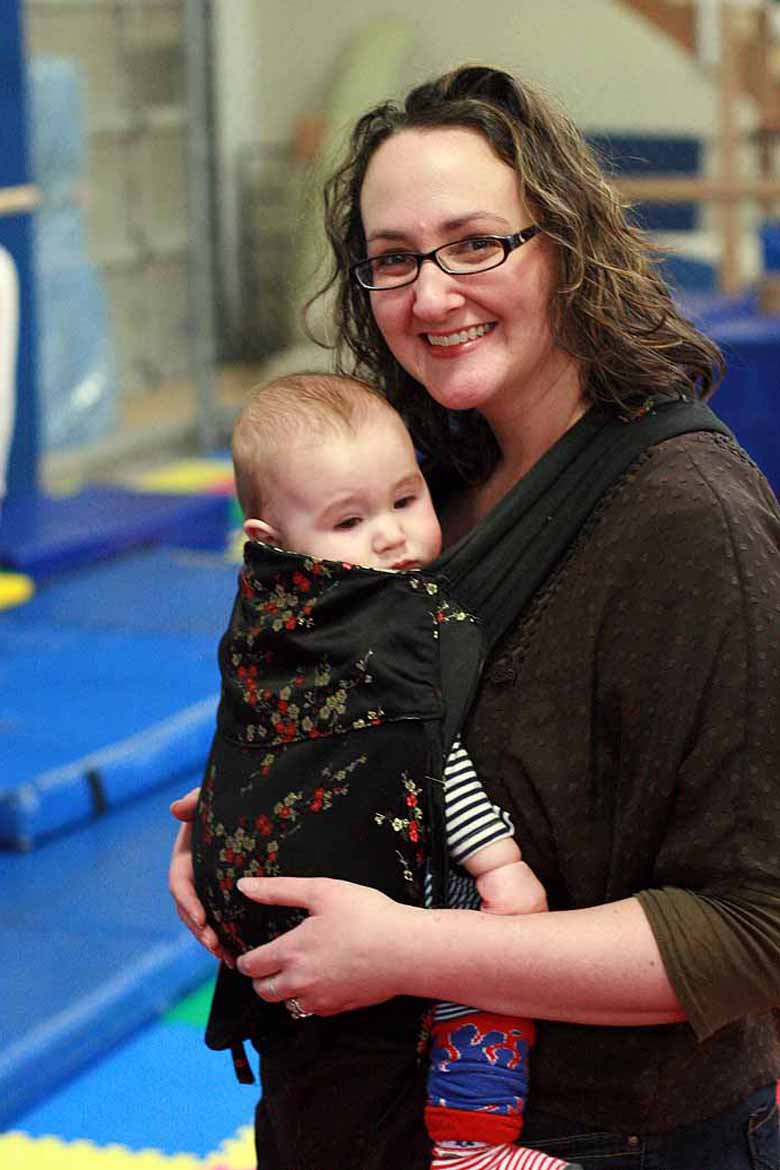
It fits older babies just fine …

… and toddlers, too (as modeled by the lovely Amy of Anktangle and her little one).
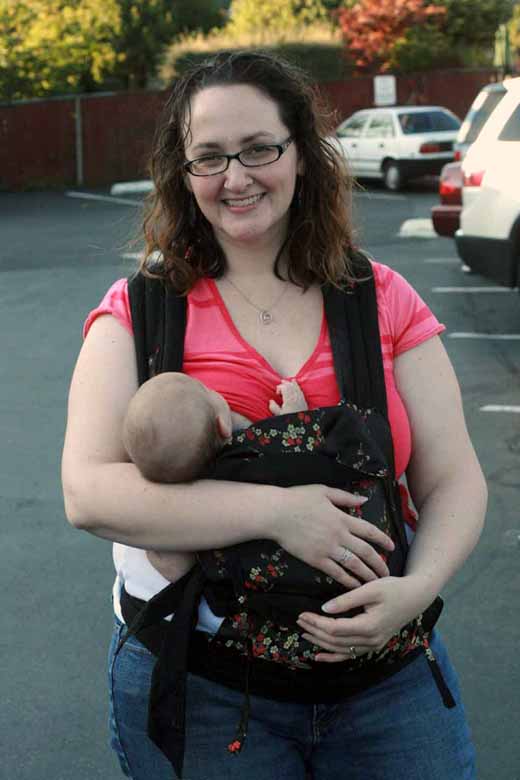
To breastfeed on the go, loosen the shoulder straps and bump the baby down to breast height. Once the baby's latched on, tie the shoulder straps behind the back or under the bum. After the feeding, adjust the baby higher and tighten the straps back up. Note: It's usually easier to pull down the top of your shirt, if possible, but if you can get your shirt free from under the waist strap, you can pull it up if you like. (See a full tutorial on breastfeeding in a mei tai here.)

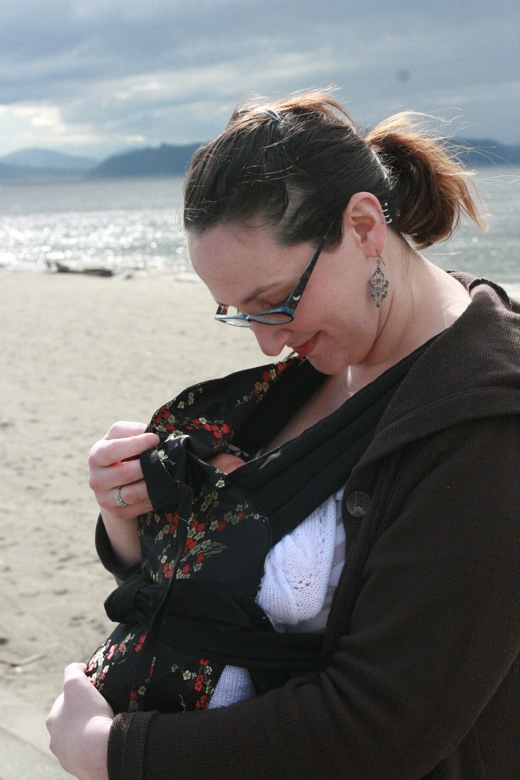
The hood keeps the head supported as the baby sleeps (and you eat a hot meal!).
Pin this tutorial!
Pin It
1 A mei tai (pronounced may tie) is a form of Asian-style baby carrier, also abbreviated ABC, or soft structured carrier (SSC). Mei tais are sometimes misspelled mai tai, but that's something you'll have your hands free to drink while wearing your mei tai!↩


 I'm Lauren Wayne, writer and natural parent. I embrace attached parenting with an emphasis toward green living.


22 comments:
MUAH!
how awesome! Do you care if I pin it and then post it in my weekly linky post next Monday?
@the grumbles: Thank you SO MUCH for your tutorial! I'm glad you don't mind my posting about it. I went back and forth whether I should just link to the tutorials I used, but that didn't seem to answer people's questions about how exactly I'd combined them. At any rate, I've been giving out your link left and right! :) And I think your carrier is gorgeous.
@Crunchy Con Mommy: Please do! :)
I've just discovered your amazing blog and think it's brilliant!
Thanks a lot for sharing this detailed information!
God Bless!
Thanks a lot for sharing this detailed information!
God Bless!
Nancy from Best Infant Car Seat
This is just in time! I need to start on mine this weekend. Thanks for doing all the link hunting for me.
This is great, I love how simple you have made it sound. Thankfully I recently won a mei tei so I wont need to make one, as my sewing is shocking ;)
This just blows me away! What wonderful detail and quality. It must feel pretty good to have made that! Wow. :)
Thanks for sharing!
Great tutorial!! I actually have a Mei Tai that I have yet to use (we have 3 other carriers which we use a lot!) and my silly reason is that I wasn't sure how to use it with my little one (she just turned 3 months) as it felt big... but with your explanation of how to wear it, including tying the shoulder straps around baby's back and letting their legs scrunch up like a frog, I think I can figure this out! ;) I will give it a try today.
Hi! Thank you for this awesome tutorial! I have made two so far. I just posted about the second one I made and linked to your page here: http://www.1plus1equals9.com/diy-mei-tai-baby-carrier/
Thank your for the great tutorial! I made this this morning. Now if I can get the kid to stay in it! Haha :)
How old was your newborn in the picture? I want to make this for my little one who will be here soon!
How many months did your baby fit in the satin mei tai?
Your tutorial is great! I am going to get started right away :)
@Elana Dower: In the newborn pictures, he was just a couple weeks old. I really like this style for the newborn days right on up. I'm still using this same mei tai now for the baby in the pictures, at age 4, and for his little brother, currently 8 months. They both weigh about 32 pounds, ha ha! My newest baby's huge. I should post some new pictures, but suffice it to say, the carrier's still holding up great and staying very supportive at even toddler weights!
@Lauren Wayne
That's wonderful. Congratulations on the new baby!
I am making my second Mei Tai using your pattern :)
I am able to wrap my daughters baby doll in it with my pregnant belly and it's very comfortable. My husband has tried it too and likes it.
Thanks Again :)
Awesome!! Too bad I don't know how to use a sewing machine :(
Great tutorial! I am expecting my first child soon and mei tai wraps were recommended. I was able to make one following your instructions injust three hours. Now I can't wait to have a baby to wrap up in it!
Im late to the game! But the ultimate (although not cheap... about $25/yd) bottomweight fabric would be herringbone weave coutil! They use it in tight lacing corsets because it has the strongest hold! 100% cotton (can we say airflow!) and if you want to spend the extra bit they come in patterns, if you can find them. would eliminate the need for a liner on the inside because its traditionally used as a liner in corsets. I make corsets and have extra coutil laying around, and am in need of a mei tai because my Moby wrap isnt cutting it anymore. Id also say sew your mei tai fabrics based on where you live.. Im in AZ so I need something summer friendly as well. Thank you for the tutorial I hope to carve out some time to make one soon!
@Fmaismylove Catbug: Thanks for the tips! Coutil sounds great.
Thank you so much for this tutorial!!! Your instructions were so clear, and I loved the bits of humour :) I just finished making my first Mei Tai, and might make one more for my first baby that is due this summer. I love that it seems to be the *perfect* combination of a carrier and a baby wrap, that I could make it myself in neutral, lightweight fabrics for summer that match me, and that there are no buckles! I added some pockets on the front, and plan to make a couple coloured snap in hoods at some point in the next few weeks (once we know the sex!). Can't thank you enough!!!
Woo hoo! I just finished my first mei tai! Your instructions were so clear and helpful. I followed your recommendations for the newborn size panel and it fits so nicely for my 7-month-old who is a bit on the long side. I used undyed cotton twill for this one but might make a fancier one if I find another fabric that inspires me. Thank you for posting this tutorial!
Post a Comment