
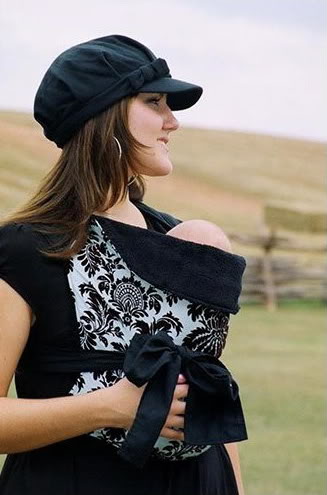
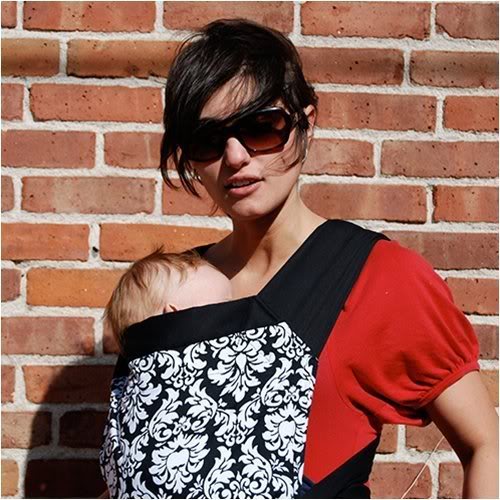
Today I'll highlight the mei tai baby carrier, also known as an ABC or Asian-style Baby Carrier.
MEI TAI:
Best timeframe: Newborn to toddler age -- if there's support for the back of the head, even very young babies can use the mei tai, and if it's sturdy enough, it can be used indefinitely, but it's ideal for ~4 months to 3 years or whenever your baby is too heavy for the fabric and straps
The typical mei tai carriers in use in the West might not be "authentic," which is why they're referred to as Asian-style, but they're similar to carriers used traditionally in countries like China. Variations include the podaegi, a Korean carrier with a more substantial blanket and with just two straps instead of four. Soft but more structured baby carriers with buckles, like the ERGO, are based off of the mei tai. (But I'm getting ahead of myself, because that's next in the series!)
Tie one on
The best part about the mei tai is it's sooo easy to put one on.
It's always complicated-sounding to describe something, but I'll give it a shot here, and remember that it's easier to do it than to say it!
Here's how to put a baby on your front. You'll probably want some assistance, at least at first, so I'll assume you have a helper.
1. While someone else is holding the baby, let the fabric blanket part drape in front like an apron and tie the waist strap tightly (as tightly as you can stand -- this will support the babe) around your waist, knotting it at the back. Don't be afraid to tie a tight knot -- you can get it undone when you need to.
2. Now hold your baby upright against your chest. For an older baby or toddler, spread the legs around your waist, as you naturally would if you were just carrying your little one. For a newborn, you'd want to modify this by either letting the legs scrunch up like a frog against your chest, or by turning your baby a little more sideways inside the blanket. A newborn's legs won't stick outside the blanket part, but an older child's will.
3. Bring the fabric up over the baby's back.
4. Your helper will take the shoulder straps and smooth them over your shoulders, cross them over your back, and hand them back around to the front.
5. Holding your baby snugly against your chest, pull tightly on the shoulder straps and tie them in a knot either behind your baby's back (which provides extra support for a younger baby) or under your baby's bum (which provides extra weight support for an older baby). You can tie it over or under the baby's legs; we usually did over the legs and under the bum, because of how heavy our baby was!
Clear yet? Maybe a video would help:
So that is the basic front carry.
Carry your baby every which way
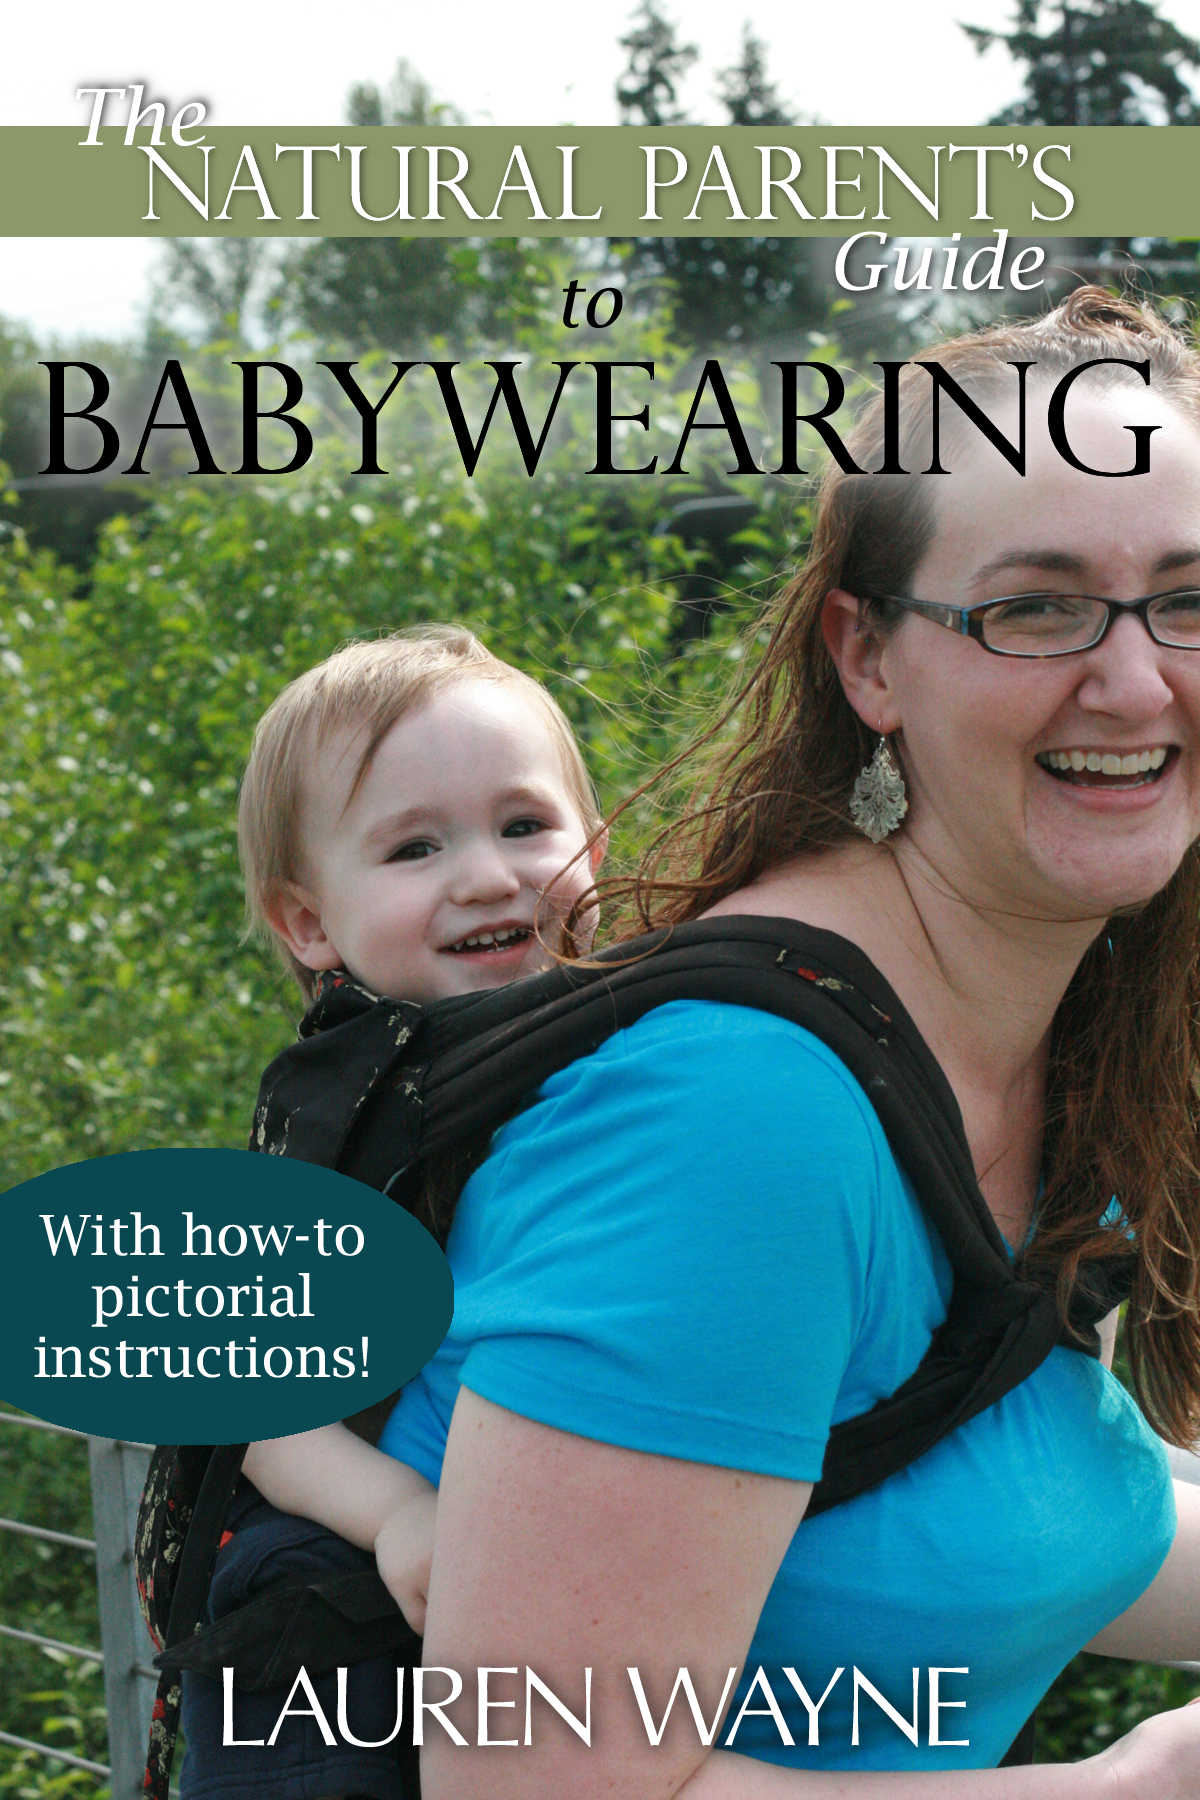
As your baby gets bigger and heavier, you'll want to try out a back carry, or maybe even a hip carry. You can find all these carries and more information besides on the website of a wonderful mom-designed mei tai, the Kozy Carrier. Take a gander at those pictorial instructions, because they also show you how to get your baby onto your back, how to carry a newborn, how to alter the length of the mei tai's body, and how to nurse in a mei tai.
Just like the wrap and the ring sling, an unpadded or lightly padded mei tai can also be used as a small blanket, nursing cover-up, burp cloth, or pillow. And it's easy to fold up to travel light in a diaper bag. Many of the commercial versions have padded or thicker straps, which might make it slightly less squishable. Still, the mei tai is a lot less fabric than a wrap so is easy to bring along anywhere.
Make your own
UPDATE: You can follow my sewing instructions for a fancier, super sturdy, beautiful mei tai here.
Our mei tai was homemade -- yes, by me. Before you get all impressed, the skills required were being able to use scissors. As long as you graduated elementary school, you're golden.
Here's a link to the super-doable, no-sew directions from The Mamatoto Project at WearYourBaby.com. All you need is the measurements in the pattern they give you and two yards of heavy fleece fabric.
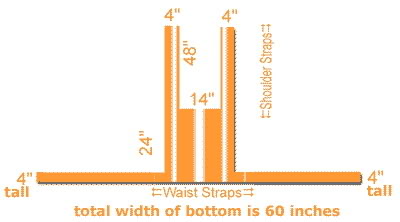 A warning about the Mamatoto pattern: It is not to scale. Not even close to scale. For instance, if you look at their drawing, you'll see that 24" and 48" look just about the same, whereas in real life one is considered twice as big as the other. (I told you I passed elementary school!) The waist straps are shorter than the shoulder straps in real life, but in the drawing an optical illusion makes them look longer. See, confusing, right? So you might think hard about the measurements and redraw the pattern more to scale on a piece of scrap paper to refer to. That helped me, because I am very dense when it comes to thinking in 3-D.
Furthermore, if you're as stupid as I am spatially, I recommend measuring while marking your fleece with chalk and/or pins, then measuring again, then fixing your marks, then measuring again, then fixing them again, then realizing you're doing it all upside down and starting
You can buy your heavy fleece at any fabric store. If you're really lucky, as I was the first time around, Jo-Ann's will be having a sale on some kick-butt embroidered fleece. You need only two yards, so you can live it up a little, price-wise, but sales are always excellent! If you can scrounge up only very boring monotone fleece, you can always liven things up a little after cutting by doing some embellishment of the blanket area yourself. You could sew on a contrasting back panel or pocket, or do your own embroidery or fabric painting. As with all carriers, though, I recommend remembering that you will be wearing this, so make sure it's something you'd want to be seen in.
One very important consideration for me and mine was that the fabric be neutral enough to suit both my husband and me.
The mei tai we used was made exactly to the Mamatoto specifications, but I figured out what I would do differently over many moons of wearing our guy around town in it. When a friend asked me to make one for her (and didn't believe me when I said it was super easy and she could do it herself but told me I should start my own business selling them on eBay!), I modified the measurements somewhat. If this is your first time considering a mei tai, just ignore me here (plug your ears and go la-la-la), but if you're hip to the mei tai scene and just dying to use your own fleece, I'll explain what I altered. I made all the straps wider, more like 6 inches instead of 4. By the time our little man reached 30 pounds, 4-inch straps were starting to cut into our skin, which is why some padding might have been nice. I also made the body longer, since our heavy baby is also a tall baby, with a long torso. Toward the end of our mei tai days, I felt like the body didn't come up high enough on his back for my comfort (physical and mental). Because the body was longer, though, for younger babies it now would need to be rolled up a bit, as you can see at the bottom of the page in the Kozy instructions.
Other crafty options (that require sewing ability) are listed on Jan Andrea's page under "Asian-Style Carriers." If you can sew, the sky's the limit in terms of your fabrics and construction. You could make a two-tone reversible mei tai or add a fun extra like a strap pouch.
Buy online
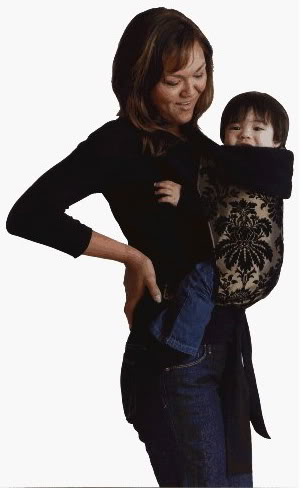
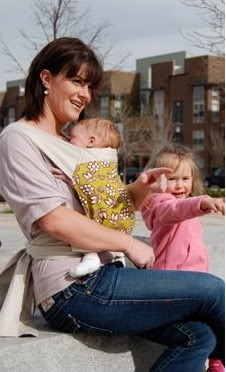
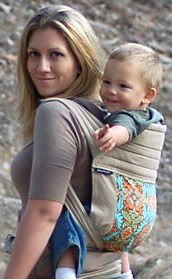
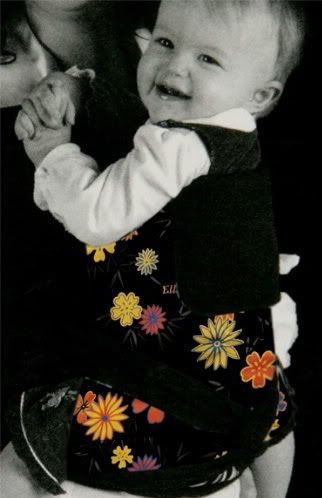
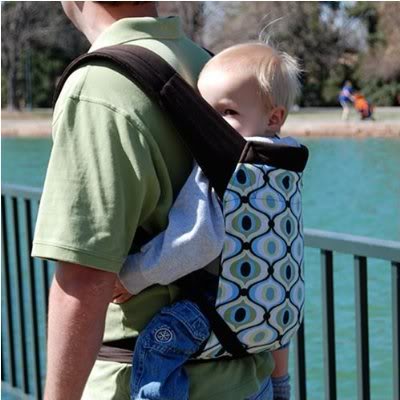
The images in this post link to some of the commercial versions available on Amazon
We gradually retired our homemade mei tai in favor of a more structured and padded soft carrier (spoiler alert...it's an ERGO), which I will explore in the next (and final -- I think!) post in the series!
Posts in this series, in order:


 I'm Lauren Wayne, writer and natural parent. I embrace attached parenting with an emphasis toward green living.


10 comments:
The Mei Tai is my fav! And guess what.....Kelley at Kozy Carrier is a friend of mine from high school! She is the middle of 5 girls and the closest in age to me. Her oldest sister married my brother's best friend and the 2nd oldest is my SIL's best friend! What a small world, huh? :) There are pictures of lots of familiar faces (to me) on her web site! She has lots of great pictures and instructions too!
That is so fun! I've always thought Kelley's family looked so cute. It really is a small world.
And yea for mei tai carriers! I always try to convince my new mama friends to give one a try, because they're so comfy and easy and versatile.
I just made my very own wrap using the diagram you have here. (BTW- mamatoto's web address has changed.) SO easy to make!!! My little guy is asleep right now, but I can't wait to try it out when he wakes up tomorrow! Thanks.
Jamie: Fun! It seriously is such a great wrap, and easy to whip up for baby gifts. Hope your little guy likes it.
Thanks for the heads-up on the mamatoto address change to wearyourbaby.com — it looks like they haven't yet updated all their image links on the new page, but hope that will come soon. Good thing I stole the image while I had the chance. ;) By the way, if anyone wants to see it better, you can open the diagram in a new window to make it a little bigger.
If you're reading along and intrigued, you can now win your own fleece mei tai on Hobo Mama — enter by Nov. 20, 2009.
I know it's been a while since you posted your directions on a make-your-own fleece mei tei, but my little baby's pretty new, so it only just became a pressing question for me :) I was just wondering about the width of the body of the mei tei. Your pattern calls for a 24 inch width, but I notice that a lot of commercial carriers are more narrow. I'm a pretty petite build--do you still think the 24 inches is a good way to go? I don't want to cut my fleece and then realize it's too wide / narrow for comfort...your advice is much appreciated!
Intisar: You're right that the WearYourBaby/mamatoto pattern is wider than most, so you can definitely cut it down as you wish. Remember that it's easier to cut than to add back on :) so I would maybe cut it at 24, then try it on and mark where you'd ideally like it to fall. I found I liked the extra width in the body for keeping the baby's body covered on the sides (especially as the baby grew bigger), but that somewhat depends on how warm it is where you live and what season you'll most be wearing it in. Here's my revised pattern and construction tips, by the way, and here's the mei tai I made in action.
Thanks, Lauren! I went ahead and tried it out at 24, and really liked the fit. Since winter is coming, the extra width is great. Thanks for the advice, and the great pattern!
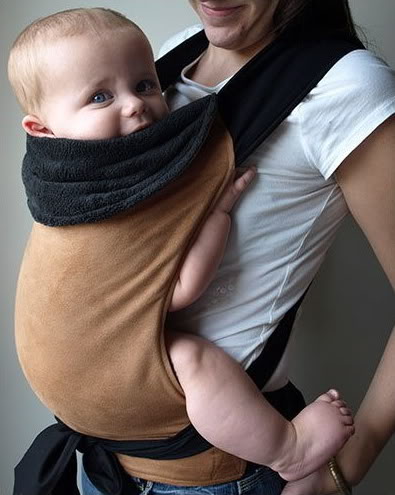
Okay, I know this post is VERY VERY old, but I just happened upon your blog while looking up Mei Tais. The brown (suede/fleece?) looking mei tai in the top picture of this post...is that home-sewn/DIY? Or did you buy it from somewhere? It looks so cozy and warm! I'd love one, if you bought it from somehwere! Thanks in advance for your time!
@Miyabi_Na: I just pulled the image off an Amazon listing, but the link's no longer valid (the perils of internet publishing). Sorry that I don't remember what brand it is, but maybe someone else will.
Post a Comment