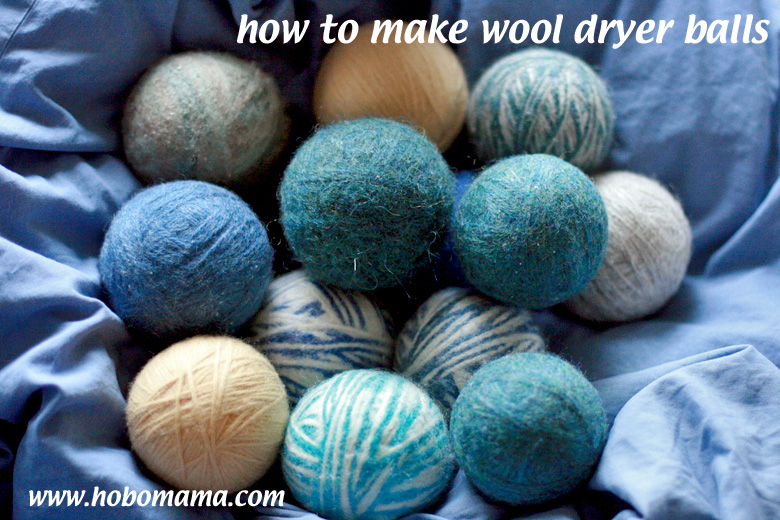
Wool dryer balls are some amazing balls of wool. For your dryer. Hence the name.
They take the place of dryer sheets or fabric softeners, and they do a really good job softening up clothes and cloth diapers safely and gently. If you play your cards right (i.e., scent your dryer balls with essential oils), they can even make your laundry smell pretty — and not chemical-y.
I've heard tell they can also cut drying time and reduce static. I haven't officially tested the drying time deal, and synthetics or overdried clothes will still spark a bit — but any static dissipates quickly, which is good enough for me. Some people complain that having balls romp around in your dryer is rather loud, but I seriously never notice any extra ruckus. Plus, these balls can be reused indefinitely, making them a green and frugal choice for any laundry-doer.
The great news? You can make wool dryer balls, tout de suite. And you can make them look and smell lovely, which means they make an awesome, easy, super-fast holiday gift for most any grown-up on your list.
I read a selection of tutorials before making my dryer balls, and my go-to tute is Anktangle's, but then I honed my craft and put my own little decorative spin on the idea, so I'll present my how-to here as well.
Materials
- Wool yarn (100% wool; see caption below) — I recommend a cheaper plain yarn for the cores, and then decorative colors and textures for the outside
- Essential oils (optional)
- Socks
- Washer & dryer (you can felt in a sink, but I don't recommend it)
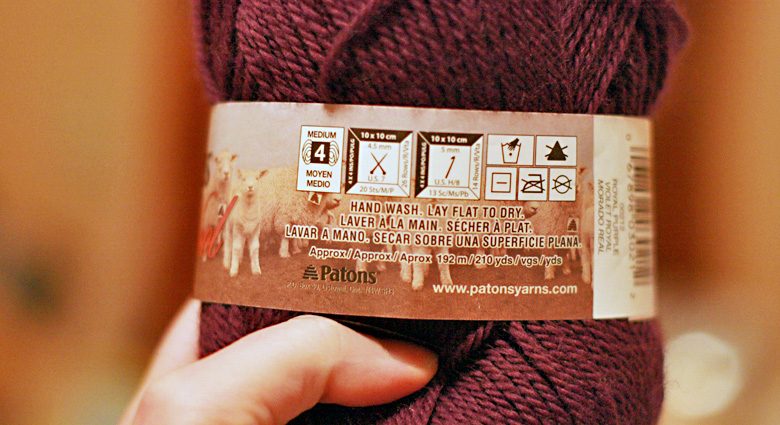 |
| Look for wool that says 100% wool and tells you to hand wash. If the label says it's a special wool blend ("wool-ease") that can be machine washed, your balls won't felt together. Sounds convenient for other projects, but not dryer balls. Forget that noise. |
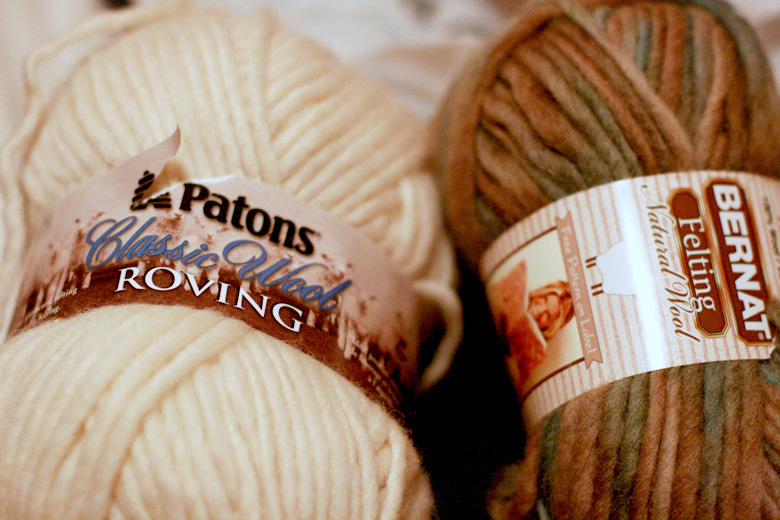 |
| You can also use wool roving or felting wool. It comes either in clumps or as a yarn; I used the yarn kind. Roving gives a softer look to the finished dryer balls and can be a nice choice for combining colors or mixing roving with regular yarn for textural interest. |
Step by step
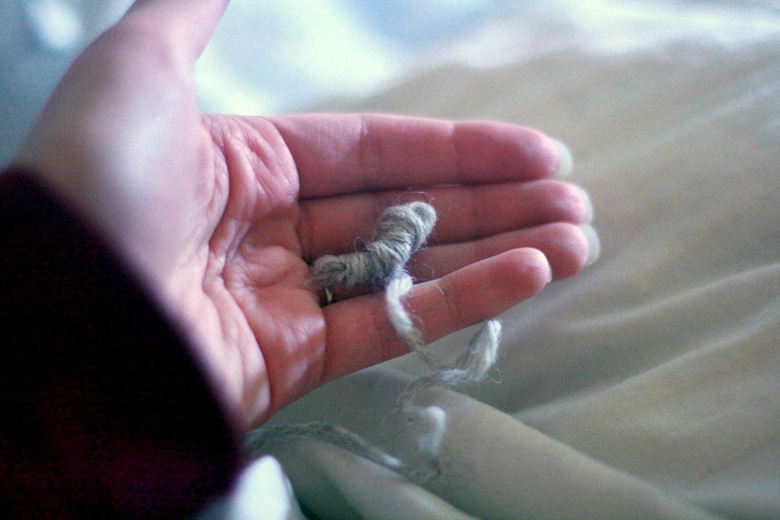
- Wind a small core, about half the size of your finished balls (which will be approximately tennis-ball sized).
As I mentioned above, I recommend choosing a cheaper wool yarn for the cores. It doesn't matter what color it is, since the second half will cover it completely. I bought a jumbo skein of plain gray Fishermen's Wool and used it for all my cores.
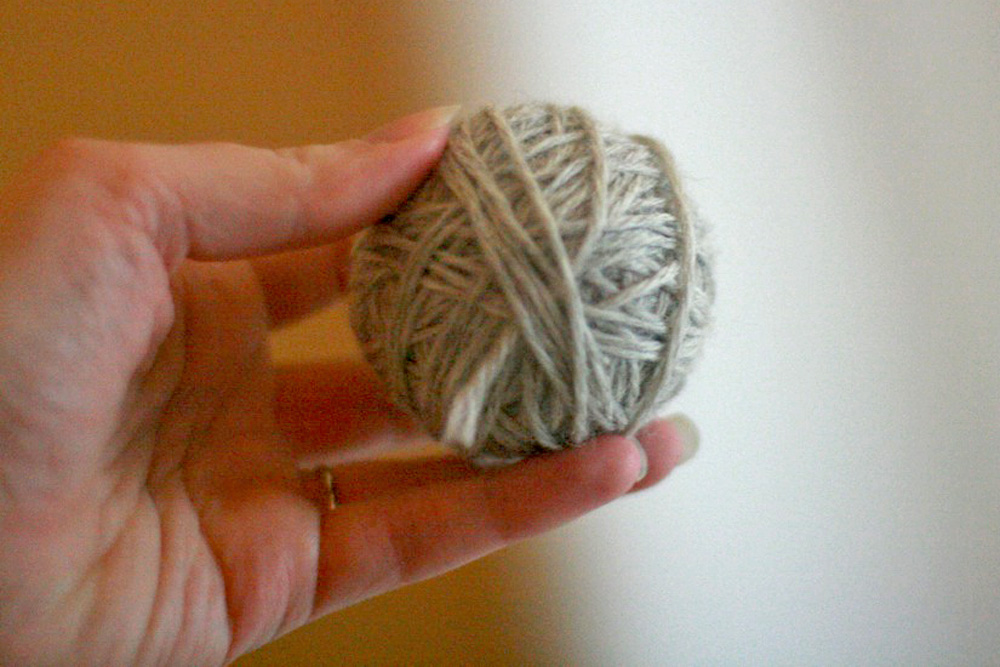 |
| When you get the core ball to the size you want, wrap over the yarn end several times to secure. |
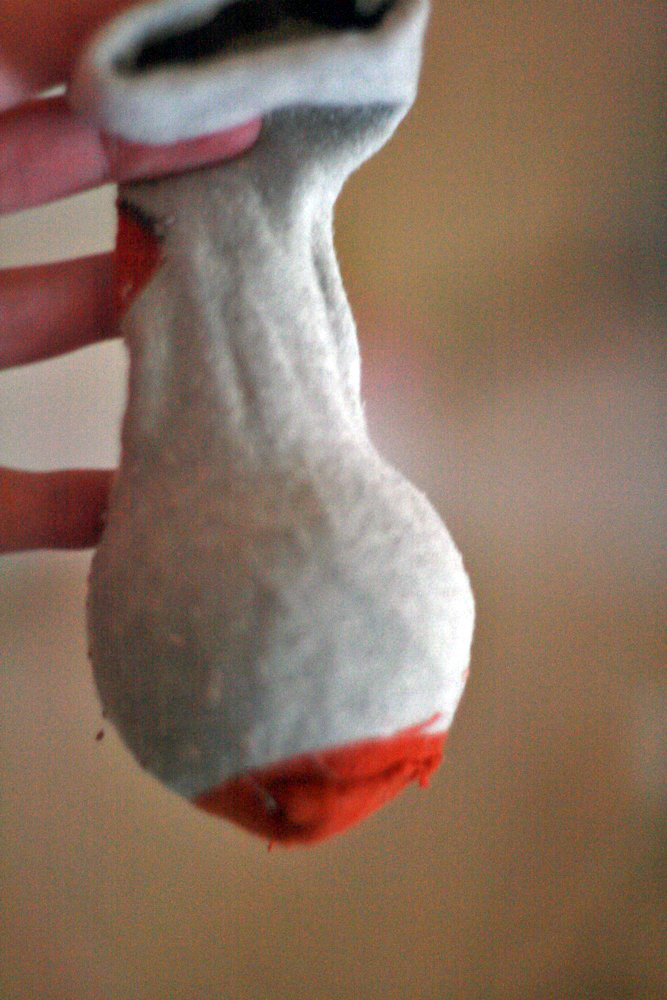
- Pop your little wool ball into a baby or toddler sock. I found that a little sock held the ball nice and snug, particularly if there's enough sock length to tie a knot above the ball. If that's not an option, fasten it closed tight to the ball using some cotton string.
- Felt the cores.
It's easiest to felt in the washing machine and dryer, so that's how I'll explain it. Basically, you want to do everything you're not supposed to do to wool: Wash the balls in hot water, with regular detergent and plenty of agitation, and then dry them on high.
(To make sure your balls are really securely felted, you might want to put them through a couple wash and dry cycles, particularly when making the outer layer. But in the interests of saving resources, you can feel free to send them through with other laundry you're already washing — maybe one hot cycle alone or with diapers, and one warm with regular clothing.)
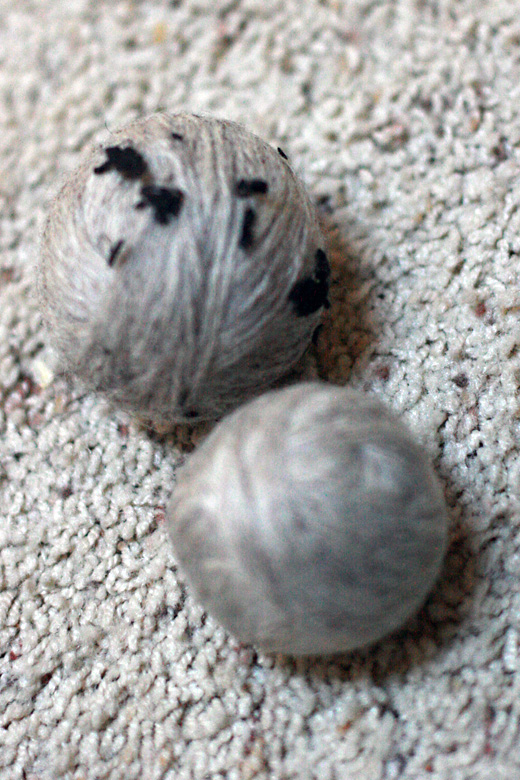 |
| Felting in socks can leave lint on your balls. (There's a sentence I never thought I'd write.) For the cores, who cares? For the outers, simply pick it off — or choose socks that match your balls! (There's another sentence I didn't know was in me.) |
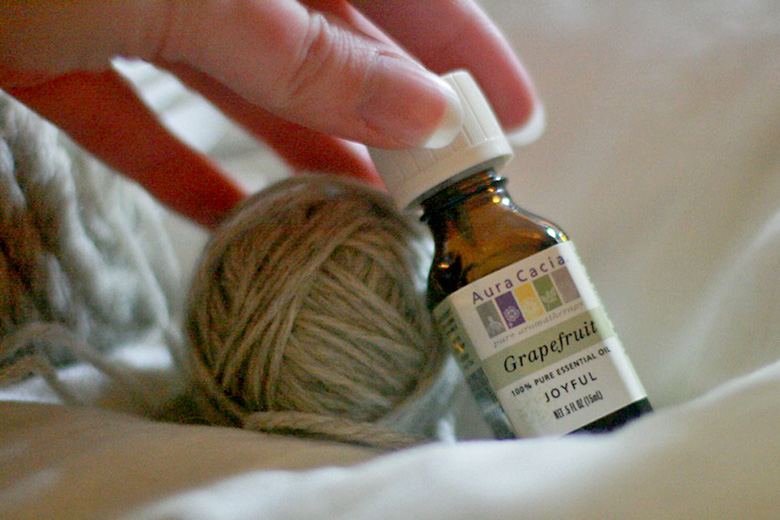
- Add essential oils (optional).
I found out through regular use that I don't care if my dryer balls are scentless — my laundry smells clean even if it doesn't smell anymore. But since I was giving a load of these balls as gifts to people who'd never used green laundry tools before, I wanted to make them as appealing as possible, but still safe and natural. So I got some essential oils in light and pleasing scents: grapefruit, sweet orange, and ylang ylang. I experimented and found they worked smashingly together: a few drops of each. The citrus scents gave a fresh splash of fragrance, and the ylang ylang added a gentle depth to the combination. Yes, I'm willing to pass on my secret recipe to you. You're welcome.
I decided to add essential oils both to the core and on top of the finished dryer balls — that way, I figured the scent might last longer. You'll want to tell any recipients that the scent will fade eventually but can easily be refreshed with essential oils of their choosing.
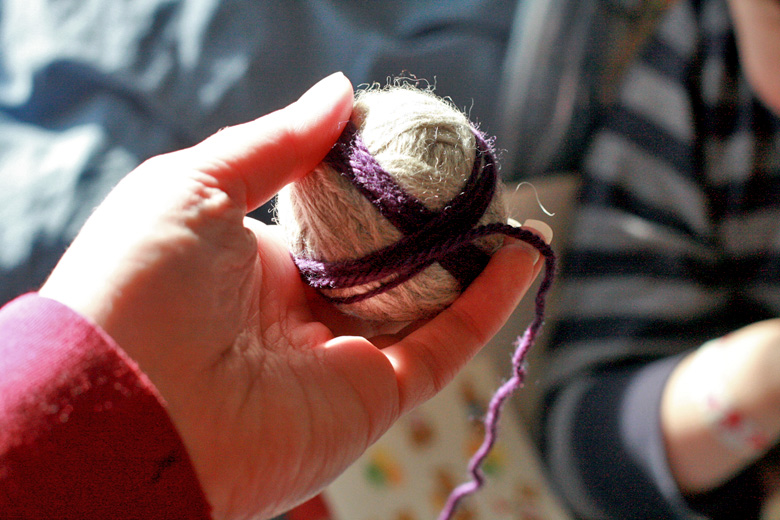
- Wind the outer part of your ball around your core.
When you get to the size you want — a little bigger than a tennis ball — tuck or wrap the end up as tightly as you can, or thread a yarn needle and pull the end through some layers if needed.
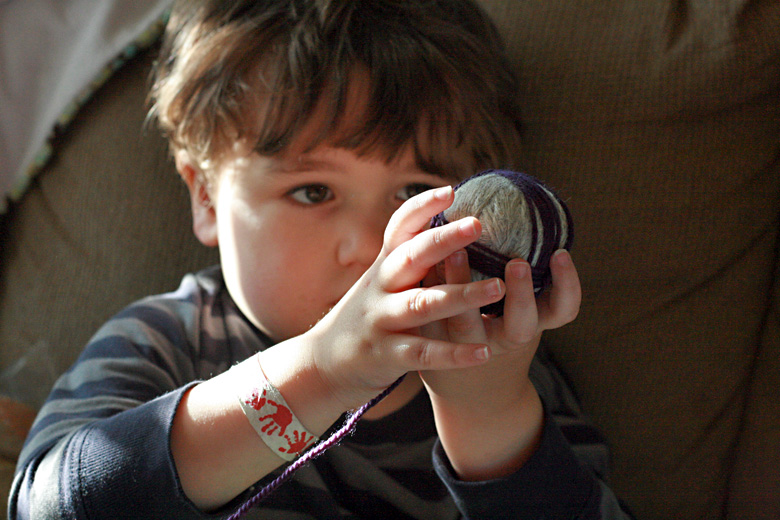 |
| This is where you can ask a young elf to help you. |
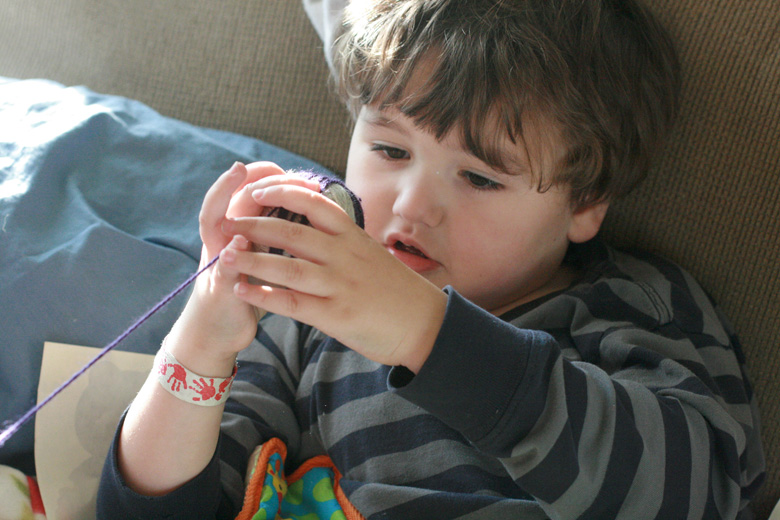 |
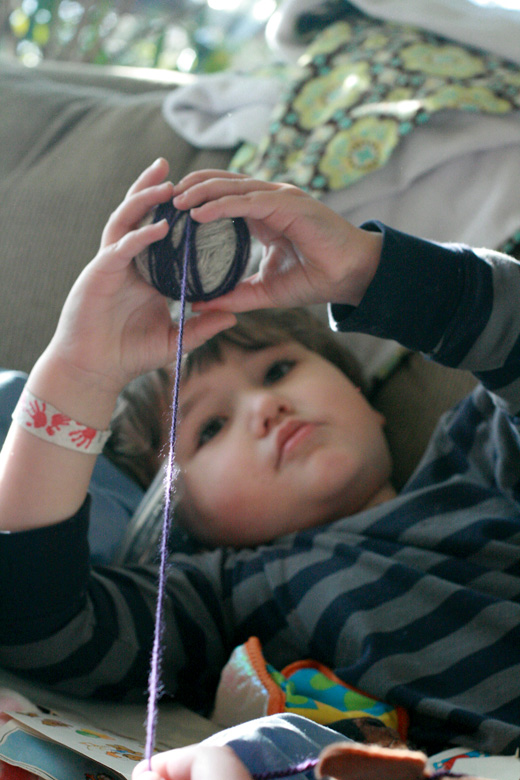 |
| Until he gets bored. |
- Give your wool dryer balls visual interest with colors and patterns (optional).
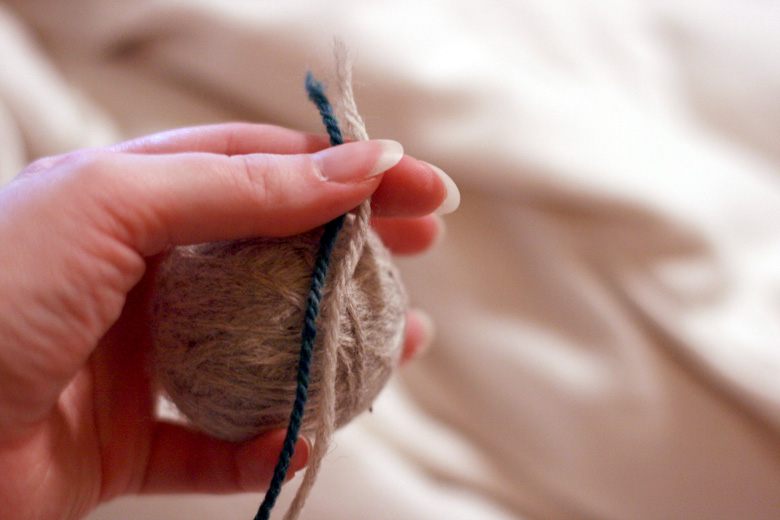 |
| Using two strands of different colors adds stripy visual interest and can give you another opportunity to use more expensive, decorative yarns sparingly while filling out the bulk with a cheaper plain yarn. |
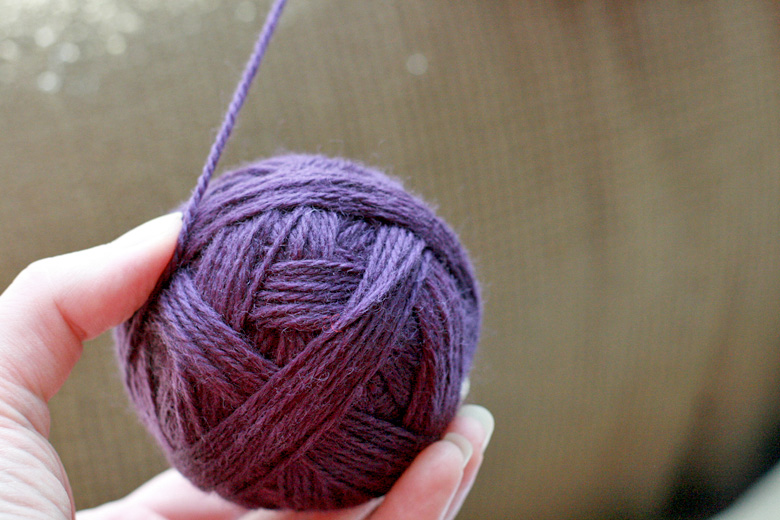 |
| This technique I'm even more proud of. I'm sure this started out of laziness, but I got the idea to wrap in discrete sections, to give a criss-cross effect. I loved it so much I did the rest of my dryer balls this way, and they turned out beautifully. To accomplish this, wrap in one direction for awhile, then switch to an entirely new direction, then switch again, and repeat. |
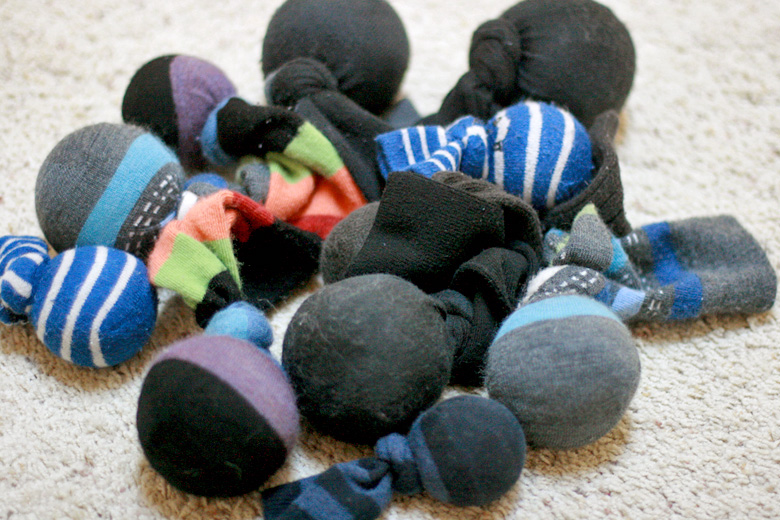
- Felt the balls again.
I found that women's socks worked perfectly to stabilize the full-sized balls (and you can see the baby/toddler socks holding additional cores). I tied knots as snug to the balls as I could. I had some qualms that the socks would stretch out or otherwise be harmed by the process, but besides losing a little interior lint (see above), all was well and they went back to normal afterward. Obviously, do not use wool socks for the felting, unless you want your socks to be part of the final product!
As a refresher on the felting: Wash on hot with detergent, and dry on high (still in the socks). Try to have some laundry to do (we're moms, right? "try" to have some laundry?) so you can throw them in with the laundry as well, so they all get an extra cycle or two to really clump up solidly. Then cross your fingers and remove the socks …
- Admire your smooth finished dryer balls. Add another round of essential oils if desired.
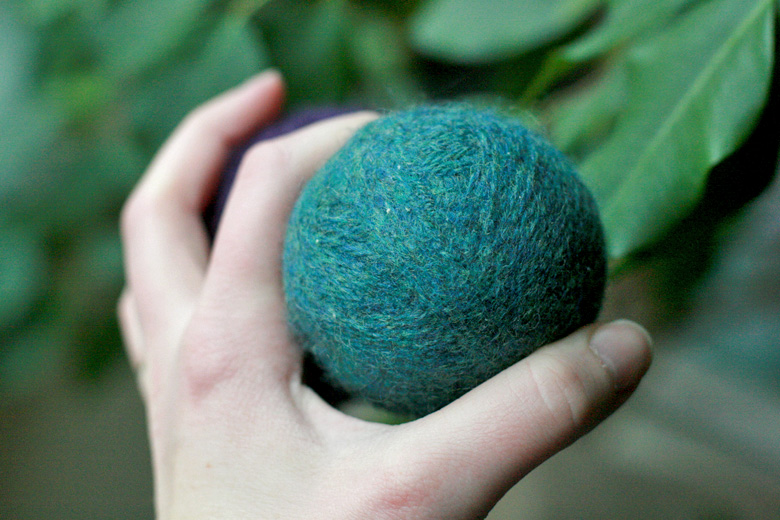 |
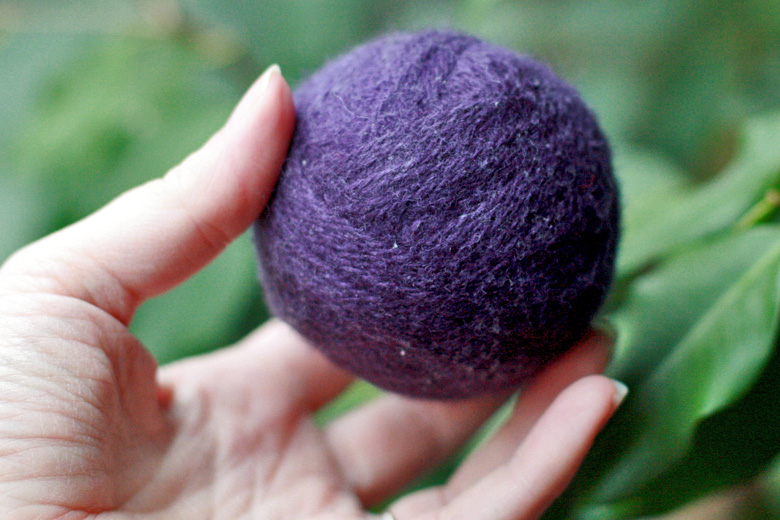
| A finished single-color ball. |
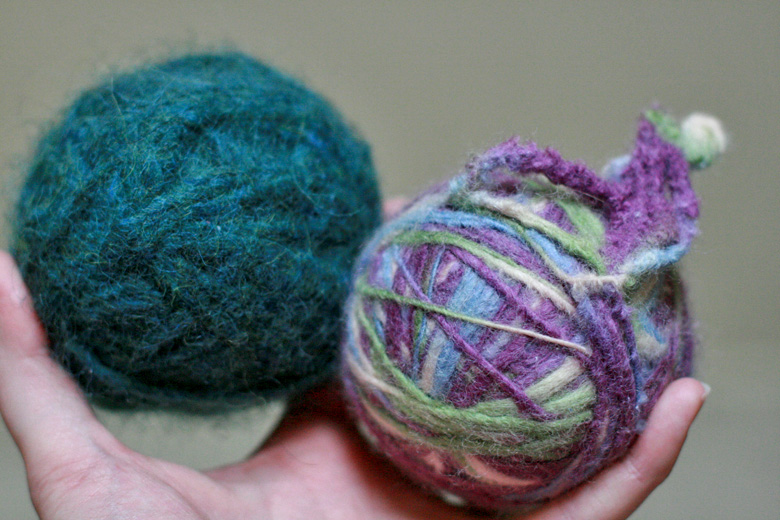 |
| These were some sloppy ones I made my first go. I show this just to say that if your sock slips and you get a lump in the yarn, just trim it off. The felting will hold the shape, and no one will know. But, I found that using my knotted sock technique prevented any lumps. These crappy ones are still working fine, by the way, but the ones I made as gifts are much prettier. |
 |
| A finished woven-pattern ball. I wish the photograph would show it more clearly. It is a subtle effect since the felting softens the edges, but the pattern is still much clearer in real life than in the photograph, and it's really quite lovely. |
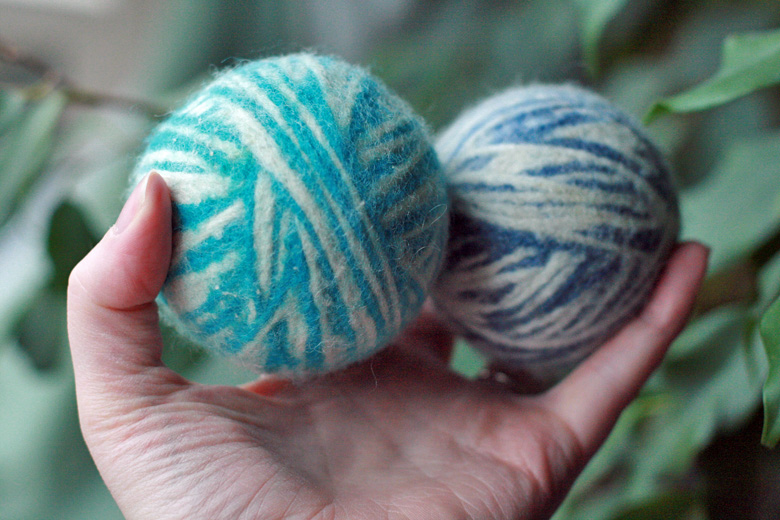 |
| Two-color balls with two strands of wool roving yarn. You can see the texture is even more subtle with wool roving, since it softens even more upon felting, but the dual colors make the pattern show through the criss-cross stripes. I was able to buy a larger bulk of the off-white roving and add interest (and my recipients' favorite colors) with the colored roving. |
Wool dryer balls for gift giving
I suggest giving your recipient three wool dryer balls of approximately tennis ball size, which is a good starter set. I chose a favorite color of each recipient plus a plain color (gray or off-white, and all the cores were gray, as mentioned). Then I made one ball the favorite color, one the plain color, and one a mix of both — voilà! — a coordinated set.If your recipient is likely to be unfamiliar with wool dryer balls, include a note of instructions and enthusiasm, such as:
"I love wool dryer balls for my laundry! These are safe to be tossed into the dryer with any load and take the place of fabric softener or dryer sheets, saving you money and using fewer chemicals. The balls soften clothes and reduce static and drying time. (To reduce static further, toss in a ball of aluminum foil.) I've scented them with natural essential oils, and you can refresh them with the essential oils of your choice when the scent fades. I hope you enjoy wool dryer balls as much as I do!"
Wool dryer ball maintenance
To answer a few questions about the care and keeping of wool dryer balls, here goes:- Properly felted wool balls last a long, long time. Frankly, even sloppily wound ones do, as I discovered from my first attempts. I've had all mine for almost two years now, and they still look just as pretty. They get a bit fuzzier over time, and if that bothers you, you could always give them a shave and a haircut.
- It's ok if a wool dryer ball sneaks into your washer. Felted balls — even very colorful ones — will not have their dyes run, and felted wool can't be harmed any more than it already has been (I say "harmed," but of course it was in a good cause!). They're also safe to use in the dryer on high or with whites, for the same reason.
- Babies love 'em. Also pets. And it's safe to let your little ones play with them, so feel free to make a couple extra as stocking stuffers.
- You can refresh the scent by dabbing another few drops of essential oils onto the balls and letting them sink in. Just to avoid potential oil transfer, I'd give it a day to soak into the yarn before using with laundry.
- Are wool dryer balls actually that awesome? Yes. I was skeptical, but they truly are. I can't go back. I love seeing my beautiful balls staring at me when I open my dryer door. (And yet another unique sentence for me! I love writing about wool dryer balls.)
As a shout-out to my girl Amy, if you don't want to make dryer balls, why not buy them? Anktangle Creations has a selection on Etsy, and Amy can do custom orders if you crave a particular color. (I know, because I had her scout out yellow for Grandma; the yellow balls in the group shot at the top are from her.)
Do you use wool dryer balls? Do you have any tips for making them?


 I'm Lauren Wayne, writer and natural parent. I embrace attached parenting with an emphasis toward green living.


17 comments:
Oh my gosh, this is actually something I could do! Normally I'm scared off of DIY projects but I love this one!
I am so doing this for Christmas gifts next year! This is the first step by step guide I have seen. Thanks!
Wouldn't the essential oils in the core be washed away during felting though?
@Kristen: I wondered that, but they still smelled when I took them out. I'm sure putting the oils only on top would be just as good; I was just trying to be fancy. ;)
Gorgeous, and they sound simple enough to make :)
I don't have a dryer at the moment - which I'm sure sounds terribly odd to most, but here in SA the weather is pleasant enough year round to line dry :) - but these will make great gifts to those who do!
Lauren your balls are amazing. ;) Thanks for the awesome tutorial!
@Christine Powell: One of my dreams is to someday live in a place where I could hang a clothesline outside — that sounds lovely! We didn't have a washer or dryer in our last place, so I did a lot of laundry in the sink and hung them on racks all around our apartment. But given how humid it is here, I was glad to find a dryer in our new place when we moved! :)
I should mention in light of people not having a washer/dryer and perhaps not access to a washer/dryer (I was thinking laundromat, shared laundry facilities, friend's house, etc.) that you can still make the balls at home by agitating and abusing them in a sink or tub/basin of hot water. Use dishwashing liquid soap, and wear gloves so you can use the hottest water you can stand. If you need to take a break, rinse the balls in cold water and then go back to hot when you're ready to start again (further abuse to help the felting process).
@kellymseow: Best. compliment. ever. Hee.
Thanks for posting! I need more and don't want to pay the price of buying them!
Great tutorial! I will make some for my son to play with. Specially like those photos, borrowed one of them for my own blog post. Hope you don't mind. ;)
Hi! Wool felting is definitely a great hobby! And I really like your tutorial. Thank you!
If you wouldn't mind I'd like to share a link to my wool dryer balls store http://allurewool.com/
What a great tutorial! I am in love with my dryer balls (that I bought) but have really wanted to share the love via gift giving. My dryer balls are covered in what appears to be sections of wool sweaters, stitched together like orange sections to form a spherical covering over some sort of core.
I LOVE the essential oil tip. Why I never thought of that is beyond me but I appreciate that you did!
Hi! I need help!
I used the exact same wool as you, boiled my balls (you are not the only one using sentences you never thought you would.) and dryer them in the dryer, my washing machine is out of commission. But nothing! No felting at all! Other blogs have said that boiling works as well which is why I did it...any idea why it did not work?
@GillybeansGEMs: I haven't boiled any, so I asked on Facebook. Here's a summary:
* Hmm...not to nit-pick, but she's drying on hot, right?
* Maybe it's the type of wool? I use yarn and when I had thinner, more tightly spun wool yarn with fewer "fuzzies", I had a much harder time getting them to felt.
* When we learned about felting in art school we would work the fibers with soap and our hands and switch between hot and cold water to shock the fibers
* We did wet felting to make balls at Steiner playgroup the other day, maybe google wet felting? It uses dish detergent and warm water.
* When I made mine I really had to stir them, if I didn't keep them moving it didn't work. That's the benefit to the washer.
Hope that helps! I was thinking maybe you could ask a friend to borrow a washer or use a laundromat as well — even a single cycle on hot would help.
Hello! Thanks for your post! I'm excited to start this and love the idea of using less expensive/less pretty wool for the core, and then covering it to beautify them!
Along those lines, is it necessary to felt the core before adding on the additional color/design? From the un-felted core, could I just start wrapping the colored wool around, and felt it all at once? What's the pro/con?
Thanks!
Post a Comment