
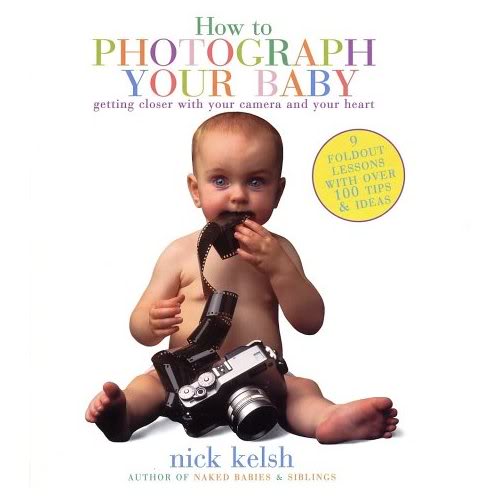
 This was in the days before digital cameras were ubiquitous (I know — gasp!), so we bundled it with a couple rolls of high-quality film (one color and one artsy black-and-white) and a nice frame. We were set, and had found a baby gift package we could give for several years, until digital cameras became so common that giving film seemed pointless. Without the film, the bundle didn't seem quite as intriguing. Sigh.
But the book is still very good.
Kelsh has since put out other volumes — How to Photograph Your Family
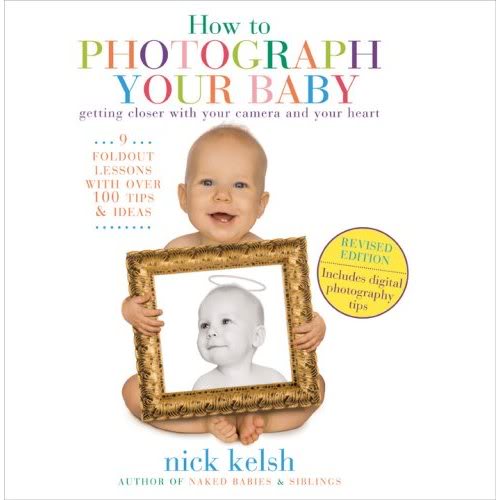 He's even put out a new and revised edition of How to Photograph Your Baby
But, regardless, his basic tips from the first edition are actually enough to get anyone started in any photography, whether digital or film, whether of babies or dogs or flowers or buildings.
Because you will note that we did not have an actual baby at the time that we first bought this book, but we went ahead and got our own copy and memorized all the tips.
I will herewith regurgitate what I learned, and I recommend getting the book(s) as well (your library might have them if you want to take a peek), because they have, well, lots of pictures! As well as a neat fold-out layout that offers more detailed suggestions and real-life examples, many by amateur photographers like me.
And that, my friends, is an important point to make. If you are a professional or avid photographer, step away from the blog.
 If you are an enthusiastic beginning photographer of your children but wish your photos were just...you know...better, read on.
I will give you five simple tips to make your photographs a hundred times better within a day, assuming you haven't already been following these suggestions.
And, to repeat, we got most of these ideas from Nick Kelsh's book, though I've internalized them since, so I won't be quoting directly here.
Because a post on good photography would be pointless without some good photography — as well as some bad photography to compare it to — I've put in some examples from the web. The bigger ones are the good examples, and the small ones are the bad ones. To prevent hurt feelings in that case, I've used only ones that were tagged problem photos by the photographers themselves! Click on any photo to see it bigger on its original page.
 1. Get close.
Children are short and small. Bend down. Sit on the floor. Take a step closer. Now another. Now another. Don't rely on your zoom. Really get close. See what interesting things you can see from that vantage point. Maybe you'll take a picture of just your child's chubby starfish hand with those funny dimples, or maybe you'll get the unique whorl of an ear. You can back up if you find yourself too close, but really, this tip alone will help in so many ways.
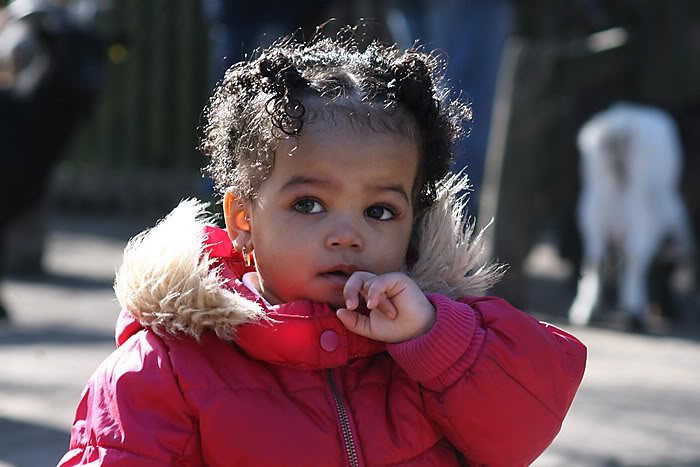
 First of all, it will eliminate background clutter. If your point-and-shoot doesn't have a good lens to blur out the background, you'll find countless distractions behind the cuteness that is your child. There will be a tree sticking out of his head, or a bright toy that seduces the focus its way. And if you're taking a picture in a crowd, there will always, always, be someone in a red shirt walking behind the person you're trying to capture. Always. Getting close will crop out these annoying aspects. Sure, you could do it later in photo editing, but save your time for more important things!
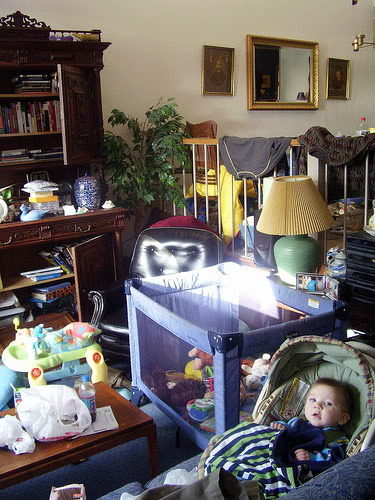
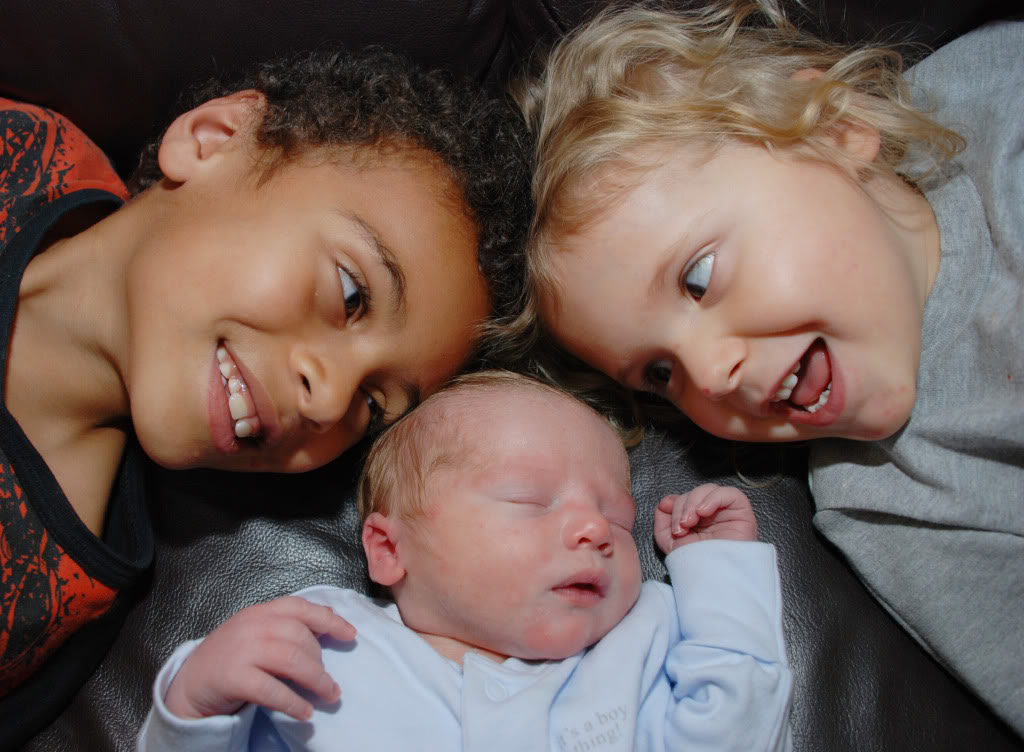
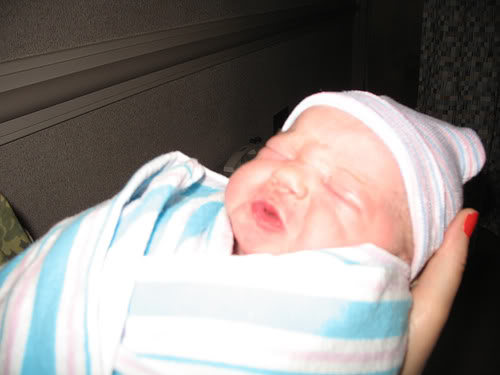
 Check out the example "bad" photos here: Can you even find the baby in the picture above and to the right? And is the picture below to the left of the couch or of the boys? If you click on it, you'll
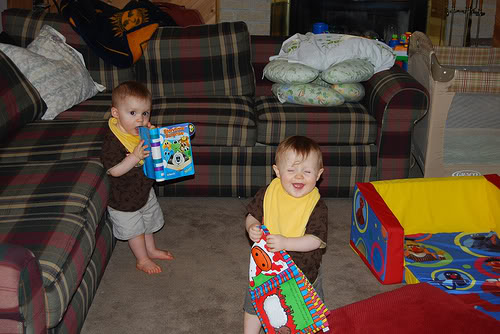 find: It's of the couch! Well, one of the couches, anyway. But I'm sure you've seen many fine examples of just this sort of portraiture, where the people are the intended target, but what's needlessly captured all around is a large expanse of wall, carpet, and furniture. Cut out what you don't want to take a picture of.
Another thing getting close does is that you get to see details. If all your pictures are from adult height and fifteen feet away, you'll get a good idea of your baby's scale in relation to your entire living room set, but you won't see the sweet little ringlet behind your darling's ear
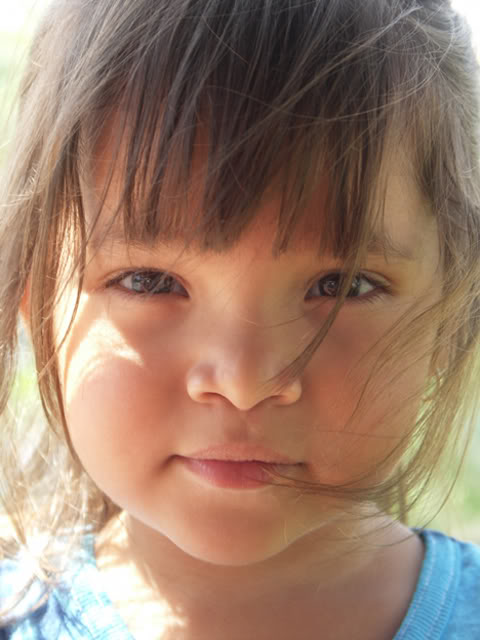 or the scratches on her hand from playing with kitty. Sam and I are going through some frustration right now in poring through our own baby photos and being able to find exactly none that show us what color eyes we had at what age. (I'm curious as to whether Mikko's will change from the deep gray they are now to either Sam's brown or my dark green, but our mothers can't remember dates for when ours changed from dark blue/gray at birth.)
One reason we don't get close when we take pictures is self-consciousness. The good news is that babies have no personal space to invade. They don't care if you get right up in their face, and they'll still act (because they are) natural.
 2. Take lots of pictures.
Go hog wild. This is easier now that we've gone digital. But even if you haven't (you Luddite traditionalist, you!), film is cheap, and so is developing. Just go for it.
If you have digital, take a picture a second if something adorable is going down. You can always delete the fuzzy and unattractive ones later. If you have film, be prepared to go through a roll a day. Don't second guess this. Just let your thriftiness go, and embrace your inner artistic side.
Our hesitance to take as many pictures as are necessary to capture the best moments and expressions stems from two issues: The first is that film and prints used to be expensive, but they aren't anymore, so get over that. Now.
The second is that self-consciousness thing again. And, again, I will tell you that babies don't care. You can take a hundred photos of a baby in a row, and they won't bat an eye. They'll just keep on being cute.
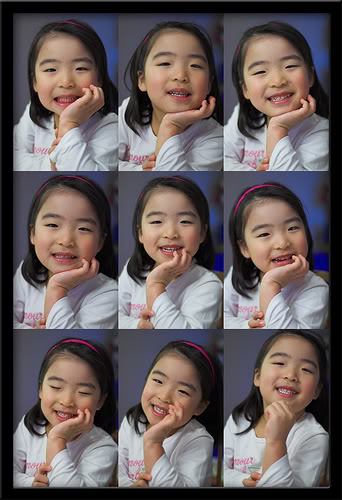
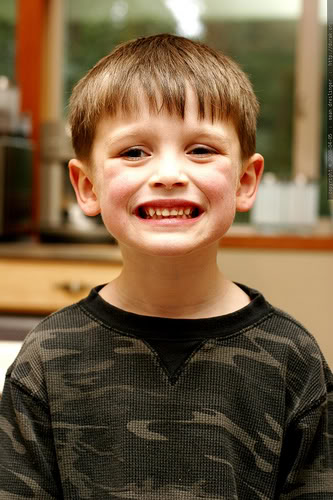
Older kids and grown-ups, on the other hand, can be very self-conscious and give fake smiles with the first shutter clicks. But here's where taking lots of pictures can help in another way by gradually accustoming them to the process. Just keep on going, and you'll get something genuine along the way. Take the contact sheet above and to the left as an example. The first box is what you'd have gotten if the photographer had stopped with one photo: a forced smile and stiff pose. But by continuing to click that button, there's now a series of precious moments to choose from.
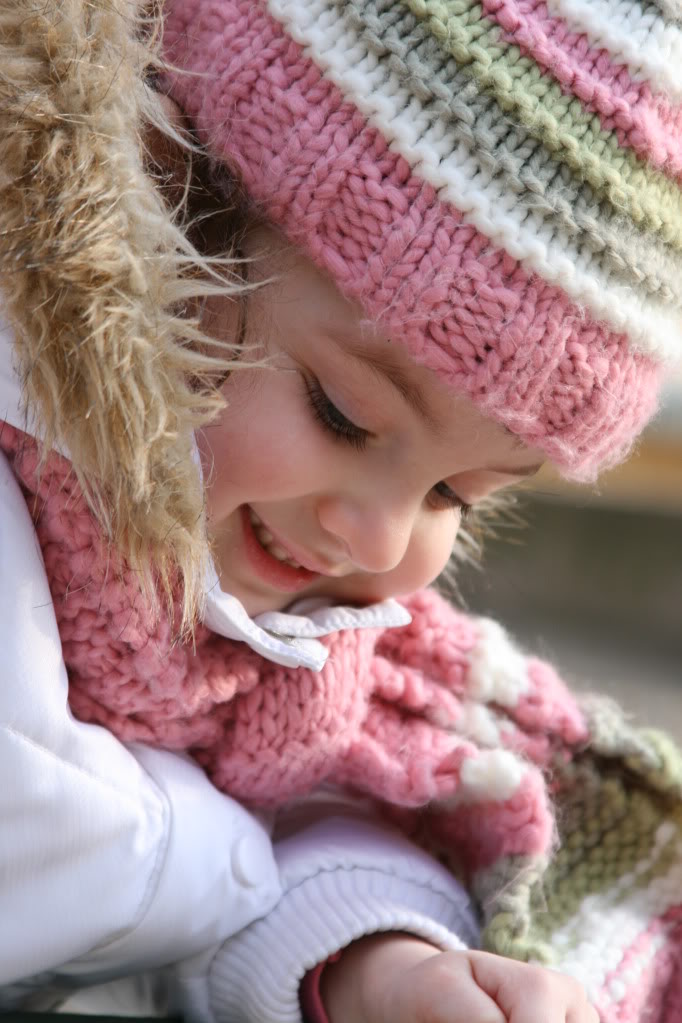
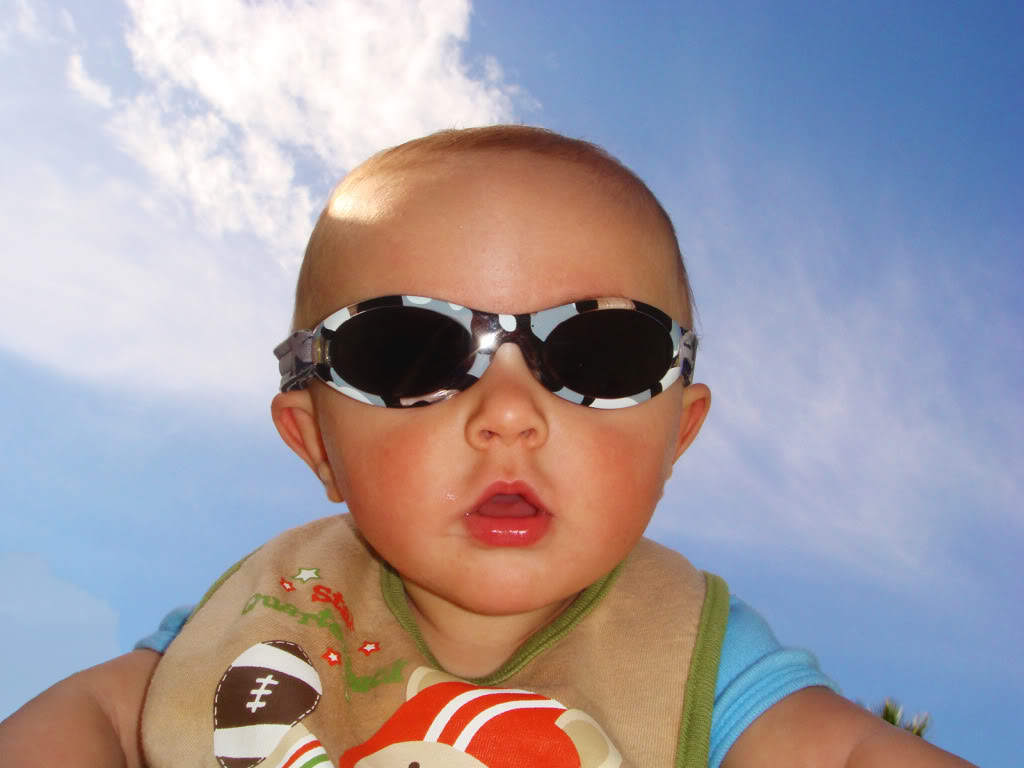
 3. Don't ask for a pose.
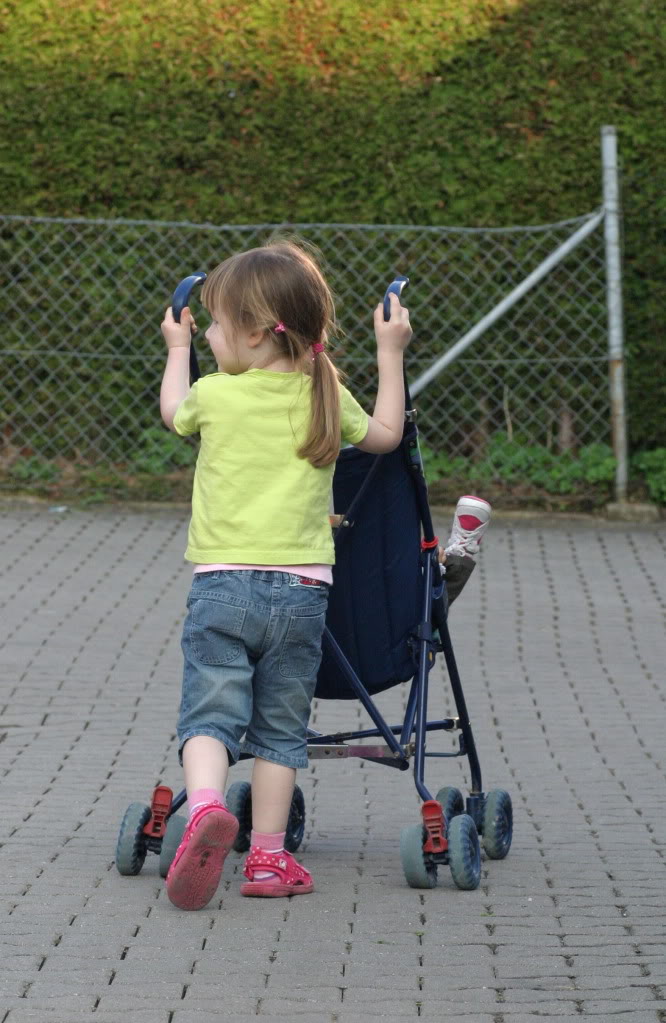
Let your babies be babies. Let your toddlers and older children get engrossed in a task, and come up from the side to steal some candids. Don't think that every shot has to be a "Stay still and say cheese" type of moment (although that one to the left is actually pretty adorable!).
Again, I think this goes back to our film days, when every shot had to be a winner, because it was going to be six months before you got the roll developed and found out whether one of you had your eyes closed. So everyone had to concentrate really hard to be looking at the camera, having a pleasant face, and staying motionless. Come to think of it, maybe this goes back to the early, early days of photography, when people were bound in place like Barbie dolls and the exposure took thirty seconds. Ha ha! Again, people, get over it.
Now, it can be a good idea to have an occasional official portrait, where you face the baby or child toward the camera, make sure an Olan Mills pose is affected, and coerce some oh-so-genuine smiles. You might also occasionally like to set up a pseudo-candid situation, giving your kids something specific to do, like play with a certain toy or make a funny face while you snap away.
But the most beautiful photos are often the natural, spontaneous ones. Your toddler looking pensively through a window, your baby giggling at someone off camera, your 18-year-old jamming on the piano with her eyes closed. Yes, that's right — get your babies used to parents-as-papparazzi now and they'll let you continue when they're older! I hope. I really do hope.
 4. Turn off the flash.
Argh, those flashes. Those hideous flashes.
No point-and-shoot has a good flash. Just admit it with me, and let them go. If you really, really need a flash sometime, to capture a moment in the dark that otherwise will be lost for all time, then fine.
 But, seriously, 99.9% of the time, just turn it off. There should be a setting on your camera for this purpose. It will have a line through a lightning bolt or similar. That is your friend.
Now you're going to have to figure out how to take pictures without it. To do that, press the button.
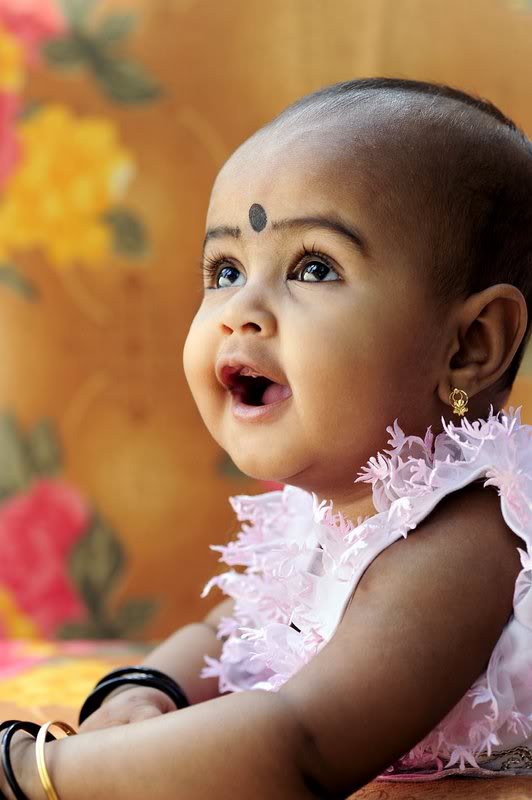
No, but seriously, current digital cameras usually do quite well without flash. Become aware of available and natural light (and you will, once you start taking pictures without a flash). Position your babe by a window, or arrange your family portrait in the shade from a building. You'll find that direct sunlight can be rather harsh and unflattering, and cloudy days can be magical. Dappled light from a tree or shades can be either distracting or enchanting. Lamplight can cast some marvelous shadows, bringing out the structure of your sweet baby's plump cheeks.
Flash, on the other hand, flattens out nuance. It throws an unflattering white light across everything, throwing background into deep shadow and usually washing out skin tone. I'm talking here about point-and-shoot flash, not professional flashes. Sometimes you need some extra light, but if you don't have access to studio equipment, try to find something else suitable, like a window or lamp.
If you don't believe me about the flash, just try it. You'll like it. Really.
5. Try different angles.
Not every horizon shot needs to be shot horizontally. Not every portrait of a person needs to be a full-body-length vertical from tippy top to shoes. You don't even need every picture to be lined up parallel one way or the other.
Get creative. Turn the camera every which way. It's not on a track, and it's not that heavy. Give it a whirl.
Now, naturally, rules beg to be broken. Every one of these rules will have situations come up where the best picture means flouting one or several. But that's fine, too. Experiment, play around, and find out what works for you!
 By the way, if you want to see some of Nick Kelsh's photographic tips in action in his professional capacity, check out his photography and essay books created with Anna Quindlen: Naked Babies
Happy photographing!
Here's where I try to credit all the photos accurately. From the top: formay2006, Jeremy Doorten, Tidewater Muse, davidpb145, Neco Garnica, istargazer, sean dreilinger, Armin Hanisch, Stephen Fell, Duo de Hale, jyobish v nair, pearl79, and Vincent Valentino


 I'm Lauren Wayne, writer and natural parent. I embrace attached parenting with an emphasis toward green living.


3 comments:
Fun post with great advice. I think many parents will really enjoy the results of applying these simple techniques. I have used them myself, and they truly do work photographic miracles. Thanks for sharing this information.
Thanks for the tips. I'd love to be able to photograph better
Thanks! They seem so simple to me in retrospect, but they really transformed my photography. I took some terrible photos before! :) Now if only I could convince my mother that she doesn't need to blind my baby with flash. Every picture she gets is of him looking surprised!
Post a Comment