
This is one in a series of guest posts by other bloggers. Read to the end for a longer biographical note on today's guest blogger, Jessica from This is Worthwhile. She builds a strong case for the age-old but currently neglected practice of allowing mothers an established period of rest and recuperation after giving birth.
I first published this guest post in 2009, and Jessica was gracious enough to allow me to hog it again since I love it so much. I hope the idea of lying-in can reach even more parents, because I found it essential to healing after my births.
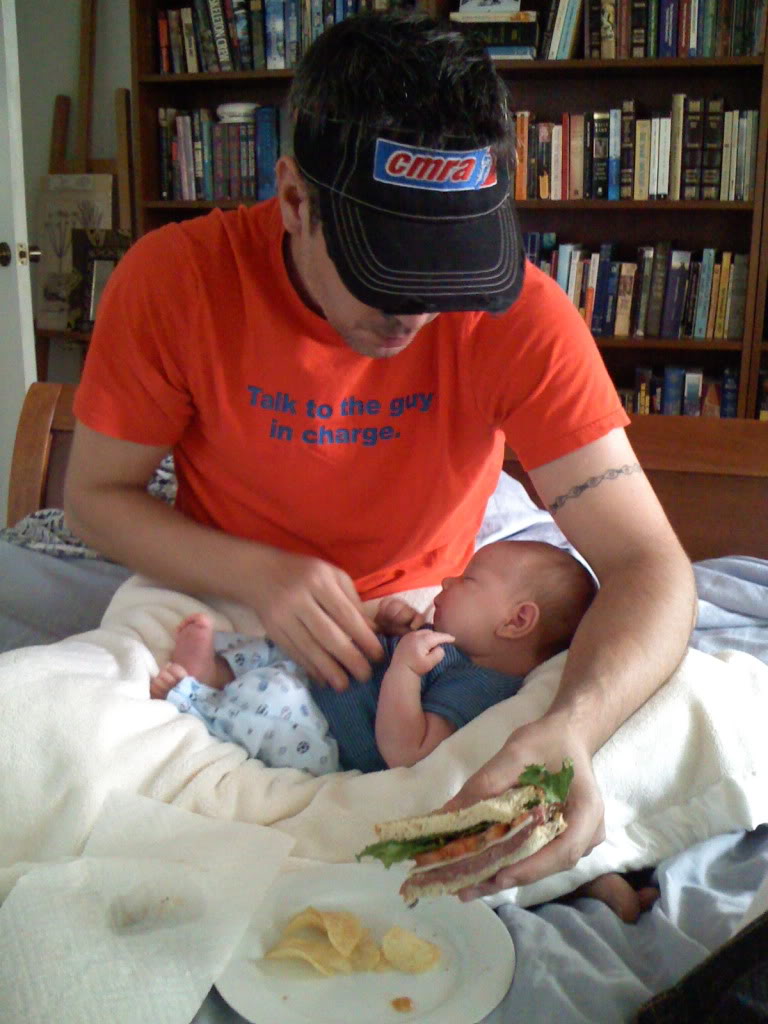
A typical lunch in our house in the first few days.
In September of 2006 I was minding my own business checking out at Whole Foods. I looked up and saw
Mothering Magazine. At the time I had two best friends 1200 miles away both expecting babies in 2007, so I grabbed two copies and went home, never having heard of the magazine before, and not even a whisper of my own pregnancy in my ears for months to come.
I started flipping through the pages and was overwhelmed by the sense of community I found there. Up until that moment, my idea of pregnancy, birth, and child-rearing was a foggy ideal based on my mother's methods (no spanking, lots of nursing, lots of educating yourself), not so unlike what I found in those pages. But what really struck me was an article about lying-in, a concept that really struck a chord with my cultural anthropological background and with my feminist beliefs, written by Katherine Gyles, called "
At Rest in the Arms of the Mother."
What Is Lying-In?
Lying-in is loosely defined as a period of rest postpartum by the mother and babe anywhere between 1 week and 3 weeks and even more if feasible by the family. The mother is to be waited on and to remain on her back as much as possible to accomplish a number of physical and emotional goals. Physically, it allows her organs to reposition themselves and generally affords her more rest. Emotionally, it allows her to focus all her attention on the new infant at her breast, to bond, and to set the tone for the rest of the family to follow suit.
It is also called
confinement or
doing the month.
It is a time of quiet, reflection, and calibration. There is to be no fussing by the new mother over dishes, chores, or bills. She is to rest. Period.
Why Rest and Lying Down Is Critical
The uterus needs to shrink back to regular size and get back in position, there is lots of bleeding (I bled for 6 weeks), the perineum will need extra special attention as it recovers from the brutal stretching and pressure it endured (and any possible tearing), and women's legs and feet may become swollen in the couple of days after birth. Being off your feet will release any pressure felt in your bottom, give your guts time to reposition, and allow blood to flow freely. These
physical changes are critical to our health and shouldn't be brushed aside for daily chores or lunches with well-wishers.
This is one in a series of guest posts by other bloggers. Read to the end for a longer biographical note on today's guest blogger, Mercedes from Project Procrastinot. I am in awe of parents of twins — and particularly those who manage to breastfeed two hungry babies through toddlerhood. Mercedes gives us her tips and comparisons for breastfeeding twin newborns vs. twin toddlers, so if you're in the same boat, take heart: It gets easier. Or, at least: different.
 Guest post by Mercedes of Project Procrastinot
When my twins were born, I couldn't know for certain if I would reach my goal of breastfeeding them for one year. Now that they are sixteen months, the idea of weaning them seems very strange. It just doesn't feel like our time is up, although nursing toddlers has its own challenges.
Here are the main differences between nursing twin newborns and nursing older twins, in my experience.
The other day,
NBC's Today's Talk with Hoda Kotb and Kathie Lee Gifford decided to mock a crunchy blogger, Jacquelyn Byers of LittleOwlCrunchyMomma, for speaking out about
forgoing shampoo for her hair — and, ultimately, choosing nothing but water rinsing once or twice a week. (If you want to watch the cackling of the TV hosts, the
relevant portion of the video starts at 6:40.)
Now, I actually have a little insight to offer into Jacquelyn's decision to do away with soap and haircare products —
unlike Hoda and Kathie Lee — because I did my own experiments with baking soda and vinegar and then
two months with water only, no soap, shampoo, conditioner, anything (except on my hands, which I continued to wash with soap).
I can therefore
refute most of Hoda and Kathie Lee's objections to the idea and offer a more balanced view of the practice.
Sometimes I get intimidated by all the
perfect Pinterest crafts. I'm sure you've been there, too, and know what I'm talking about. This isn't Pinterest-bashing or even Pinterest-lamenting (
I'm there, all the time), just:
My standards are a lot lower.
They need to be.
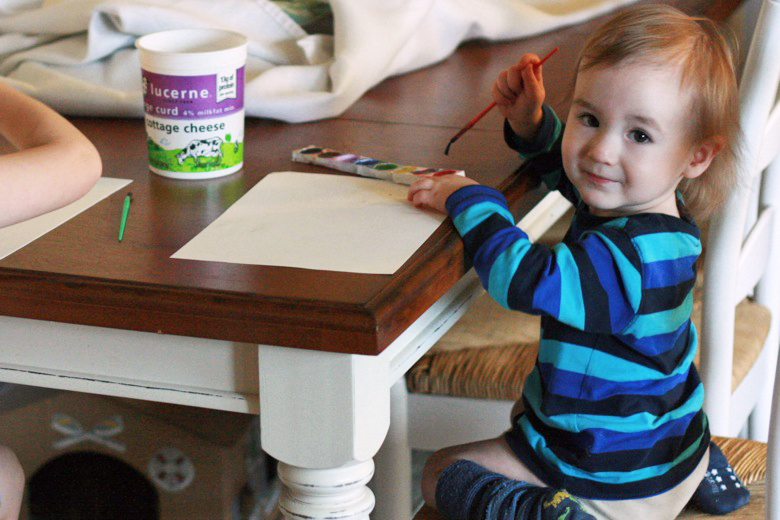
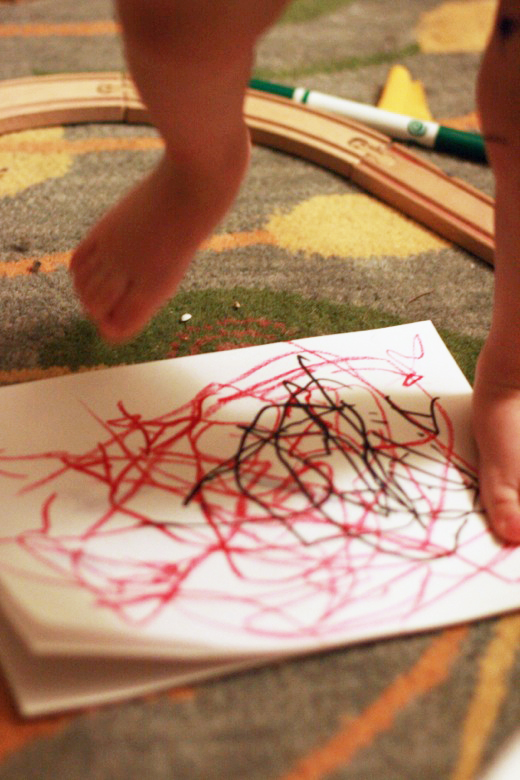
First of all, I have kids who don't like to follow directions. Like, ever. It took until this year (age 6) that Mikko even began to grasp the concept of coloring inside lines. He still refuses to color things the expected colors. I'm totally down with this, truth be told.
So if I put out some printables and art supplies with
very specific ideas of how these elements would go together, I'd be sure to be disappointed. That's just how it is around here.
We do much better putting out the art supplies and then … that's it. Just letting the kids loose.
The results are
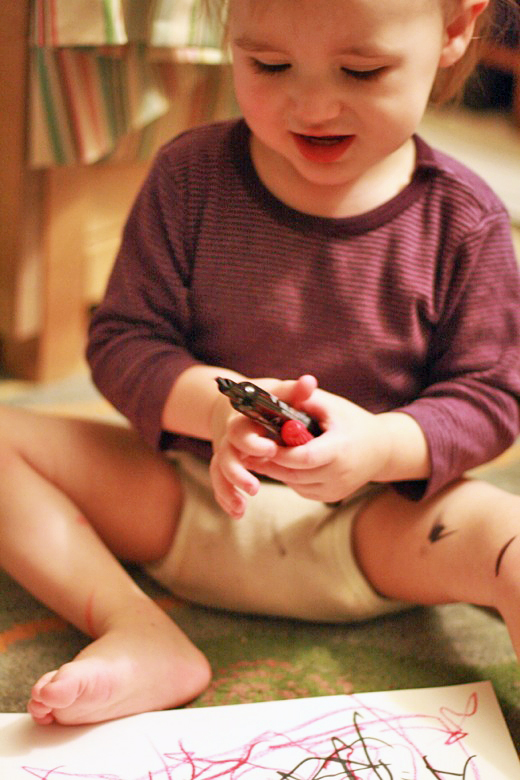
very rarely frame-worthy — or pin-worthy. But the kids are creating and exploring and having fun.
MaryAnn F. Kohl, author of
Mudworks — 100+ recipe ideas for modeling-dough play —
has an article where she discusses the differences between "art" and "crafts," and I thought it was very insightful, and reassuring.
Because art and crafts are so different, it's good to know what makes them special and call them by their proper names. When children create art, they are exploring, discovering, and thinking. Art encourages a child's originality and unique expression with an unknown outcome. Crafts, on the other hand, involve the child's reproducing an adult's idea, while following directions to make a specific "thing" — a known outcome. Making crafts is about imitating what an adult has made and, as such, it requires no original thinking. Crafts are meant to be useful or practical, or to reinforce a fact or learning theme. Craft activities have value in this way, but art is a unique form of creativity that inspires each individual child to be original and inventive and to think for himself.
This is one in a series of guest posts by other bloggers. Read to the end for a longer biographical note on today's guest blogger, my partner and husband, Crackerdog Sam.
Butternut squash is the perfect fall ingredient. I love that Sam has found even more ways to make it for us! Sam crafted this recipe a year or so ago, back when we still ate legumes, but it still happens to be grain-free. If you've gone paleo, you can eat just the butternut topping and skip the bean underpinning.
 Guest post by Crackerdog Sam
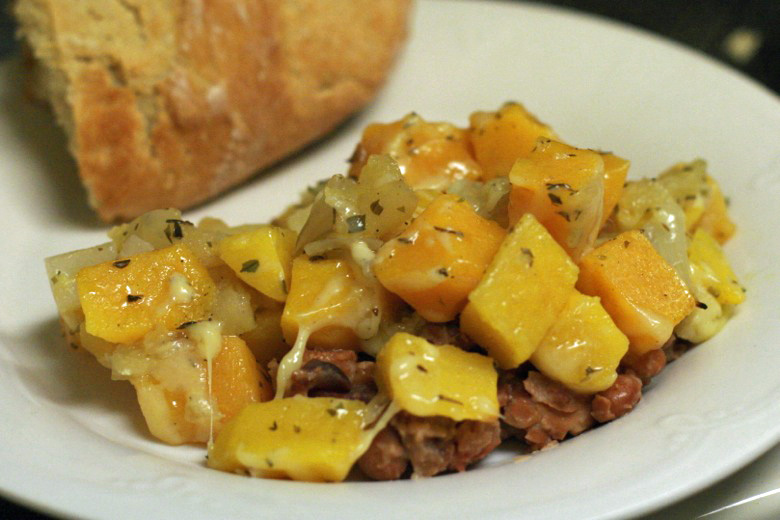
Years ago, I ate a butternut squash soup that I liked so much I researched how to make a similar one from scratch. The key: roasting the squash with apples and onion in the oven first, before blending.
Eventually, I decided
I liked it even better if I skipped making it into soup and just ate it roasted. When serving it as a full meal instead of just a side dish, I started adding a layer of salted mashed pinto beans mixed with bacon pieces as a contrasting element. It's a nice blend of
sweet and savory, refreshing and hearty.
Ingredients:
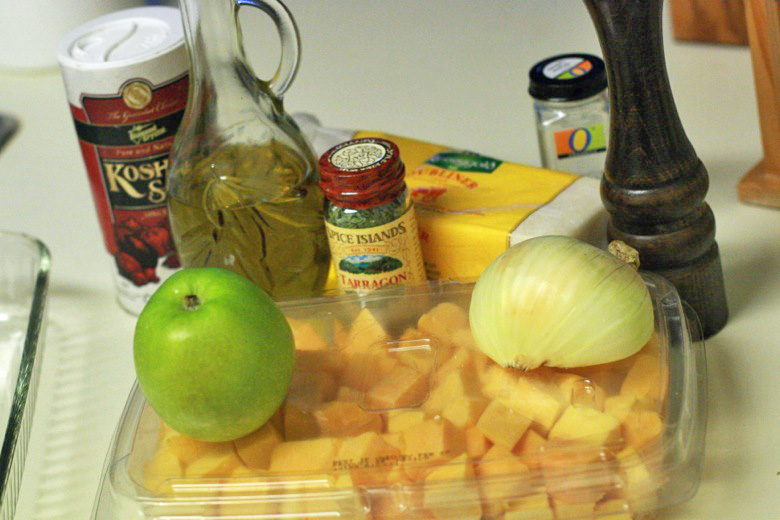
- 2 pounds butternut squash, chunked
- 2 medium granny smith apples, peeled and chunked
- 1/2 of a large sweet onion, chunked
- 1/4 cup olive oil
- 1 tsp tarragon
- 1/2 tsp thyme
- 1/2 tsp kosher salt
- 1/4 tsp pepper
- 1 cup Irish cheddar cheese, shredded
- 1 15 oz can pinto beans
- 1/2 cup crumbled bacon
- salt to taste
Dietary/allergy notes:
Gluten-free, grain-free, egg-free, nut-free, sweetener-free. Leave off the cheese and bacon to have it dairy-free, vegetarian, and vegan. Leave off the cheese and pinto beans to make it paleo.
This is one in a series of guest posts by other bloggers. Read to the end for a longer biographical note on today's guest blogger, Darcel from The Mahogany Way. Darcel agreed to tackle a topic I never get to address due to the Y chromosomes swarming my house: raising daughters.
Guest post by Darcel of The Mahogany Way

Are girls easier? That's the question I was asked last week while shopping with the kids. I wasn't sure how to answer that question. My children are still quite young at 8.5 years, 6 years, and 3 years. My oldest was recently diagnosed with
Aspergers, and my thoughts on raising her haven't really changed. In fact, I feel even more strongly about supporting her interests and helping her shine.
I wonder if there was such a big hoopla about Barbie and Disney Princesses when I was growing up? I remember spending days with my friend, taking turns on our front porches playing house with our Barbie collections. The top bunk in my bedroom was like a Barbie Utopia. Now there are Bratz dolls, Monster High dolls, Winx dolls, La La Loopsy dolls, and I've seen complaints about all of them. How none of them look like real women. I think it's safe to say that no doll looks like a real woman. Waldorf dolls certainly don't…they barely have a face at all! I don't know about you, but I'm not relying on a child's toy to be my girls' role model for anything in life.
My oldest daughter started watching
iCarly just before the show went off the air. Now it's on Netflix, and she can watch from beginning to end. Her new favorite shows for the tween age group are
A.N.T Farm,
Jessie,
Austin and Ally, and
Good Luck Charlie. I watch all of these shows with her, and one thing that really bothers me about all of them is the female lead is tall and thin.
Austin and Ally and
Good Luck Charlie really throw me because their best friend is ethnic and on the curvy side. I've kept these thoughts to myself. I mean, I should be happy that there are any people of color, right? My girls need to see someone who looks like them, so why am I complaining? I have nothing against women who are on the thinner side, but what would be wrong with a show for our young girls where the main characters were a size 10+ and not a size 2?
Welcome to the Festival of Food Carnival. This month, we celebrate Recipes from the Garden! Hosted by Diary of a First Child and Hybrid Rasta Mama, you're welcome to join us next time, or if you have a previously published recipe you'd like to share, add it to the linky below.
This is one in a series of guest posts by other bloggers. Read to the end for a longer biographical note on today's guest blogger, my partner and husband, Crackerdog Sam.
Since the carnival is about using up our garden produce, I considered the elements we've always had in (over)abundance — tomatoes, spinach, garlic, and sweet onion — and had Sam share a yummy recipe that uses all four! Enjoy.
 Guest post by Crackerdog Sam
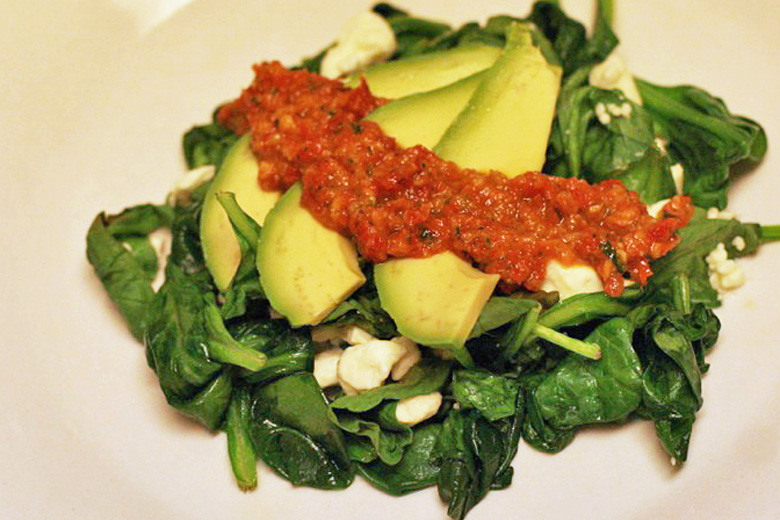
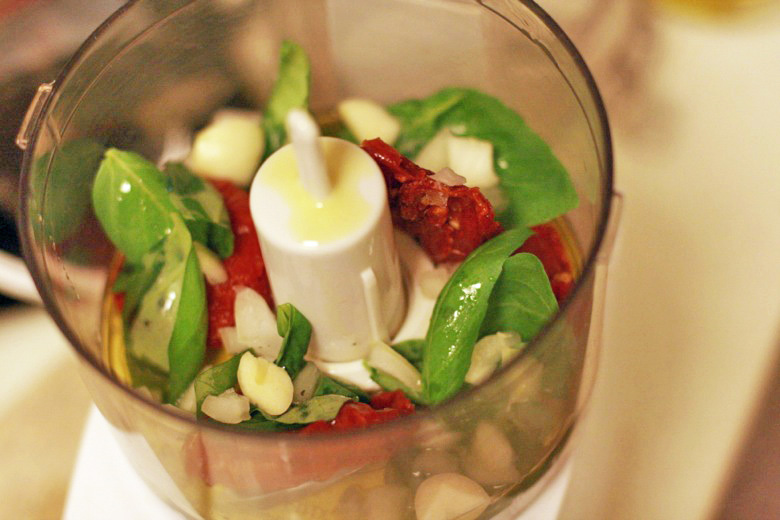
A couple years ago, Lauren and I ate at a crepe restaurant where the star of the dish was something called "tomato coulis," which we'd never had before. I looked for it in stores, but couldn't find any pre-made, and when I looked up recipes online there was a vast array of options people were calling "coulis," from versions akin to chunky soup to versions resembling a smooth ketchup. Ours was more like a coarse pesto, which I couldn't find a duplicate for.
So after a great deal of experimentation, combining this and that technique, I have perfected my favorite version of coulis, which works equally well as a salad topping (presented here), a salsa (with chips), a sandwich spread (on patty melts), and a pasta sauce (over cheese tortellini). I also really like using it in a spicy version of tuna salad but using tilapia, a little mayo, and coulis. It acts just like a tuna salad would (you can do sandwiches, or casseroles, or eat it in lettuce leaves) but is much more interesting.
Coulis is a garlicky, sweet, salty and tangy intense flavor that's great to have on hand to liven up a dish.
Salad ingredients (serves 4):
- 9 oz spinach
- a few drizzles olive oil
- 4 oz feta cheese
- 1 avocado
- 1 cup (or more) tomato coulis
Coulis ingredients (makes 2 cups, so store the leftovers in a jar in the fridge):
- 3 oz package sun-dried tomato halves, dry packed
- about 24 medium-sized leaves basil (leaves from a 1.5 oz bunch)
- 1/2 cup olive oil
- 1 cup diced tomato
- 1/2 tsp salt
- 1/4 cup minced sweet onion
- 2 garlic cloves
- 1/2 tsp crushed red pepper
Dietary/allergy notes:
Vegetarian, gluten-free, grain-free, egg-free, nut-free, sweetener-free. Leave off the feta to have it dairy-free, vegan, and paleo.
 Welcome to the Festival of Food Carnival. This month, we celebrate Smoothies and Mocktails! Hosted by Diary of a First Child and Hybrid Rasta Mama, you're welcome to join us next time, or if you have a previously published recipe you'd like to share, add it to the linky below.
This is one in a series of guest posts by other bloggers. Read to the end for a longer biographical note on today's guest blogger, my partner and husband, Crackerdog Sam. From his mighty kitchen arsenal, today Sam offers a dairy-free, sweetener-free summer smoothie containing only four natural ingredients that's sure to refresh both kids and adults.
Guest post by Crackerdog Sam
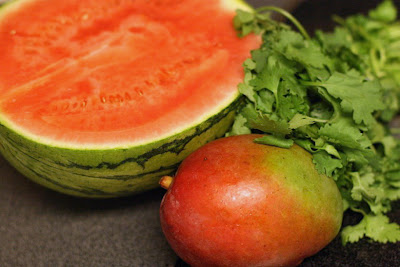
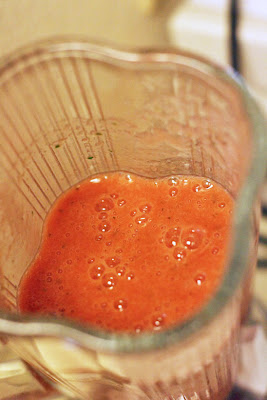
We were first introduced to watermelon agua fresca (which is simply watermelon liquified in a blender) at a local Mexican restaurant several years ago and fell in love with the simplicity and taste. I, of course, had to experiment with different variations, and I really like this one: The addition of the mango gives it a smoothie consistency.
Ingredients:
- 3 cups watermelon cubes (1/4 of a personal watermelon)
- 1/3 cup mango cubes (about 1/2 a mango)
- 1/2 Tbsp fresh cilantro leaves
- 6 ice cubes
Dietary/allergy notes:
Vegan, vegetarian, dairy-free, gluten-free, grain-free, egg-free, nut-free, sweetener-free. Well, look at it: It's just fruits and herbs!
This is one in a series of guest posts by other bloggers. Read to the end for a longer biographical note on today's guest blogger, Lucy H. Pearce of Dreaming Aloud. Lucy has perfectly summed up the experience of parenting — both delectable and distasteful — in one delicious metaphor.
Some links in this post are affiliate links that support the work of this site. Thank you!
Guest post by Lucy H. Pearce of Dreaming Aloud
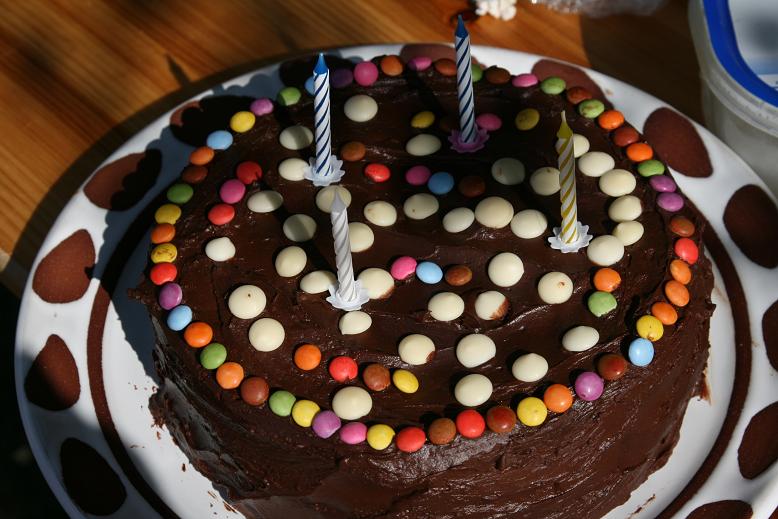
Life for me as a mother is like a layer cake: I just can't jam it all in my mouth in one go. I can't savour its wholeness, the harmony of its completeness, the careful balance of the textures and flavours. I get all of one, and then all of another. I love it, I hate it. I want it forever, I can't bear another second…
I taste the tartness of tantrums, tiredness and despair at my lot. Red and raw as raspberry jam, the pips get stuck in my gums.
The rich oozing chocolate love of adoration hits me another moment. They are edibly good, my little cherubs. I shower them with kisses and thank the heavens for all my blessings.
And then there's lots of boring sponge - laundry, washing up, nagging them to get dressed, and brush their teeth, and lie down and go to sleep and don't hit your sister say sorry andwhatdoyouwantinyoursandwichtoday?
This is one in a series of guest posts by other bloggers. Read to the end for a longer biographical note on today's guest blogger, Teresa Graham Brett of Parenting for Social Change. Teresa has offered a penetrating and incisive look at how our upbringing affects our ability to connect with our own children and treat them with respect.
Some links in this post are affiliate links that support the work of this site. Thank you!
 Guest post by Teresa Graham Brett of Parenting for Social Change
In her book,
All About Love: New Visions, bell hooks wrote this paragraph that has stayed with me for some time. I've written about it before, but for some reason I was drawn back to want to write about it again.
The first time I wrote something, I merely touched the surface of my feelings and the way it challenged me. This time, I finally got to the core of some truth, even if it took me a while to get there.
She writes:
An overwhelming majority of us come from dysfunctional families in which we were taught we were not okay, where we were shamed, verbally and/or physically abused, and emotionally neglected even as we were also taught to believe that we were loved. For most folks it is just too threatening to embrace a definition of love that would no longer enable us to see love as present in our families. Too many of us cling to a notion of love that either makes abuse acceptable or at least makes it seem that whatever happened was not that bad. ~bell hooks
I've read this portion of the book many, many times.
And I struggle even now with it.
Even as I wrote this, I kept typing and deleting as I desperately tried to find the words to express my thoughts and feelings, thoughts and feelings that need to come to the surface.
I took a break from trying to write and washed some dishes. I cooked a bit and noticed the ways I was feeling annoyed and short-tempered with my family. It was still sitting with me.
But then the truth hit me in a flash. It brings tears to my eyes as I write it.
The truth is I know very little about loving children.
And here's why...
Welcome to the April 2013 Carnival of Natural Parenting: Family Recipes
This post was written for inclusion in the monthly Carnival of Natural Parenting hosted by Code Name: Mama and Hobo Mama. This month our participants are sharing their recipes, their stories, their pictures, and their memories.
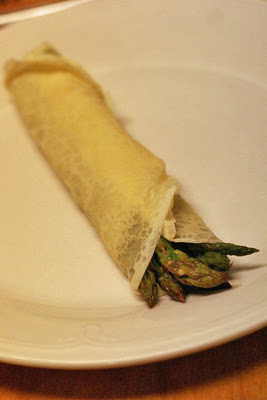
When Sam was growing up, his mother made
French crêpes (or
Swedish pancakes, as they also called them) for his family on special occasions:
New Year's Day breakfast, birthdays, report cards, and other holidays and festivities. When I joined the family, I quickly embraced the crepe love and enjoyed my visits to the family estate that included one of these ritual breakfasts. (And it didn't take much prodding of my dear mother-in-law for
every visit to include one!)
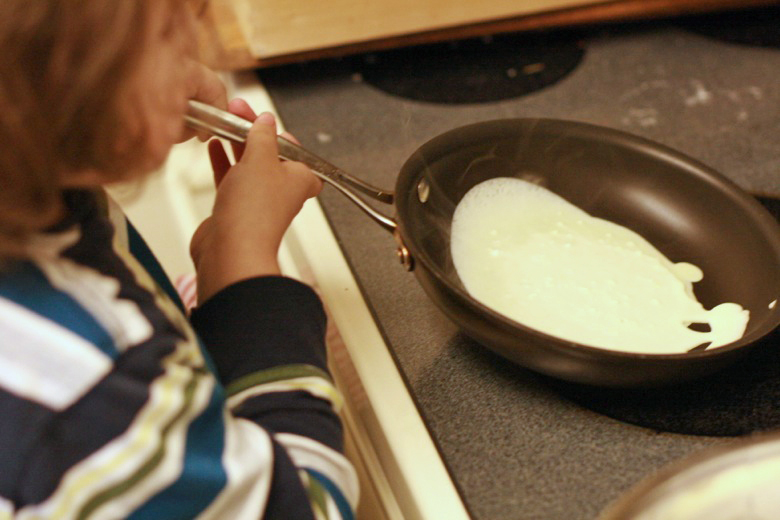
The matriarch holds court over her plug-in crepe pan and pours out one careful measure of batter at a time, until one after another golden-brown flapjack is flipped off the pan and onto a carrying plate, to be
claimed immediately by the next relative in line to devour one. The dining table is crammed with toppings — jams, jellies, berries, bananas, butter, cinnamon sugar, all sorts of syrups, fried Polish sausage, sauteed mushrooms, cheese, Nutella, powdered sugar, and probably more I'm forgetting! — and the
sensuous pagan ritual crepe preparation and eating begins. And, let me tell you, we can all pack 'em away! Sam used to keep track in his diary each year of how many more crepes he ate as compared with the previous New Year's (and that was about all he recorded in his diary — you know, the important things). I don't want to brag for him, but I think he
got up to 14.

 Time is flying: We're already into the fifth week of the six-week Six Ingredient Challenge! How's it going for you? Amy and I posted our answers to the fourth week's writing prompt, and the linky there is still open for you to link up your posts about the joys and challenges of the Six Ingredient Challenge. Remember to post your answers to the fifth prompt sometime before Thursday. Even if you didn't start the challenge with us on February 1, it's not too late to sign up and join in now!
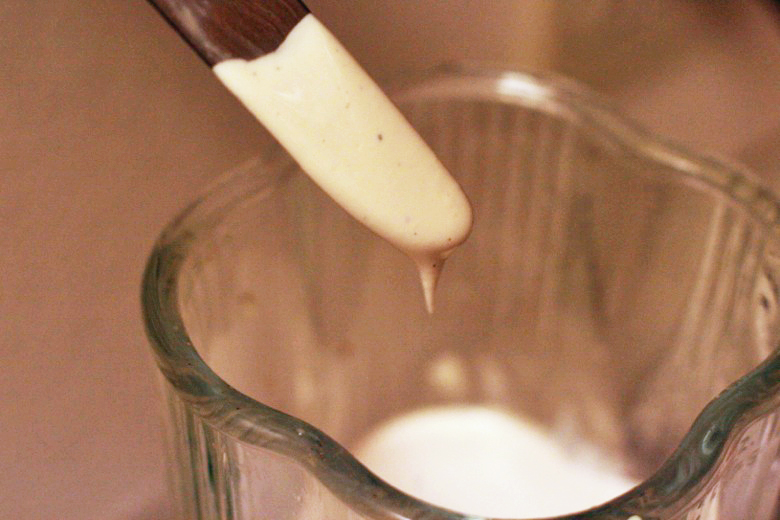
Today I'm bringing you a guest post from Sam, who's been happily experimenting to craft us new condiments that fit the rules of the challenge. He's sharing an easy recipe for making homemade Caesar salad dressing. It can be nearly impossible to find any store-bought salad dressings — particularly creamy ones — with six ingredients or fewer, and when I've looked at the nutrition labels of store-bought creamy dressings, Caesar in particular, they have a lot of questionable ingredients, like soybean oil as mock-dairy. By contrast, this healthier version of a favorite dressing uses a light-tasting olive oil as a base and works for traditional salads or any mix of veggies, as well as a tasty dip or creamy topping. To be clear, there's no cream — the rich texture is a result of the emulsion of oil and egg yolks.
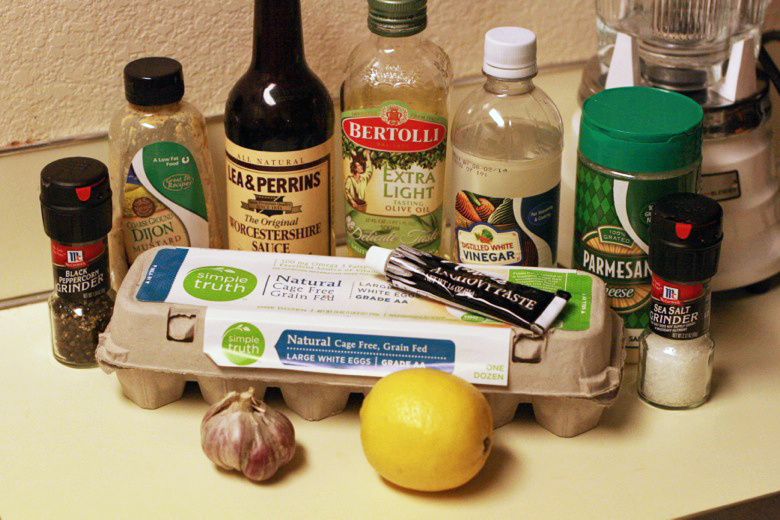
The dressing has more than six ingredients itself, but it fits the rules of the challenge as a homemade concoction because the individual components are all six or fewer and are whole foods-based. You'll just want to check on the individual ingredients you've got on hand. The versions we have of Dijon mustard and Worcestershire sauce are mostly vinegar and spices, but Worcestershire sauce traditionally has one or more sweeteners as well as anchovies, and some alternate versions will contain soy or wheat, so look for brands that have ingredients you can live with. Anchovy paste might not be something you usually have on hand, but it's easy to find — check near the canned tuna and other fish. In fact, you can buy and blend tinned or fresh anchovies instead if you'd rather, though a tube will store easily and last you for more than one round of dressing.
Homemade Caesar dressing
 Guest post by Crackerdog Sam
I've always been a little wary of attempting mayonnaise or salad dressing from scratch because I've heard you have to be careful about the oil/egg mixture separating on you, and I dislike tossing out an entire batch of anything.
It turns out to be quite simple, though, and according to some of the recipes from which I cobbled this together, having your liquids mixed with the yolks before adding the drizzled oil makes it more-or-less idiot-proof (something science-y about emulsification).
You can make this in your food processor or blender; the final result is just about 2 cups in volume.
 Can you believe it? We're already into the fourth week of the six-week Six Ingredient Challenge! How's it going for you? Amy and I posted our answers to the third week's writing prompt, and the linky there is still open for you to link up your posts about why you felt inspired to be a part of the Six Ingredient Challenge. Remember to post your answers to the fourth prompt sometime before Thursday. Even if you didn't start the challenge with us on February 1, it's not too late to sign up and join in now!
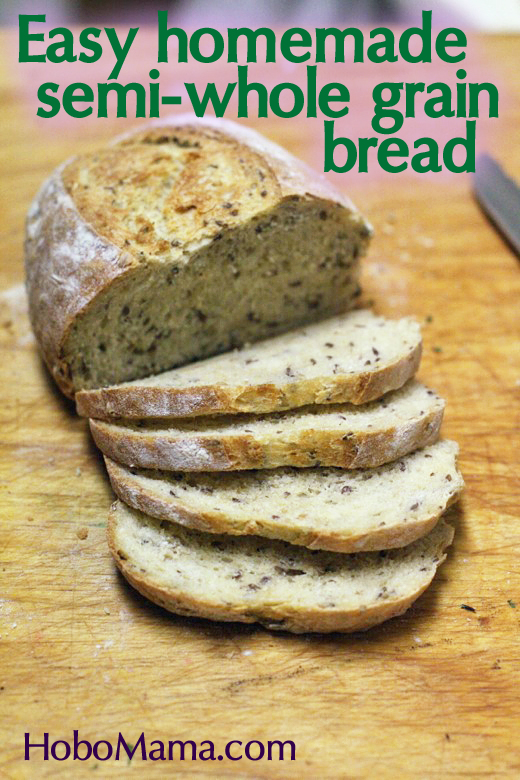
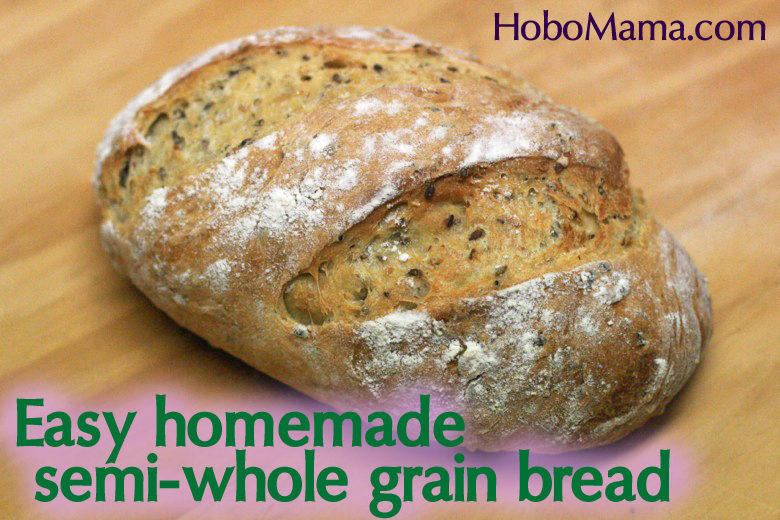
Today I'm bringing you a guest post from Sam, our family's resident breadmaker. He's sharing an easy recipe for making homemade semi-whole grain bread. It can be nearly impossible to find any store-bought grain products with six ingredients or fewer, and processed breads often have a lot of questionable additives, hydrogenated oils, and even high fructose corn syrup. Here's a healthier version that kids will eat — maybe because they don't realize how healthy it is! It's a family-friendly mix of white flour, whole wheat flour, whole oats, and whole flaxseeds. It takes just six ingredients (not counting spices), and it helps use up the whey from the homemade ricotta recipe Sam posted before.
Homemade semi-whole grain bread
 Guest post by Crackerdog Sam
I'd been making the basic white loaves from the stellar book
Artisan Bread in Five Minutes a Day for a few months when Lauren suggested switching over to at least partially whole-wheat flours. Unfortunately, my first attempts were too dense and dry and I gave up.
It wasn't until I got into
homemade ricotta and had all this whey to use up, reading in various places that whey gave bread a "fluffier crumb" (the interior of the loaf), that it occurred to me that I might salvage the whole-wheat option. I've added flaxseed and whole oats for more whole fiber, and more hearty flavor. Mikko eats it up without complaint.
Ingredients:
- 1 Cup + 1 Tbsp room-temperature whey
- 1/2 Tbsp granulated yeast
- 1/2 Tbsp kosher salt
- 1 1/3 Cups unbleached white flour (7.2 oz)
- 2/3 Cup white whole wheat flour (3.6 oz)
- 1 Tbsp whole flaxseeds
- 1/4 Cup oats
- Optional: dill, tarragon, finely diced garlic, etc.
Note: Breadmakers actually weigh their flour instead of measuring it, because you can get different amounts in a cup depending on whether you sift, sweep, or pack the flour. The cup measurements I've listed are based on my typical method of reaching a scoop into the bag and pressing lightly against the side of the bag when filling it, which slightly compacts the flour.
Welcome to the Festival of Food Carnival. In celebration of Valentine's Day, we're sharing recipe ideas for "love foods" or foods to share with loved ones. Hosted by Diary of a First Child and Hybrid Rasta Mama, you're welcome to join us next time, or if you have a previously published recipe you'd like to share, add it to the linky below.
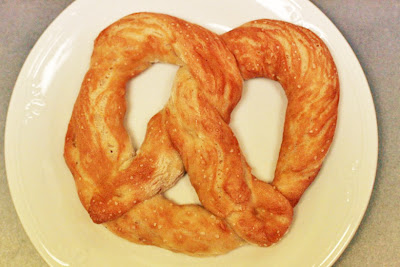 This is one of Sam's recipes that makes Mikko very happy. He has no idea that these pretzels are made with half whole wheat flour, and, even though he usually makes us cut the crusts off bread, he doesn't seem to notice that pretzels are pretty much all crust.
Sam and I aren't eating grains anymore, but Mikko hasn't gotten the memo. I like that these have a healthy dose of whole wheat flour and not a lot of other questionable ingredients.
If you're following along with Anktangle's and my Six Ingredient Challenge, you'll be happy to know these pretzels weigh in at exactly six! (Remember you count out water and salt.) There's a tiny bit of sugar, but these make for a more whole-foods version of the type of pretzels you'd get at the mall for quadruple the price. Plus, you can choose how salty the final product is.
If you don't usually bake bread, this can be a fun challenge. The dough stretches out quite easily, and figuring out the knot is simple once you've done it twice. A beautiful handmade pretzel makes a lovely presentation for a special day or a special kid.
Guest post by Crackerdog Sam
Ingredients (for six pretzels):
dough:
- 1 Cup plus 1 Tbsp room-temperature water
(neither hot nor cold to the touch)
- 1 Tbsp sugar
- 1/2 Tbsp granulated yeast
- 1/2 Tbsp kosher salt
- 1 Cup unbleached white flour, pushed slightly against side of bag when measuring (5.4 oz)
- 1 Cup white whole wheat flour, pushed slightly against side of bag when measuring (5.4 oz)
wash:
- 1/2 tsp baking soda
- 1/2 Cup warm water
- large-grain salt (kosher salt or rock salt)
equipment:
Dietary/allergy notes:
Vegan, vegetarian. Contains gluten.

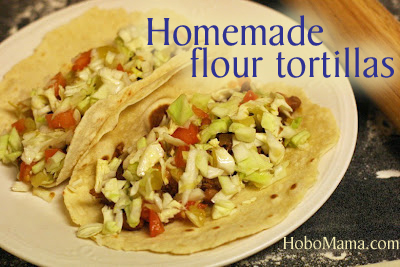
Today I'm bringing you a guest post from Sam, our family's chef extraordinaire. He's sharing an easy recipe for making homemade flour tortillas. It can be nearly impossible to find any store-bought flour products with six ingredients or fewer, and tortillas especially seem to have a lot of questionable additives and hydrogenated oils and even high fructose corn syrup. Here's a healthier version you can whip up for your family taco night! If you ask nicely, Sam might also share his fantastic how-tos for the perfect taco meat and tangy Mexican coleslaw.
Homemade flour tortillas (makes 8)
 Guest post by Crackerdog Sam
There's no real need to make your own tortillas these days, unless, like us, you've been attempting to cut down on the amount of processed foods you eat. Prepackaged tortillas are often full of preservatives and stabilizers, so I thought I'd see how difficult it would be to make our own. It's somewhat time-consuming, but the degree of difficulty isn't hard, and I like the taste of them better because they're never gummy or tough.
Ingredients:
- 1 Cup all-purpose flour
- 1/4 tsp baking powder
- 1 tsp salt
- 4 tsp coconut oil, warmed to liquid (could also use the traditional lard)
- 1 tsp honey
- 1/4 Cup + 2 tsp whole milk
Dietary/allergy notes:
Vegetarian, could be vegan if maple syrup is substituted for honey and
almond milk for the cow's milk, could be dairy-free if almond milk is substituted for the cow's milk. Contains dairy and gluten.
Directions:
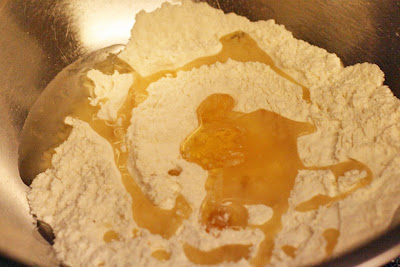
1) In a mixing bowl, combine flour, baking powder, and salt. Add oil and honey, and stir mixture until all wet ingredients are little flour-covered bits. (Traditionally tortillas are made with lard, which I don't usually have on hand, so I went with coconut oil, which is solid at room temperature and melts when warm, like lard, and it worked very well.)
This is one in a series of guest posts by other bloggers. Read to the end for a longer biographical note on today's guest blogger, Ariadne of Positive Parenting Connection. Ariadne has offered me some much-needed suggestions for encouraging my children to keep on walking, and I'm so pleased to pass them on to you as well.
 Guest post by Ariadne of Positive Parenting Connection
When my sons were just 1 ½ and 3 years old, we lived near a town forest with many walking paths, a river, and some fields to play in. One of our favorite activities was going for a treasure hunt in the forest. Spending time walking through paths, climbing over fallen trees, throwing rocks in the river, and then having a snack all while dressed up as pirates was not only fun but it
fostered a great habit of walking everywhere!
Walking has just always been something that we do as a family, but there were certainly times when
one, two, or all three of the kids just did not want to walk any further, or did not want to leave the house, and other times there was some whining or frustration involved…. Over time we have figured out ways to make taking family walks something that is enjoyed by all of us. My children are now 6, 4, and 2 years old, and they have become quite used to walking, just about everywhere. These are some of the ideas that have worked for us:
Make it fun.
Collecting rocks in the river, going on a
treasure hunt with a map and everything, making up a
nature scavenger hunt are all great ways to keep the children totally captivated, interested, and happy to keep on walking. For a simple scavenger hunt, for example, we have drawn pictures of things we think we might be able to find along our walk. Sometimes we even draw super silly things like a purple elephant, and then of course I get to pretend to just have seen it and spark up more curiosity and the need to keep walking.
Welcome to the Festival of Food Carnival. In celebration of autumn and Halloween, we're sharing recipe ideas for healthy treats, or anything you would enjoy this time of year. Hosted by
Diary of a First Child and
Hybrid Rasta Mama, you're welcome to
join us next time, or if you have a previously published recipe you'd like to share, add it to the linky below.
This is one in a series of guest posts by other bloggers. Read to the end for a longer biographical note on today's guest blogger, my partner and husband, Crackerdog Sam. Sam figured out a way to make the perfect fall and Halloween treat of Cracker Jack appealing to those of us with a more muted sweet tooth.
Guest post by Crackerdog Sam
We
stopped microwaving popcorn a few years ago when Lauren discovered
this easy recipe from
Perfect Popcorn by Elise on Simply Recipes for cooking popcorn on the stove that is simple, fast, and delicious and leaves hardly any old maids.
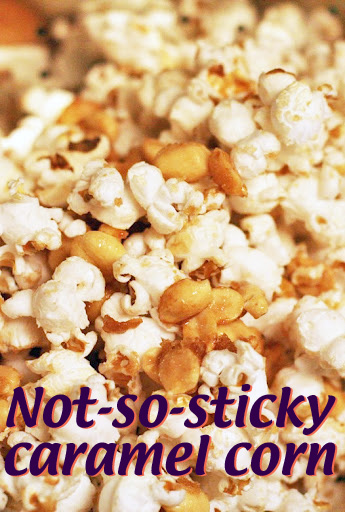
Because I like to incorporate my own twist into recipes, I started experimenting with different powdered topping ideas but never could get one that I loved. Then a few weeks ago Mikko asked what Cracker Jack was after hearing "Take Me Out to the Ball Game," and, not wanting to buy him some (if he didn't like it I wouldn't finish it, since it's way too sticky for me, molar-wise), I
improvised a version of Cracker Jack on the stove with brown sugar. It turned out better than anything I had slaved over inventing.
Ingredients:
- 2 Tbsp peanut oil (use peanut oil for a rich taste that lets the popcorn flavor shine through — you could substitute grapeseed or coconut oil…though I love the peanut oil and found it was well worth buying a bottle)
- 1/8 tsp salt
- 3 Tbsp popcorn kernels
- 1/3 cup salted peanuts
- 1 1/2 Tbsp brown sugar (or smaller amount Sucanat
 ; see below)
Dietary/allergy notes:
{From the editor:} Vegetarian, vegan, gluten-free. Obviously not appropriate for people with peanut allergies as is, though you could substitute the oil and leave out the peanuts. Yes, it has a little sugar. I'll admit that we do eat sugar, despite this being the "healthy" treat festival, ha ha! If you want to avoid refined sugar, try substituting a smaller amount of
Sucanat in place of the brown sugar — Sucanat has a stronger taste, so you'll have to experiment to get the amount right.
Instructions:
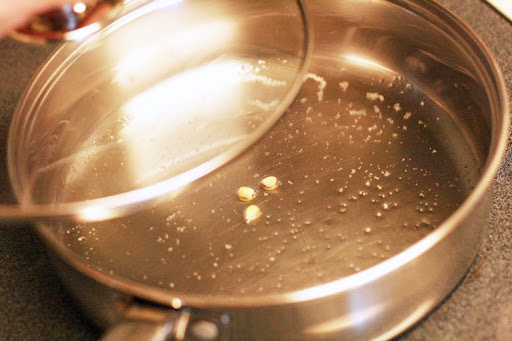
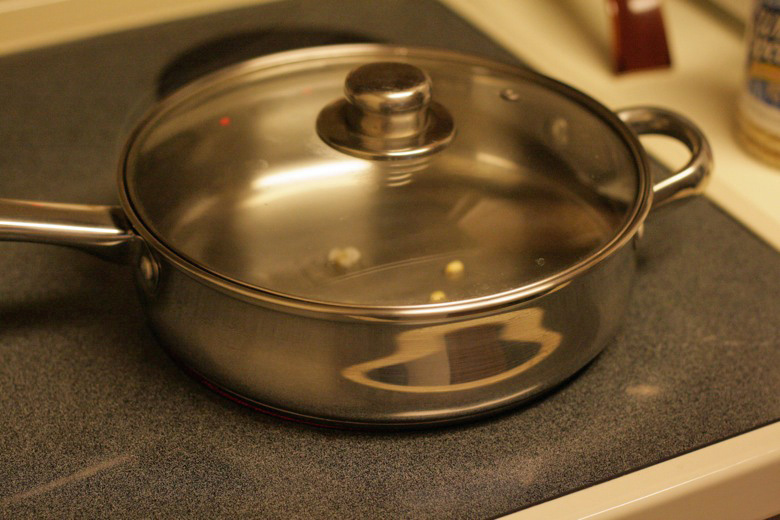
1) In a three-quart stainless steel saucepan, add oil, salt, and 3 to 4 popcorn kernels. Cover with glass lid. {Editor's note: Stainless steel with glass lids are ideal for this recipe. You can substitute opaque lids if needed and just listen to count the test pops. I have fond memories of my dad and me making popcorn on the stove by doing just that!}
 This is one in a series of guest posts by other bloggers. Read to the end for a longer biographical note on today's guest blogger, my partner and husband, Crackerdog Sam. Sam shows how to make the best popcorn — no microwave needed.
 Guest post by Crackerdog Sam
We
stopped microwaving popcorn a few years ago when Lauren discovered this
Perfect Popcorn Recipe by Elise on Simply Recipes for cooking popcorn on the stove that is simple, fast, and delicious and leaves hardly any old maids (can we use that term anymore?). Plus, I had switched to stainless steel pans with glass lids, which are imperative to pulling off the recipe with the greatest ease.
This stovetop popcorn is way more delicious than pre-packaged popcorn once you get the process down. Mikko loves to help us with making it, so we decided to document the recipe.
{Editor's note: It is quite honestly the same as Elise's recipe, so we won't include all the steps here — go see her post for the full instructions as well as topping ideas. I just couldn't resist sharing these pictures from two years ago — enjoy sweet three-year-old Mikko! Stay tuned for the Festival of Food on Wednesday when Sam adds his special spin to the recipe to make a delicious, desserty fall treat.}
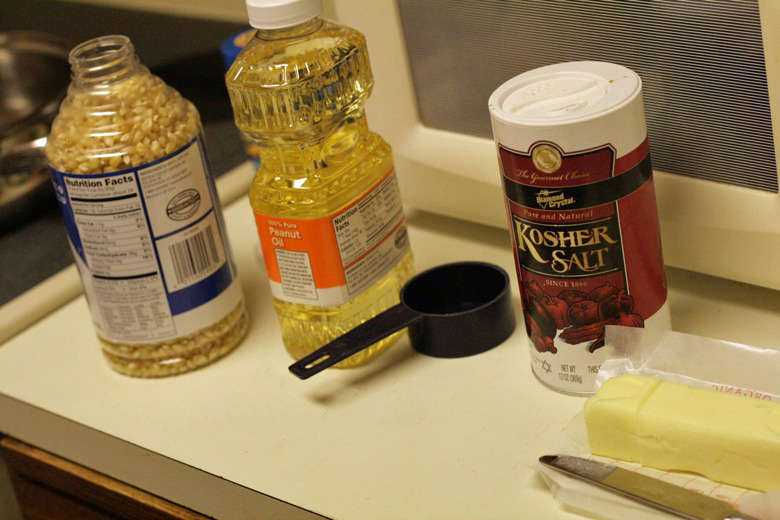
First off, gather your
ingredients: Use peanut oil for the best popcorny taste, and kosher salt. Butter is optional and can be melted in the pan after the popping.
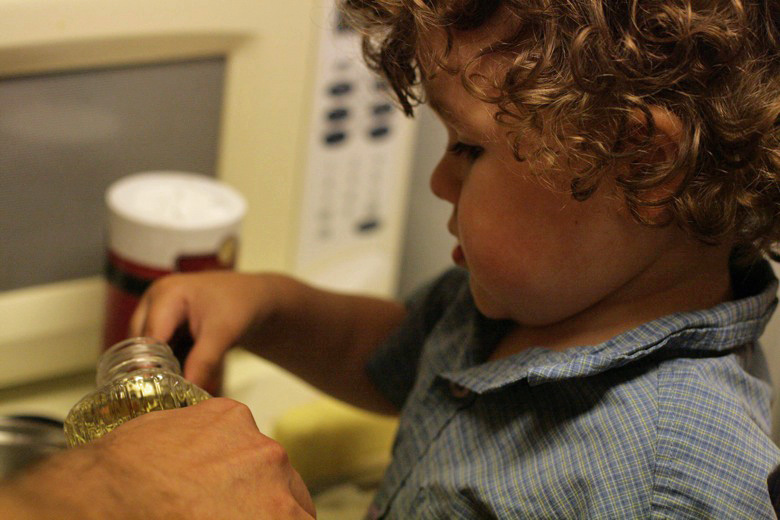
Mikko helps measure the oil into the 3-quart saucepan.
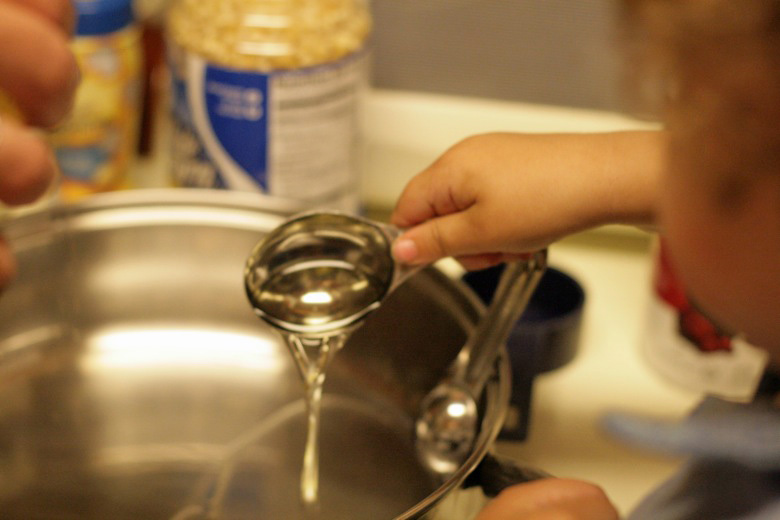

Don't forget to say cheese!
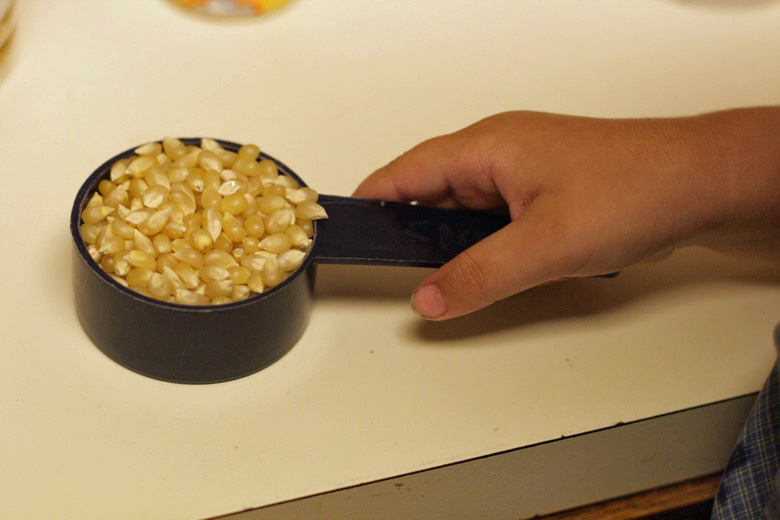
Measuring the popcorn kernels.




 I'm Lauren Wayne, writer and natural parent. I embrace attached parenting with an emphasis toward green living.


