
This is one in a series of guest posts by other bloggers. Read to the end for a longer biographical note on today's guest blogger, my partner and husband, Crackerdog Sam. Sam shows how to make the best popcorn — no microwave needed.
Guest post by Crackerdog Sam
We stopped microwaving popcorn a few years ago when Lauren discovered this Perfect Popcorn Recipe by Elise on Simply Recipes for cooking popcorn on the stove that is simple, fast, and delicious and leaves hardly any old maids (can we use that term anymore?). Plus, I had switched to stainless steel pans with glass lids, which are imperative to pulling off the recipe with the greatest ease.
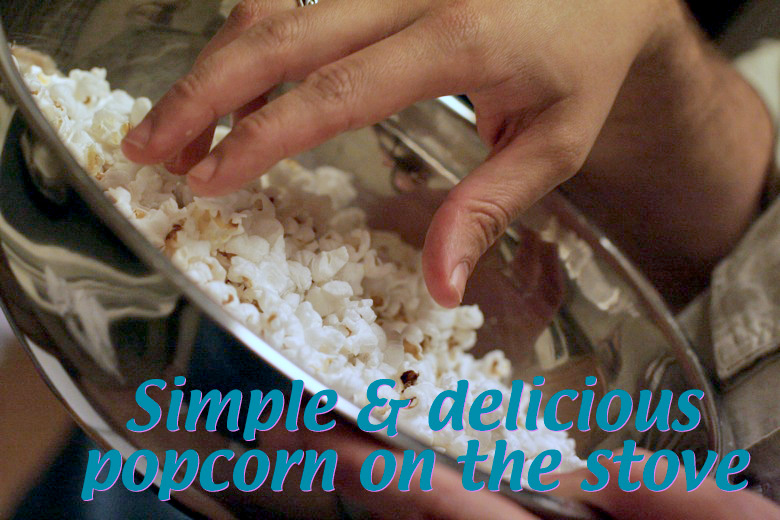
This stovetop popcorn is way more delicious than pre-packaged popcorn once you get the process down. Mikko loves to help us with making it, so we decided to document the recipe.
{Editor's note: It is quite honestly the same as Elise's recipe, so we won't include all the steps here — go see her post for the full instructions as well as topping ideas. I just couldn't resist sharing these pictures from two years ago — enjoy sweet three-year-old Mikko! Stay tuned for the Festival of Food on Wednesday when Sam adds his special spin to the recipe to make a delicious, desserty fall treat.}
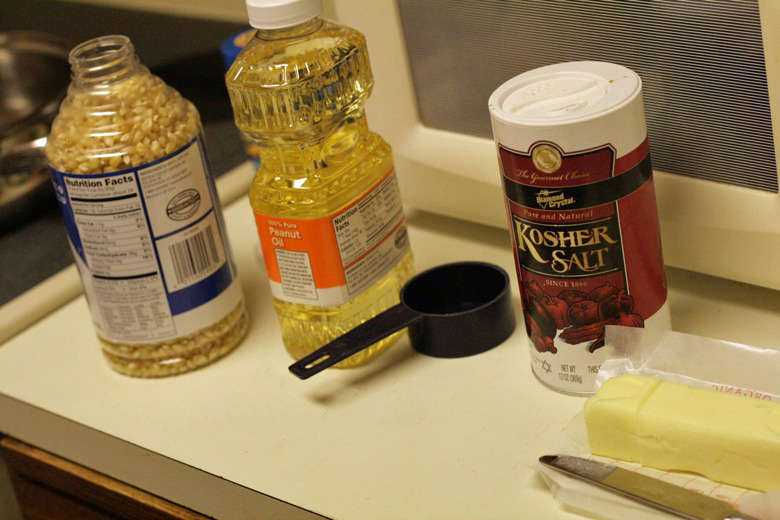
First off, gather your ingredients: Use peanut oil for the best popcorny taste, and kosher salt. Butter is optional and can be melted in the pan after the popping.
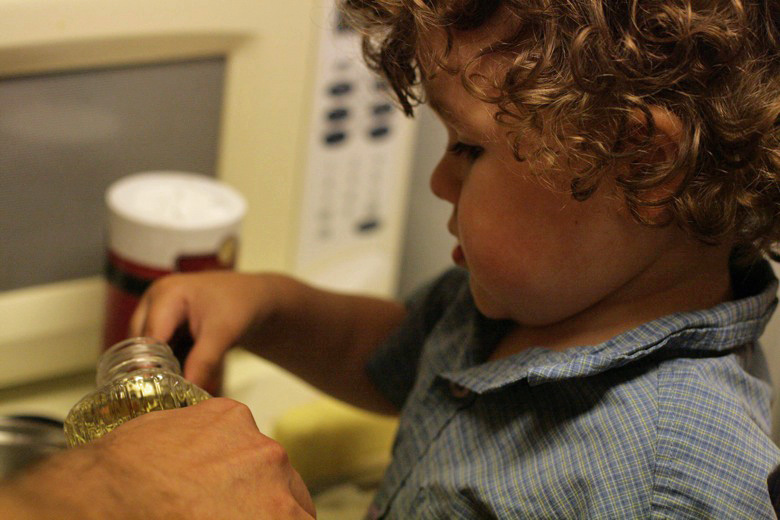
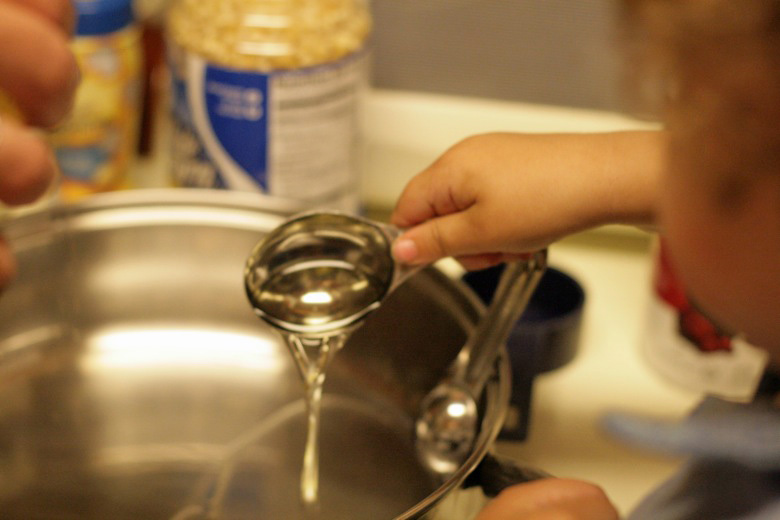
Mikko helps measure the oil into the 3-quart saucepan.

Don't forget to say cheese!
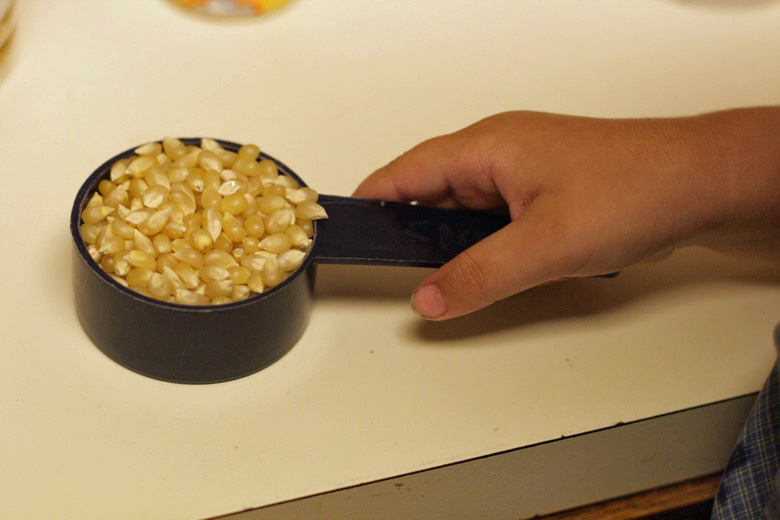
Measuring the popcorn kernels.
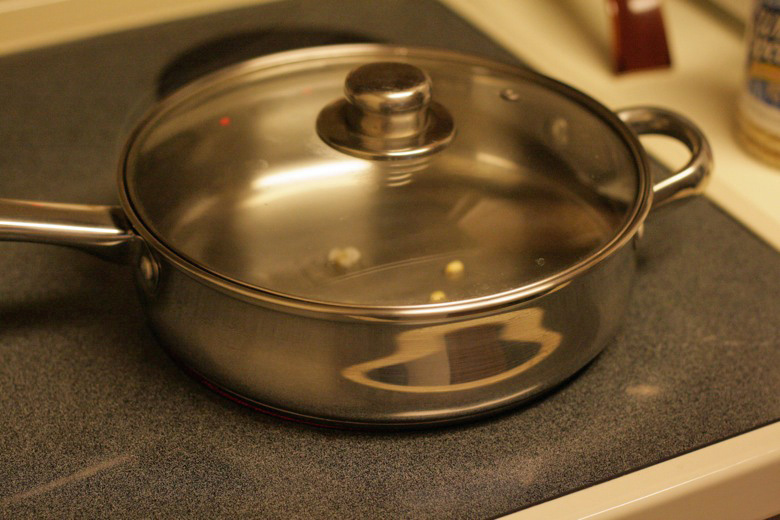
Step 1: Shake about 7-8 shakes of kosher salt in with the oil. (This part is not in the original recipe but works great to evenly distribute the salt and get it to stick without adding butter.) Put 4 kernels in the pan as well and place the covered pan over medium-high heat. Glass-lid stainless steel pan for the win!
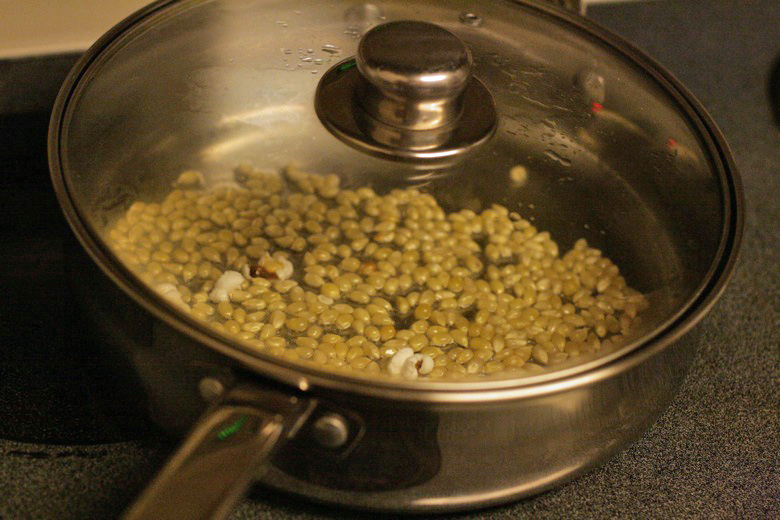
Step two: Then Elise has this brilliant step after the test kernels pop where you pour in the rest but REMOVE FROM HEAT FOR 30 SECONDS. It works incredibly well to pop as many kernels as possible without burning, since it ensures that all the kernels absorb heat slowly before you put it back on the burner. This is also the best part for us, because Mikko will start making up his own numbers past sixteen.

"Eleven-teen, twelve-teen..."
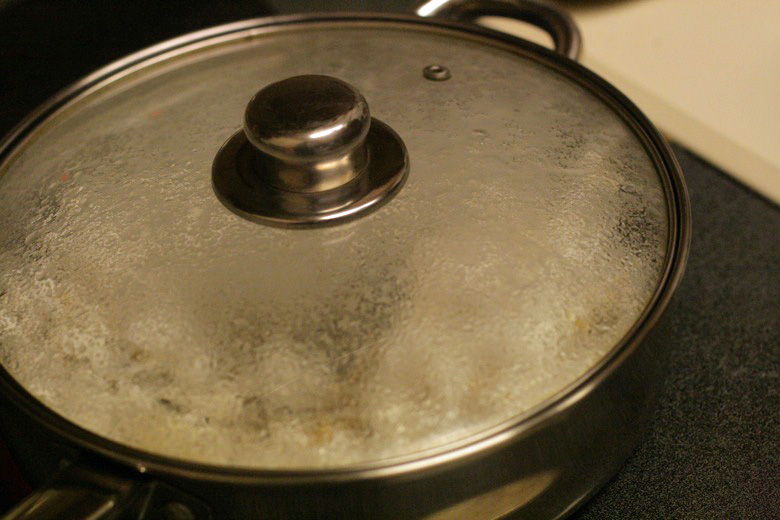
Step three: Follow the rest of Elise's recipe, and then pour into large bowl.
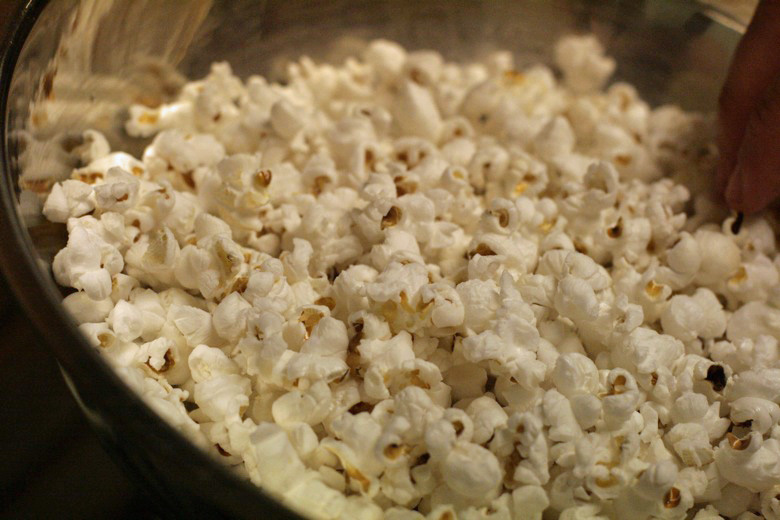
Like so.
Optional: Shake on some Kernel Season's White Cheddar
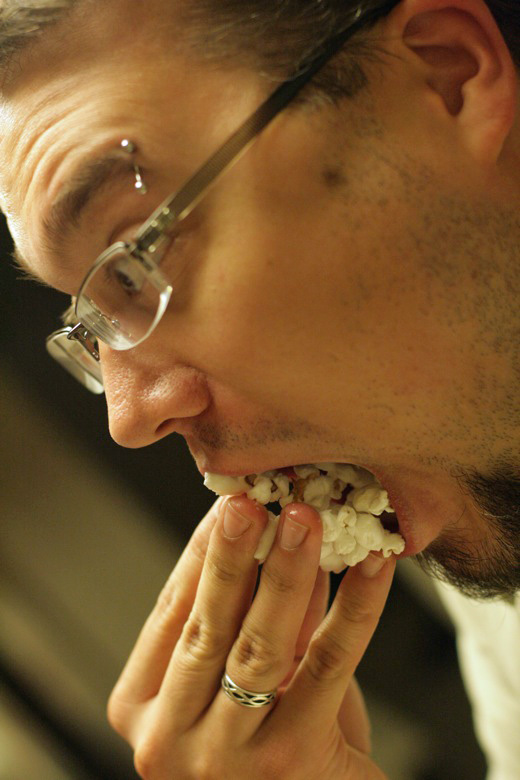
Devour.
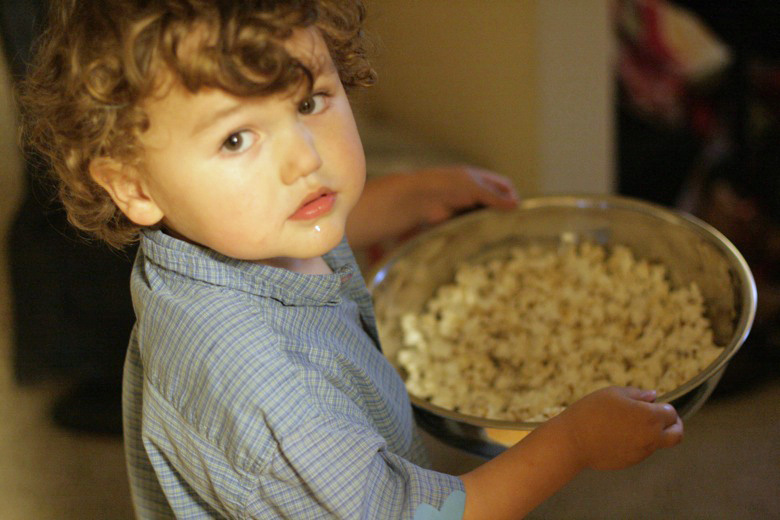
Optional: Share some with Mikko.


Crackerdog Sam (that's his hobo name) is a full-time work-from-home parent. He shares both the working and the parenting of five-year-old Mikko and one-year-old Alrik with Lauren of Hobo Mama. He is the resident chef extraordinaire and does all the family's (delicious) cooking.


 I'm Lauren Wayne, writer and natural parent. I embrace attached parenting with an emphasis toward green living.


7 comments:
Um butter is NOT optional
:)
Mmmmm yumm!! We stopped using the store bought stuff too, mainly because there's hardly any in the microwave bags and we never had it in the house when we wanted. Buying the kernels lasts waaay longer for us! Can't wait to see the follow up with toppings! I'm a white cheddar junkie as well, and am always struggling with what different things I could put on it! Do you guys have a good carmel corn recipe??? I seriously need help with carmel corn.
@Cassie: Ha ha, yes! :)
@Arpita And Jonathan: Woot — wait till tomorrow! Sam's caramel corn is the recipe we're posting for the Festival of Food. :)
next time you do that, add some thyme, rosemary, and cracked pepper to the butter. You won't be sorry.
this has a recipe if you don't want to just eyeball it: http://www.shivayanaturals.com/2011/07/coming-back.html
Post a Comment