
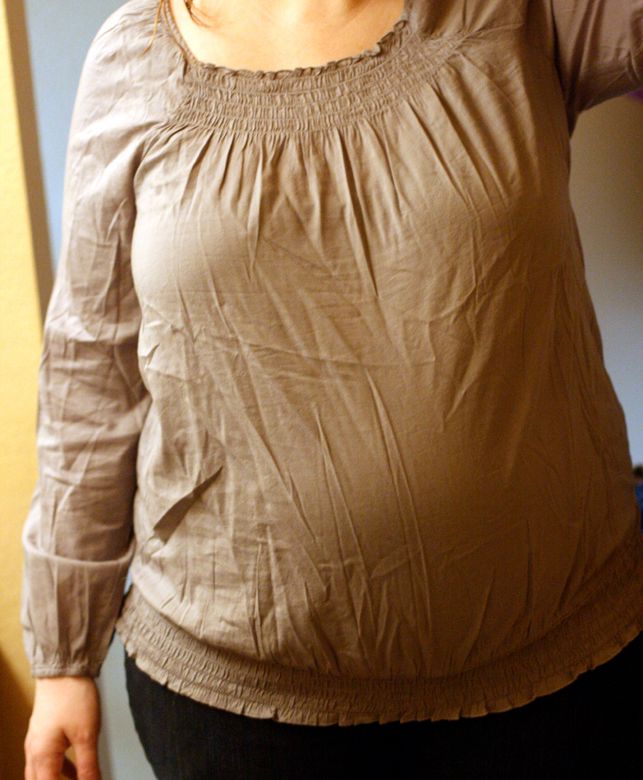

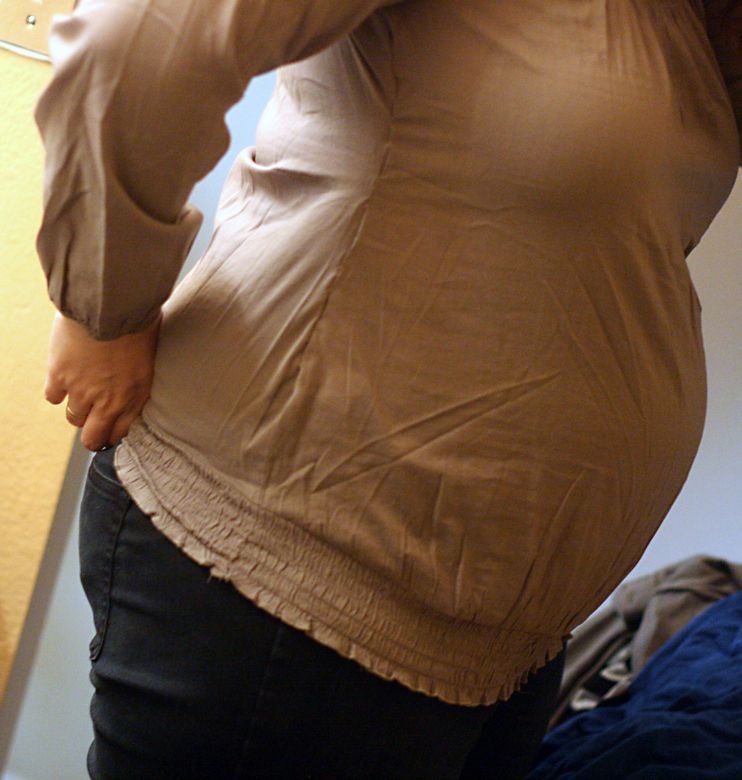
I bought this shirt online from Old Navy on sale. I liked that it was a little more elegant than my usual stretch-jersey shirts but wasn't thrilled about the shapeless fit through the midsection.
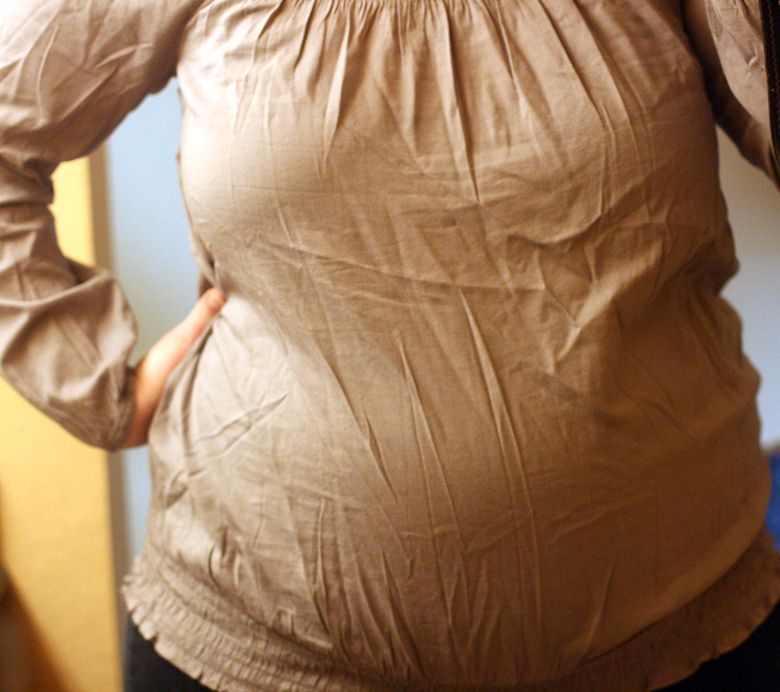
I held it in with my hand and thought, "Hey, wouldn't this look better if I tucked in the sides?" You can see the difference between the side I'm holding in place and the poofiness on the other side. I realized it was an easy fix (easier than dealing with the restrictive new mail-only return policy for maternity items).
So here's my little tutorial on how to take in a baggy shirt. It doesn't have to be a maternity shirt, by the way, or even a shirt at all — feel free to try this technique on dresses, jeans…pantaloons! Yes, pantaloons! I learned how to make alterations when volunteering in the costume department of our college's theater group. I had the teensiest actor assigned to me, and we kept having to take in, take in, take in his vest and pantaloons. (It was a Shakespeare play.) Just as Old Navy should have done a better job at measuring real humans when designing this shirt, so might I have done a better job measuring the actor in the first place. But, the good news is, I have a skill now! A very small but helpful skill!
Does anyone care to know that I'm 25 weeks pregnant in these photos? Well, just in case, I am.
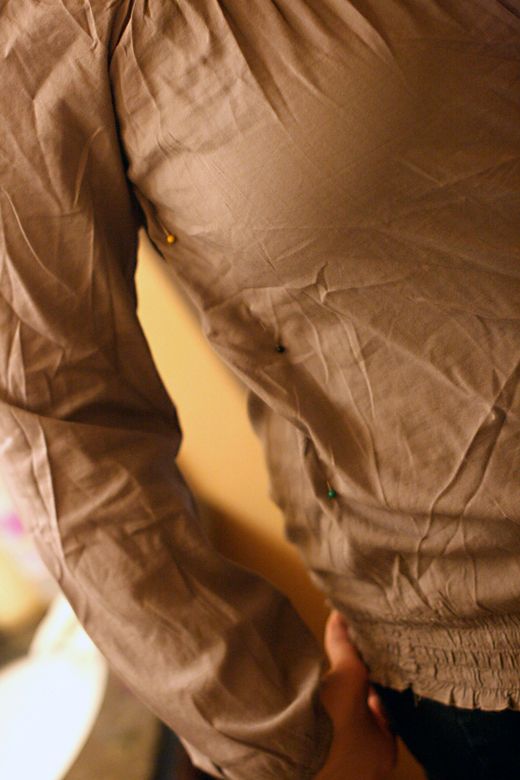
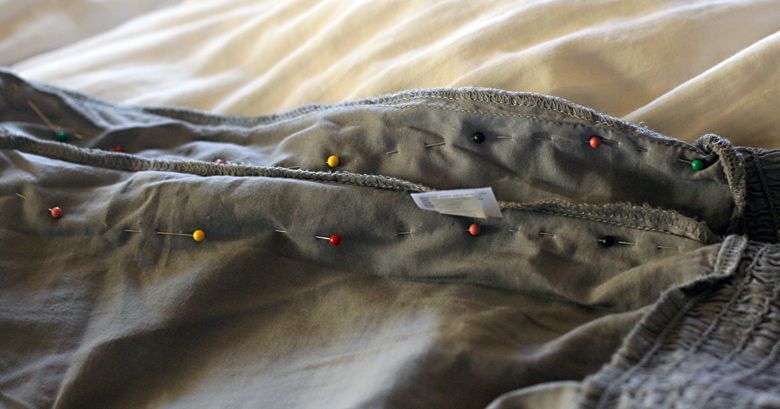
Pin the shirt smaller while it's on you while pulling it out from the side seam. Is this easier to do if the shirt's on someone else? Yes. But I assume you're a do-it-yourselfer or you wouldn't be reading this. So contort as necessary, and pin, and try not to stick yourself in the side.
I recommend pinning at least three places: up near the armhole, in the middle (probably the broadest tuck), and toward the bottom so you know where to stop making it smaller. See, in my case, I wanted to retain the waistband's width, for presumed growth during the third trimester, and I really didn't want to mess with taking out the sleeves or anything complicated. So I wanted just a gentle curve round about my boob line to most of the way down my belly.
Make sure you're not pulling the other side taut while you're pinning this one, or they'll be lopsided. Pin both sides to be thorough, or just hold the other side in place and wing it like I did.
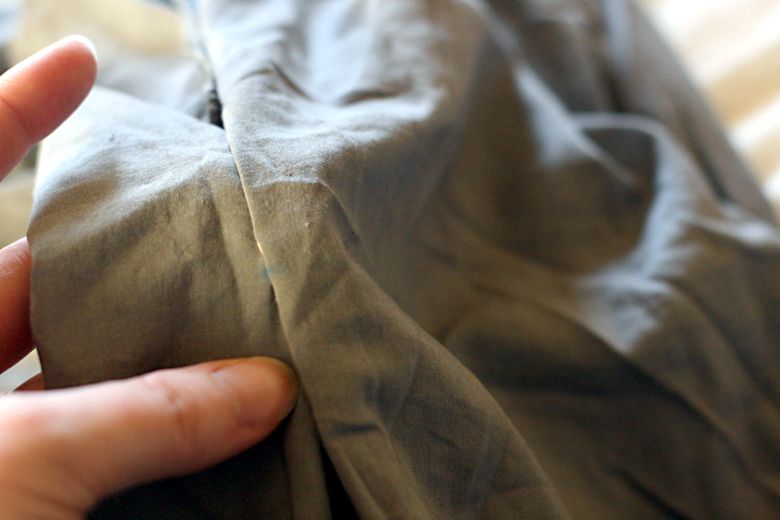
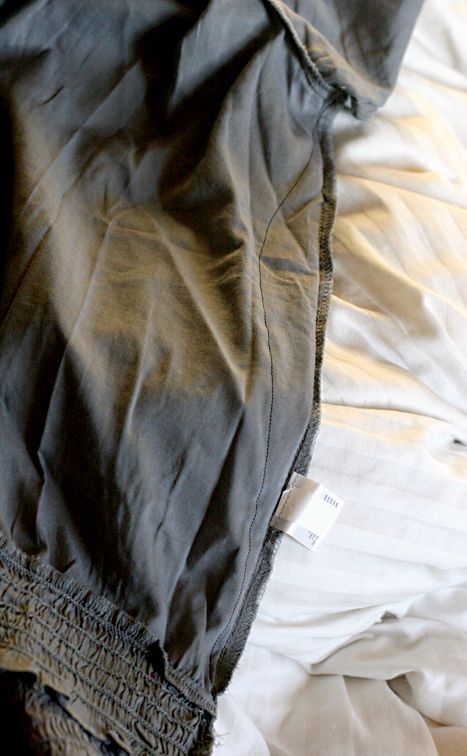
Take the shirt off and use a contrasting chalk to mark where the pins are, on both sides of the tuck.
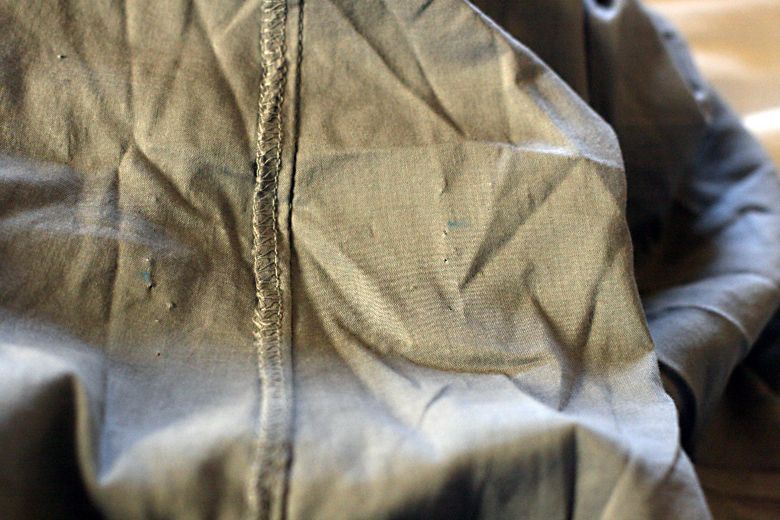
See, if you mark both sides, once you unpin it now, it will look something like this. Can you see the little blue marks on either side of the seam? Assuming you used appropriately sized pins (I was too lazy to find my fine-fabric pins), the pinholes will disappear but you'll be able to see your little chalk markings telling you where they were.
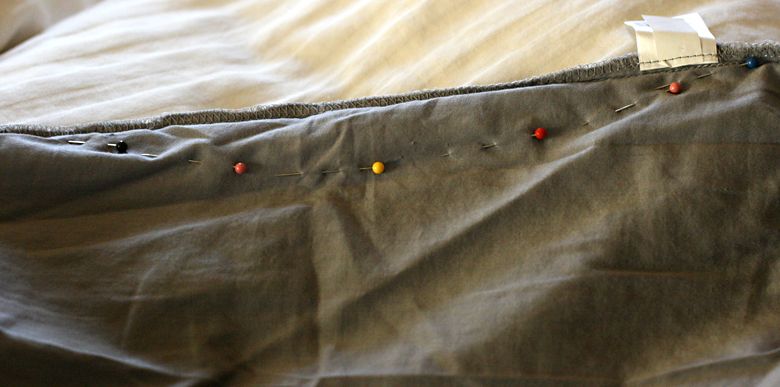
Now you want to re-pin it, but from the inside, so the tuck will go inside the shirt instead of sticking goofily out under your armpit for everyone to gawk at and wonder. Follow your markings, and try to line up your mark on one side of the seam with the corresponding mark on the reverse side. It's all right, though, to make your line fall evenly on either side of the seam, so you might have to adjust a little depending on how accurate your on-body pinning was.
Pin the whole way from the armpit to the waistband, making a gentle curve in between marks.
Now pin the other side seam the same way. If you made markings, you can follow them. If you're a wild, wild maverick like me, just hold the first side up to the second and duplicate the pinning. Either way, you want both sides to match.
Turn it right side out and carefully — carefully — try it on. I recommend wearing at least one underlayer for this one so you don't feel like a pincushion.
If you don't mind machine or hand basting, you could baste instead, but I went with pins and pretended I was having a free acupuncture session.
The trying-on step is crucial, because it will tell you where you need to alter your alterations before sewing them in place. I could see, for instance, that I didn't curve the markings down far enough, leaving a weird bulgy bit just above the waistband.
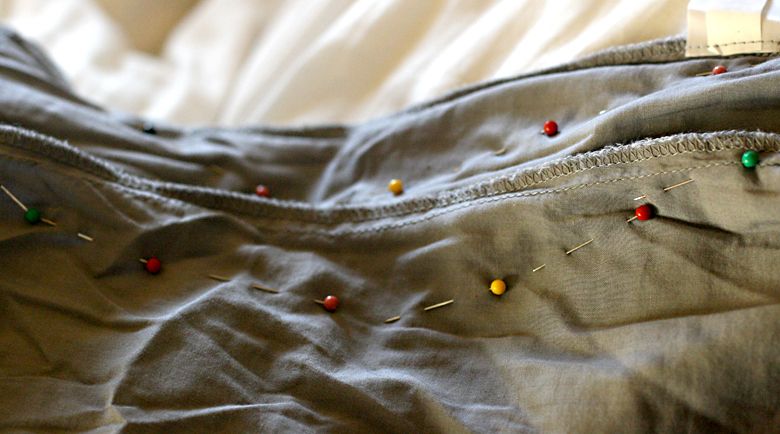
Make your pinning adjustments once the shirt's off again. This is my final pinning, with the curve extending the full length of the seam. Again, duplicate any changes you make on the other side seam.
And, again, try it on to make sure you like how it looks before committing your curve to thread and needle.

Now it's time to sew.
This step is optional, but I always first wind my bobbin incredibly wrong. Anyone else always feel confident that "oh, this time I don't need to consult the sewing machine manual!" and be thoroughly mistaken?
Also, I recommend using matching thread, not just whatever was to hand. I'm a little lazy like that. Comes from having such poor bobbin-winding skills.
Oh, wait, no! Forget I said that. I purposely used a contrasting thread so you could see my stitch line. Yes. That's correct.
So, yes, stitch your tuck in place with a straight stitch, removing pins as you go, or marking and removing them beforehand.
Try on your new shirt and make sure it's all you dreamed. If not, repeat the above steps until you're satisfied.
Depending on how wide your tuck was, you now have the option to cut away the excess, press open the new seam, and serge or zig-zag stitch the newly raw edges. Guess whether I chose to be that thorough or just wear the shirt as is. A hint: My idea of ironing is to spray shirts with a water bottle and then smooth my hands over my belly.

Ta-da! Smaller, shapely shirt! Who needs a real iron?

Here's the shirt looking properly fabulous with my pink cardi, on our way to tea. Can anyone see that it fits me correctly now, when it's underneath a sweater? No, but I know it does, and that's all that matters.
Have fun nipping & tucking!


 I'm Lauren Wayne, writer and natural parent. I embrace attached parenting with an emphasis toward green living.
3 comments:
You and I have a similar build and I am always wanting to be brave enough to try this. Thanks for being so detailed (with humor, to boot)!
I am 26 weeks pregnant with my 4th :)
It turned out nice! I didn't know you were so crafty/handy. I have a dress I might need to try this with. One thing I'd like to figure out is how to add a tie to a shirt/dress so it fits under the boobs but still is easy to get on and off if it's not stretchy.
I have to add that I used to wind my bobbin wrong because I didn't want to search for the manual or ask my mom, but eventually I figured it out and was (a little too) proud of myself. I hate taking the time to wind a new bobbin (every second of crafting time I get is precious) so whenever possible I use whatever's in the machine already.
Great tutorial! Cute shirt!
I also worked in the costume shop altering clothes for the theater department (it was my work study job) despite the fact that had zero sewing skills. I can't believe they let me have at some of the things they did, ha ha! I am sure I made a mess of them, but did in fact learn a few things, too.
Now, however, I feel like I have forgotten it all. I should try to do some things like this, though - there are so many little mending and altering projects that crop up around here!
Post a Comment