
 I have another simple tutorial for you for a last-minute Christmas present.
 I saw a friend of mine wearing a necklace made of sheer fabric knotted around chunky beads, and thought, I could make that! So I did.
I like that it's chic and intriguing without looking overly crafty. It works well to dress up a plain shirt or add interest to a winter sweater. You could make it out of any fabric that speaks to your sense of style, or your gift recipient's.
It works really well as a nursing necklace if you use baby-safe beads, because the fabric holds the beads in place for safe chewing. That makes it good for baby shower or new parent gifts.
The nice thing about this necklace is you can put it together for not a whole lot of money. You might already have the materials you need around the house, and if not, you just need a quick trip to the remnant bin for the fabric and to the bead aisle or thrift shop for the beads.
It's even something you could whip together by hand if you don't have access to a machine. It's faster with a machine but not overly onerous by hand.
I just made one of these necklaces for one of my friends (hi!) and am going to make a second for another, so let's hope she's not reading along…
What you'll need:
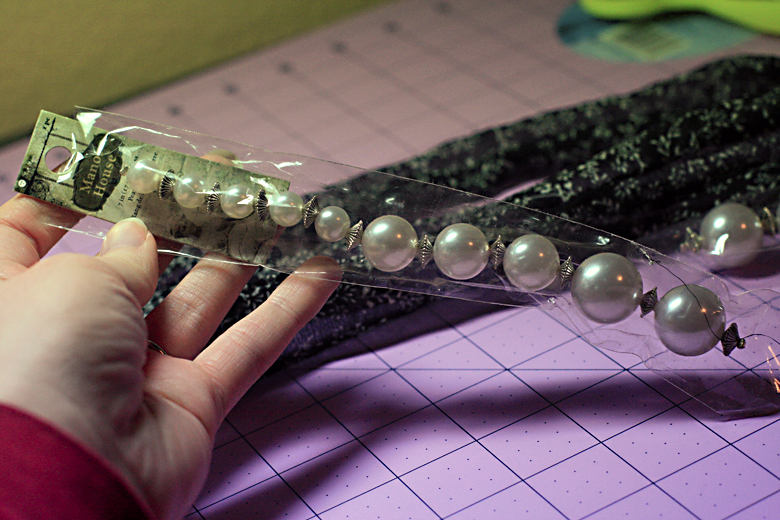
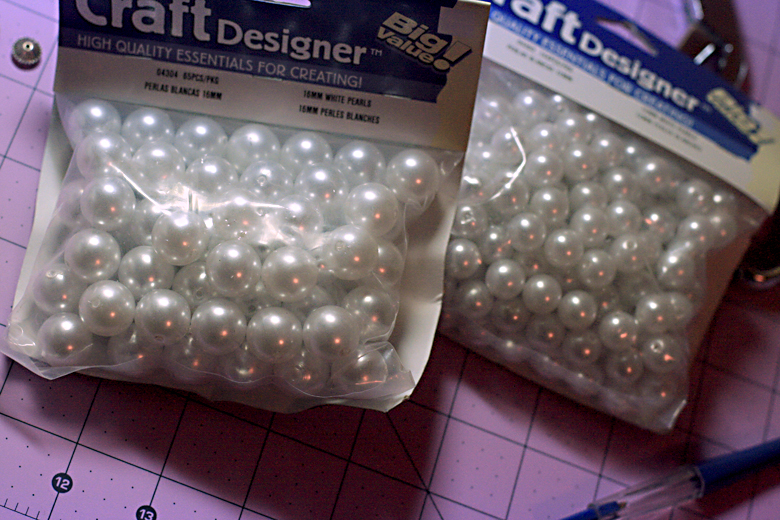
Amazon links are affiliate links.- Around 7-11 large beads.
- Small amount of lightweight fabric. Sheer, gauzy fabric works best, though any lightweight fabric can work, including cotton, voile, organza, calico, and the like. You can look for remnants, or buy a very small amount of yardage (1/8 of a yard should do it). You need only a few inches in length, and whatever the standard bolt width is should be fine.
- Thread that coordinates with your fabric.

Putting it together:
1. Determine the width of your necklace fabric. Let the length of the necklace be the width of your bolt of fabric (generally 42"-60"). The length will become smaller as you knot. To measure the width to cut, hold your largest bead against your fabric and make a fold that will accommodate that bead, with a little sewing and wiggle room. It will likely be around three inches wide, or 1.5 inches folded, but it depends greatly on your bead size. Smaller beads are less likely to stand out from the knots so aren't recommended, but larger beads could work fine. Cut your fabric at the width you've chosen.
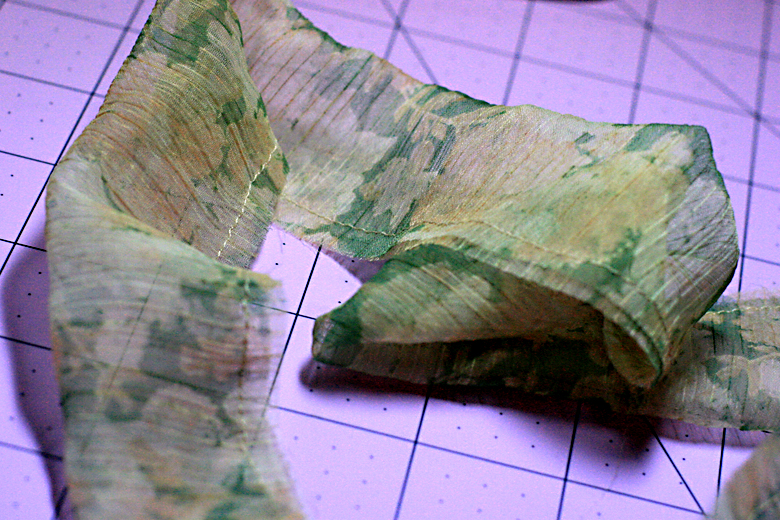
2. Fold your fabric over, right sides together (if your fabric has a right and wrong side). Stitch along the length, about 1/4 inch in, to make a long tube.
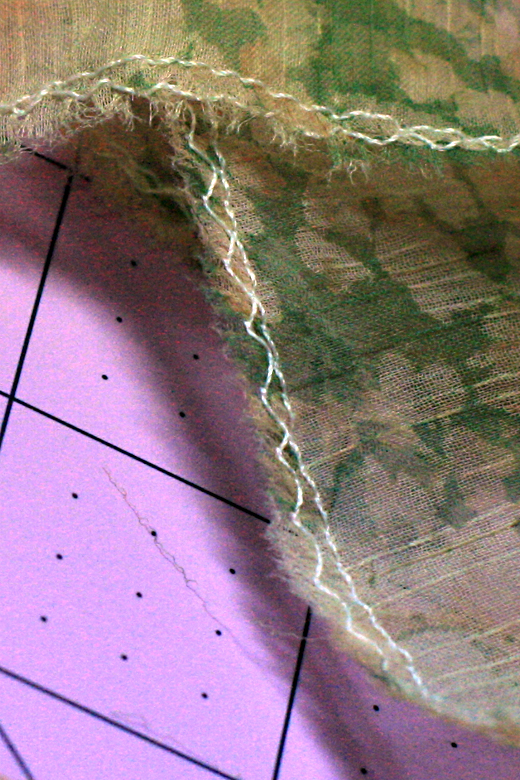
If your fabric is very prone to raveling, you might zigzag or serge the edges before or after stitching. It's probably not necessary, given that necklaces don't receive machine washing and rough handling, but it's not a bad idea if you're worried. Make sure you use a coordinating thread rather than this startling white I tried out because I was too lazy to change the machine; with sheer fabric, a non-matching thread will show through when turned right side out.
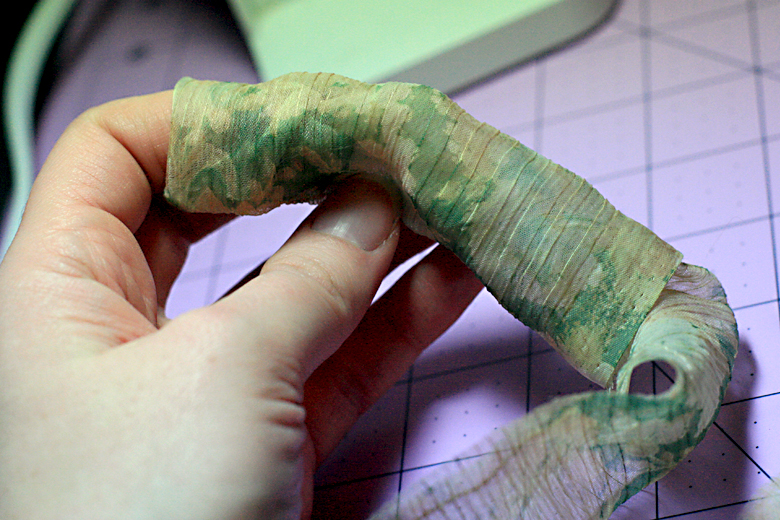
3. Turn your tube right side out.
Then you'll have a long tube of fabric, open at both ends. It might change color, but don't let that throw you. Just joking.
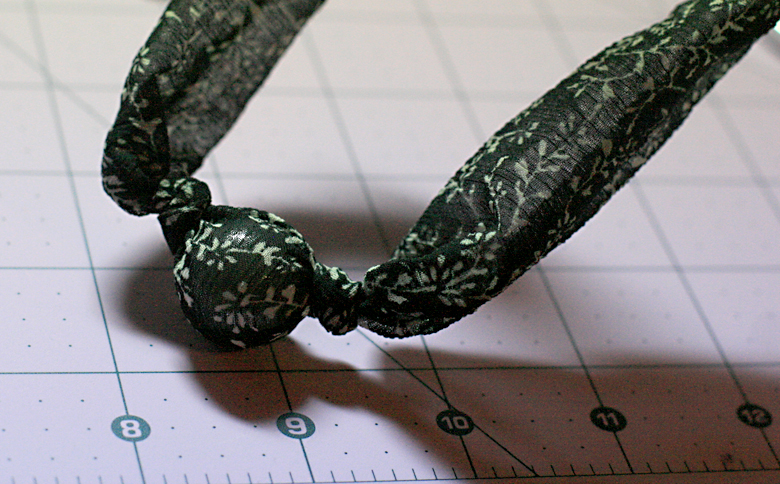
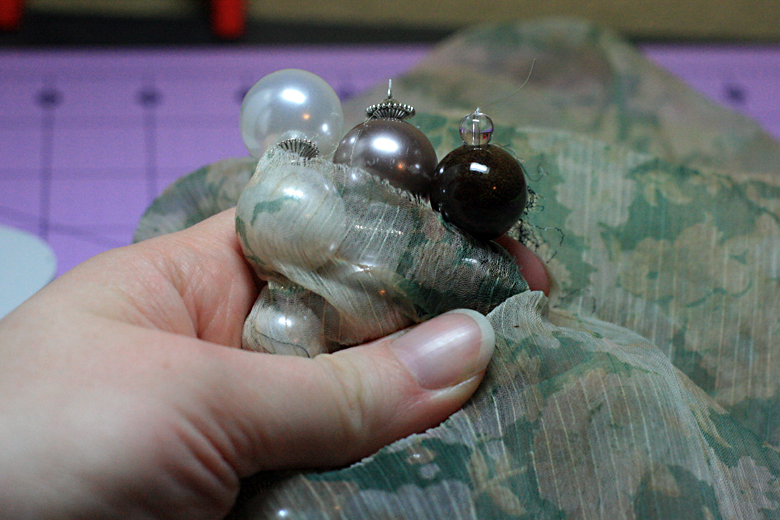
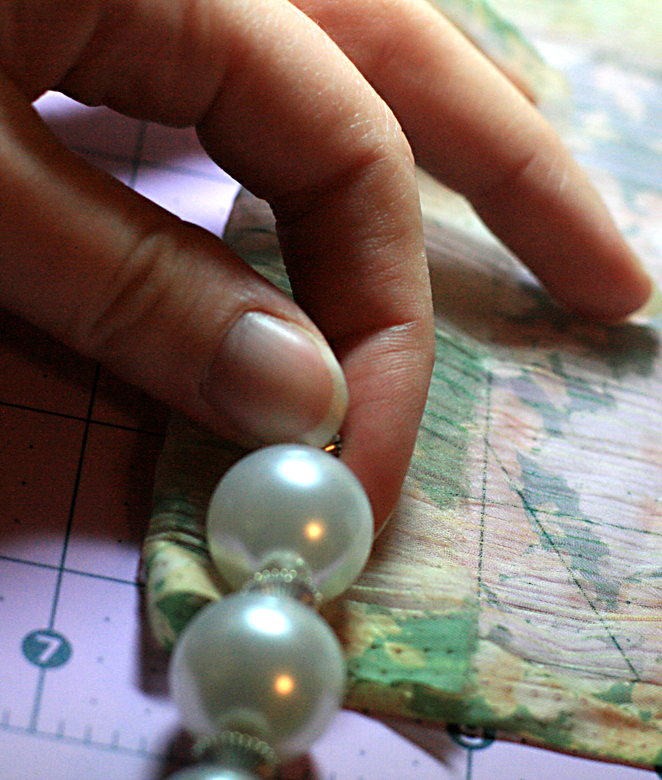
4. Knot your biggest bead in the center. Drop your largest bead down one side. Fold your tube in half to find the center. Holding the bead in place in the center, knot first to one side and then to the other. It can help to slightly twist the fabric to pull it as taut as possible over the bead as you knot, and cinch the knots as close as possible to the bead, and in line with each other, before pulling tight.
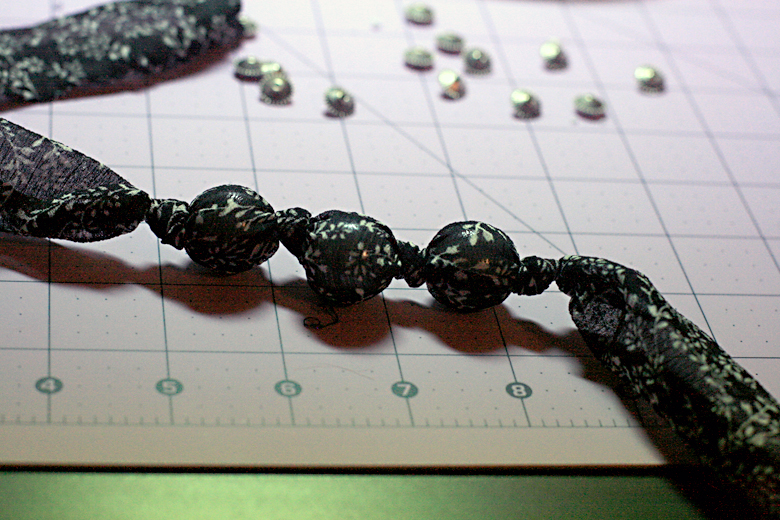
5. Add beads from the center out, knotting in between each one and keeping them as close as possible. There are options for how you can choose the sizes of your beads, and some will depend on what you have available. You could have one very large bead in the center, and gradually smaller beads heading out. You could have three to five large beads in the center, with two or three smaller beads at the end on either side. You could have all the beads be the same size. It's easier to keep the necklace looking centered if you use an uneven number of beads, though you could center a knot rather than a bead for an even number of beads. Keep trying on the necklace as you go, making sure the length isn't getting too short as you knot the fabric.
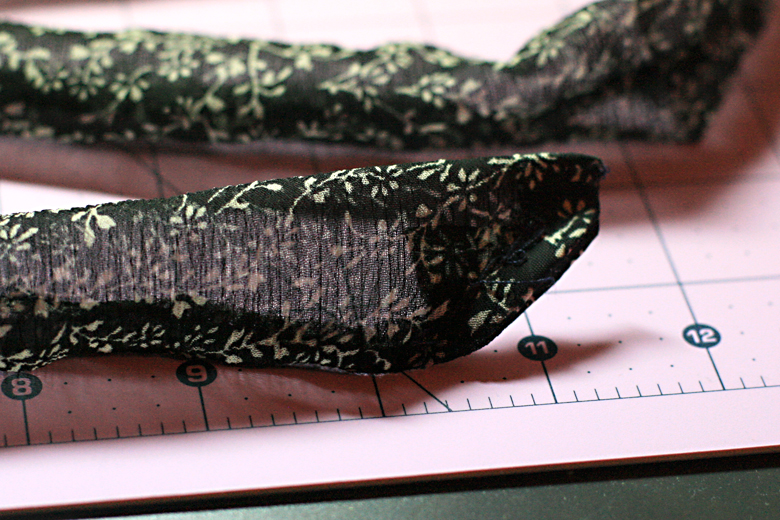
6. When you're done adding beads, finish off the ends. For an elegant look, cut the ends at about a 45-degree angle. Fold under the raw edges at each end, pin, and topstitch closed.

7. Enjoy!
Other easy, last-minute holiday gifts:
For my fellow procrastinators, check out these ideas:- Sew a cozy throw blanket or baby blanket from flannel and plush fabric.
- Cut out a no-sew mei tai soft baby carrier from fleece fabric, and make a matching mini mei tai
 for a little one to carry a doll. (Perfect for a baby gift / big sibling gift pairing!)
- Send a CD of your favorite holiday music. Amazon has extended the Free Super Saver Shipping deadline for U.S. Christmas delivery to Sunday, December 19 — or email or express mail (free upgrade) your recipient a gift certificate for an mp3 download.
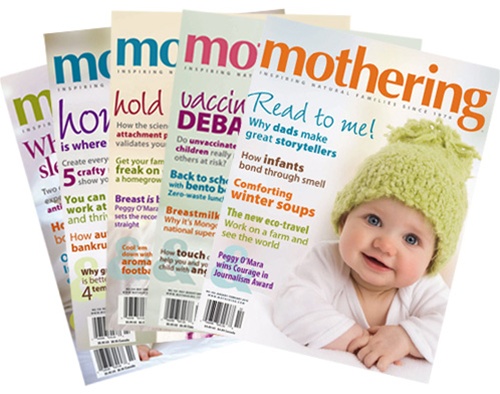
- Enter to win a free one-year subscription to Mothering magazine by Wednesday, December 22 — then choose digital for instant delivery to your recipient. (Or buy a digital subscription on your own for only $4.95. A perfectly encouraging new-parent gift!)
{Update December 2011}

I've finally gotten to test out my knotted fabric bead necklace with a grabby baby (huuuge hit), and I've made a new version with wooden beads to be, more specifically, a nursing necklace:


The shiny fabric makes it holiday-festive.
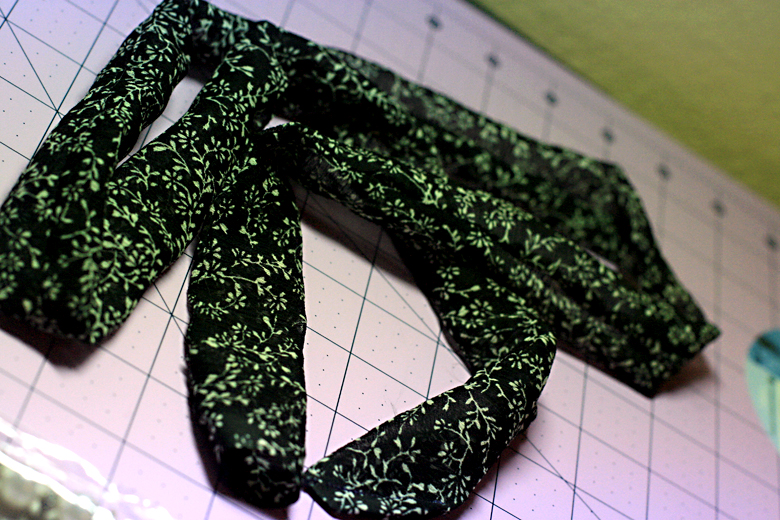
I've also made a couple more non-wooden versions for my mom and mama-in-law, for prettiness:

I was in a children's store today and saw some made from bright calico for little girls. These necklaces are versatile, and so easy to make quickly with scraps and supplies you probably already have around!
 |  |
 |  |
Disclosure: Amazon links are affiliate links,
and Mothering is sponsoring our giveaway.
See my full disclosure policy here.
and Mothering is sponsoring our giveaway.
See my full disclosure policy here.


 I'm Lauren Wayne, writer and natural parent. I embrace attached parenting with an emphasis toward green living.


9 comments:
This is my kind of craft. Thanks so much for the tutorial!
Perfect! I was just thinking what should I make for my sis-in-law but instead of getting at it I decided to procrastinate with some internet.
I have a ton of broken, chunky bead necklaces. And some awesome fabric. And a second-hand serger that some just gave me and after only three days of effort, I made my husband figure out how to thread it.
I'm good to go!
How very creative, I am a bit late to make one as a Christmas present but Valentines Day i coming so that will give another opportunity.
Now just to find the right scarf...
Prayer Necklace
This is exactly what I was looking for. Thanks for the tutorial! I'm now following you!
Melanie
youmadethat.blogspot.com
I was having a really bad day for crafts and was just getting ready to hang up my scissors and figure out something to buy for my MIL's birthday. But then I remembered this tutorial you did and it saved the day. I'll have to post pics on my blog later. Thanks!
I love this!
Such a great use of those lovely floral scarves I've drawn to at second hand shops, but I just don't wear silky scarves!
@Birth Routes: Oo, what a great idea for repurposing. I have the same problem with scarf overload. :)
Just curious as to what a nursing necklace is?
@Marcelle: It's a necklace that's handy for babies to grab while they're breastfeeding so they don't grab you or your more delicate jewelry!
Post a Comment